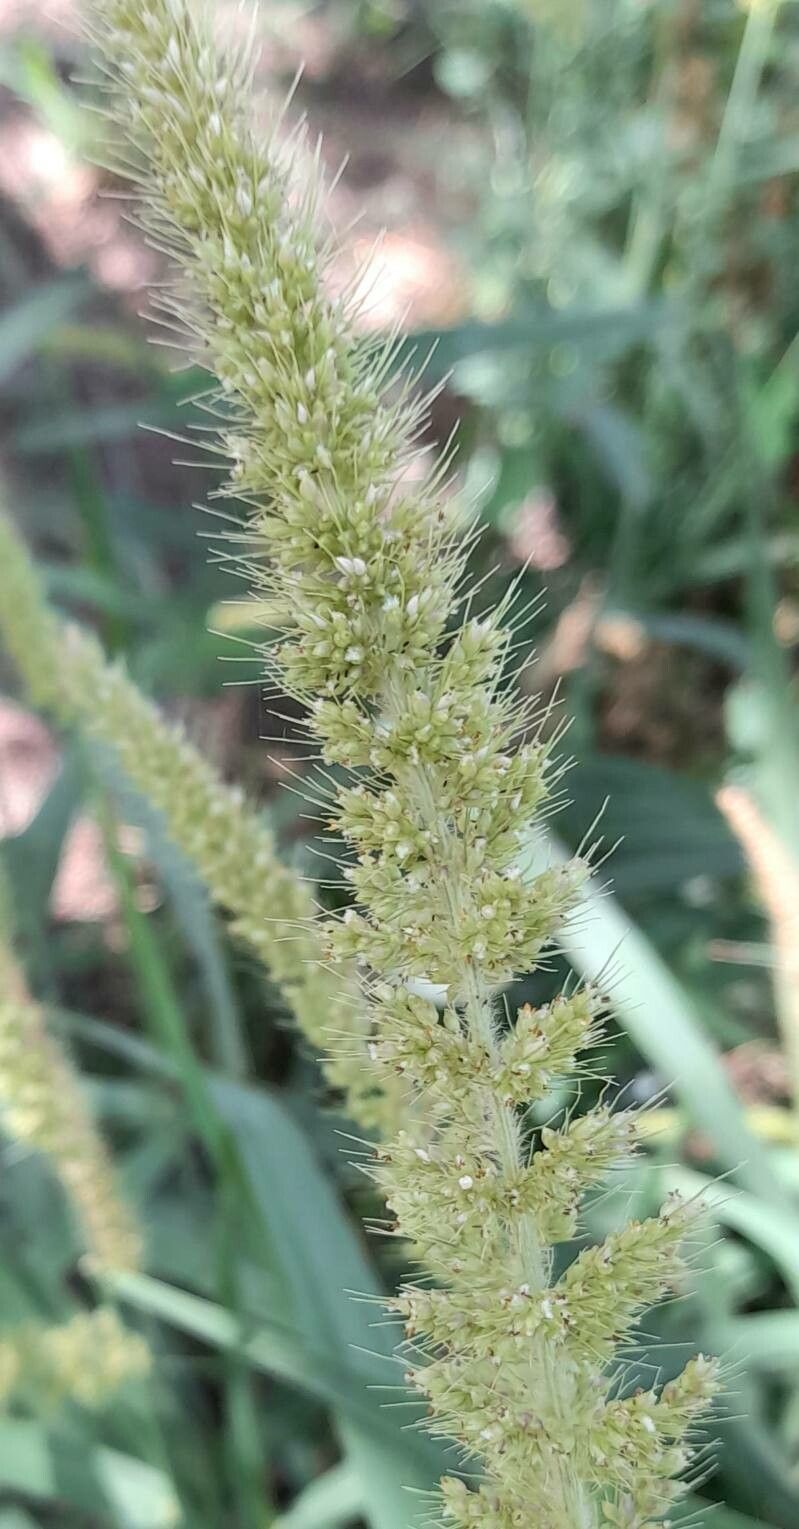
Hello, fellow garden enthusiasts! Today, I want to chat about a grass that’s been capturing my heart for years: Setaria lachnea. You might know it by its common names, like the beautiful Bristlegrass or a graceful Foxtail. Its delicate, feathery plumes create such a delightful sense of movement in the garden, adding texture and a soft, airy feeling. What’s even better is how rewarding it is to bring more of this beauty into your life through propagation. And honestly? If you’ve got a bit of patience, you’ll find Setaria lachnea is quite forgiving, making it a wonderful project even for beginners.
The Best Time to Start
For the absolute best success, I always lean towards early spring. This is when the plant is waking up from its winter slumber and has that natural surge of energy, ready to put down roots. You can also try it in early summer, provided you can give your new cuttings a bit more attentive watering as things heat up. You’re essentially aiming to propagate when the plant is in a vigorous growing phase.
Supplies You’ll Need
Gathering your tools beforehand makes the whole process much smoother. Here’s what I usually have on hand:
- Sharp pruning shears or a clean knife: For making nice, clean cuts.
- Potting mix: A well-draining mix is key. I often use a blend of peat moss, perlite, and a bit of compost.
- Small pots or trays: Whatever you have that will hold your cuttings comfortably.
- Rooting hormone (optional but helpful): A powder or gel to give your cuttings a little boost.
- Watering can or spray bottle: For gentle watering.
- Plastic bag or dome: To create a humid environment.
- Labels: To keep track of what you’re propagating!
Propagation Methods
For Setaria lachnea, division is my go-to method, and it’s incredibly straightforward.
1. Division:
This is how I multiply my established clumps.
- First, gently dig up an existing Setaria lachnea plant. Try to do this when the soil is slightly moist, as it makes the root ball easier to separate.
- Carefully examine the root ball. You’ll see that the plant naturally grows in clumps.
- Using your hands or a clean trowel, gently pull the root ball apart into smaller sections. Each section should have a good amount of roots and at least a few leafy shoots.
- Replant the divisions immediately into prepared pots or directly into your garden beds. Water them in thoroughly.
While division is the easiest, you can try stem cuttings, though it’s a bit more finicky for grasses. If you’re feeling adventurous:
- Take cuttings in spring or early summer. Look for healthy stems that are about 4-6 inches long and haven’t flowered yet. Cut just below a leaf node.
- Remove the lower leaves, leaving just a few at the top.
- If using rooting hormone, dip the cut end into the powder or gel.
- Insert the cuttings about an inch deep into your prepared potting mix.
- Water gently and cover the pot with a plastic bag or dome to maintain high humidity. Place it in a bright spot out of direct sunlight. Check the moisture levels regularly.
The “Secret Sauce” (Pro Tips)
Here are a few things I’ve learned over the years that really make a difference:
- When dividing, don’t be afraid to be a little firm, but also gentle. The goal is to separate natural clumps, not to shred the roots. Injured roots will recover, but you want to minimize stress.
- For stem cuttings, if you’re aiming for water propagation (which is less common for many grasses but possible), make sure no leaves are submerged in the water. Leaves sitting in water tend to rot, which is the last thing you want.
- Bottom heat can be a game-changer, especially for stem cuttings. If you have a seedling heat mat, placing your pots on it provides a consistent, gentle warmth to the roots, encouraging them to establish much faster.
Aftercare & Troubleshooting
Once your divisions or cuttings are planted, they need a little TLC.
- Water consistently but avoid waterlogging. The soil should feel moist, not soggy. You’ll get a feel for it!
- For cuttings, keep that humidity high; the plastic bag or dome is your friend here.
- New growth is your signal of success! Once you see fresh shoots emerging, it means roots are forming. Gradually begin to acclimate cuttings to normal humidity by opening the bag or dome a little each day.
- Common signs of failure? Rot. If your cutting turns black and mushy, or the leaves of your division wilt and don’t perk up after a good watering, it’s likely rot, often caused by too much moisture or poor drainage. If you spot rot early, you might be able to salvage a healthy section, but sometimes it’s best to start again.
A Encouraging Closing
Gardening is a journey, and propagation is one of its most rewarding chapters. Be patient with your Setaria lachnea – sometimes it takes a little while for roots to appear. Enjoy the process, learn from each attempt, and soon you’ll be surrounded by even more of this lovely grass! Happy propagating!
Resource:
https://identify.plantnet.org/k-world-flora/species/Setaria%20lachnea%20(Nees)%20Kunth/data