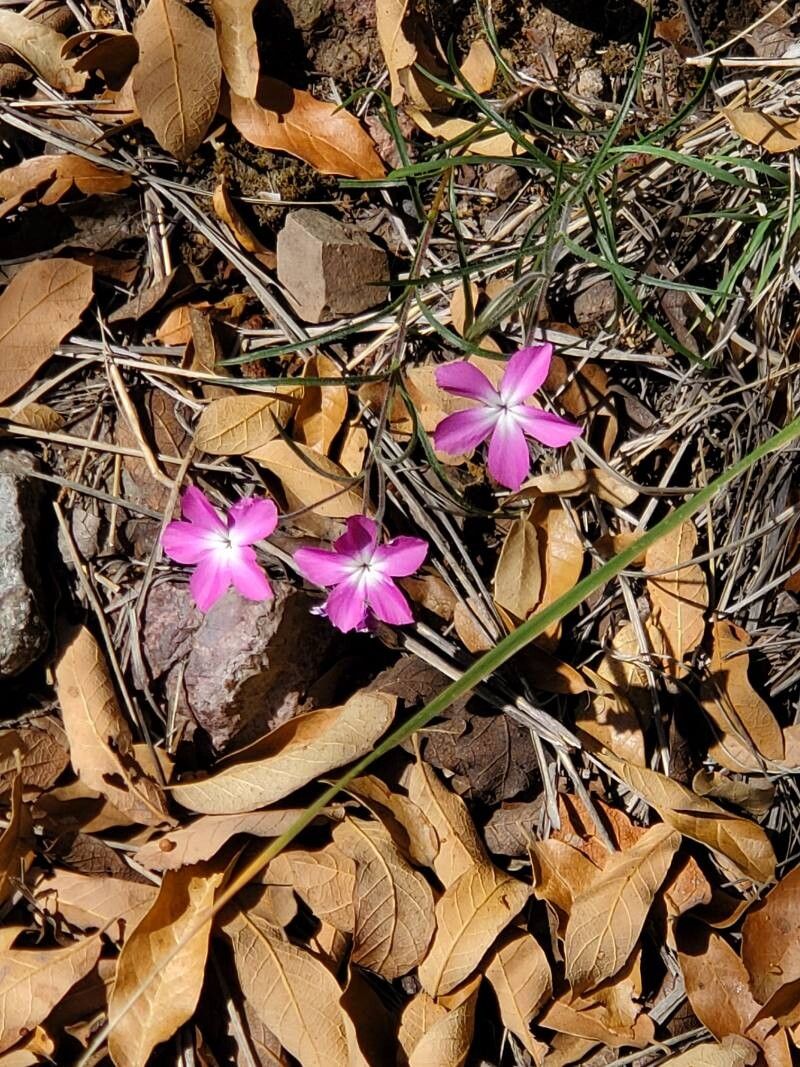
Oh, isn’t Phlox mesoleuca just a treasure? I remember the first time I saw swathes of it blooming in a sunny garden – those delicate, almost ethereal clusters of pink and lavender flowers, humming with pollinators. It’s got this lovely, airy presence that just makes a garden feel alive. And the best part? It’s surprisingly rewarding to multiply! For those of you just dipping your toes into the world of plant propagation, I’m happy to report that Phlox mesoleuca is a good friend to beginners. You can absolutely do this!
The Best Time to Start
For the highest success rate, I really lean towards propagating Phlox mesoleuca from stem cuttings in late spring or early summer. This is when the plant is actively growing, and the stems are nice and pliable. You’re looking for stems that are actively developing but aren’t quite woody yet – think of it as reaching for the sun!
Supplies You’ll Need
Here’s what I like to have on hand before I get started. It’s always better to have everything ready to go!
- Sharp pruning shears or a clean, sharp knife: This is for taking nice, clean cuts.
- Small pots or trays: With drainage holes, of course!
- A good quality potting mix: I often use a blend of potting soil mixed with perlite or coarse sand to ensure excellent drainage. A 50/50 mix is usually perfect.
- Rooting hormone powder or gel (optional but recommended): This gives your cuttings a little extra boost to develop roots.
- A clear plastic bag or propagation dome: To create a humid environment.
- Water mister: For keeping things moist.
- Labels and a marker: So you don’t forget what you’ve planted where!
Propagation Methods
I find stem cuttings to be the most reliable and straightforward method for Phlox mesoleuca. Here’s how I do it:
- Take the Cuttings: Using your sharp shears or knife, select healthy stems that are about 4-6 inches long. Make your cut just below a leaf node (that little bump where the leaves emerge). Gently remove the lower leaves, leaving just a couple at the very top.
- Prepare the Cuttings: If you’re using rooting hormone, dip the cut end of each stem into the powder or gel. Tap off any excess. Just a light coating is all you need.
- Pot Them Up: Fill your small pots with your prepared, moist potting mix. Make a small hole in the center of each pot with your finger or a pencil.
- Plant the Cuttings: Gently insert the cut end of each Phlox mesoleuca cutting into the hole, making sure at least one leaf node is buried beneath the soil surface. Firm the soil gently around each cutting.
- Create Humidity: Water the soil lightly. Then, place the pots inside a clear plastic bag, securing it loosely with a twist tie or rubber band. Alternatively, use a propagation dome. This traps moisture and creates that crucial humid environment.
- Provide Light and Warmth: Place the pots in a bright location, but out of direct sunlight. A sunny windowsill that doesn’t get harsh afternoon sun is ideal. If you have a heat mat, placing the pots on it can significantly speed up root formation – this is one of my favorite tricks!
The “Secret Sauce” (Pro Tips)
Here are a couple of things I’ve learned over the years that really make a difference:
- Don’t let the lower leaves touch the water: If you’re misting frequently or if condensation builds up inside the bag, make sure those lower leaves aren’t sitting in moisture. This is a surefire way to encourage rot. Pinch them off if necessary.
- Consider “Hardening Off” Before Long-Term Planting: Once your cuttings have developed a good root system and you see new growth, it’s time to introduce them to the outside world gradually. For a week or so, open the plastic bag a little more each day, or lift the dome for longer periods. This prevents shock before they go into their permanent garden home.
Aftercare & Troubleshooting
Once you see roots developing – you can gently tug a cutting, and if there’s resistance, you’ve got roots! – it’s time for a little adjusted care.
- Watering: Water them when the top inch of soil feels dry. Avoid overwatering, as this is the most common cause of failure.
- Continued Light: Keep them in bright, indirect light.
- Transplanting: Once your new Phlox mesoleuca plants are well-rooted and have several inches of new growth, you can transplant them into slightly larger pots or directly into your garden after the danger of frost has passed.
The biggest challenge you might face is rot, often caused by too much moisture and not enough air circulation. If you see stems turning mushy or black at the base, it’s likely rot. Unfortunately, there’s usually no coming back from that, but don’t get discouraged! Just try again, perhaps with a bit more attention to drainage or air flow.
So there you have it! Propagating Phlox mesoleuca is a wonderful way to expand your collection or share these beautiful plants with friends. Be patient with your little cuttings, give them consistent encouragement, and enjoy the magic of watching them grow. Happy gardening!
Resource:
https://identify.plantnet.org/k-world-flora/species/Phlox%20mesoleuca%20Greene/data