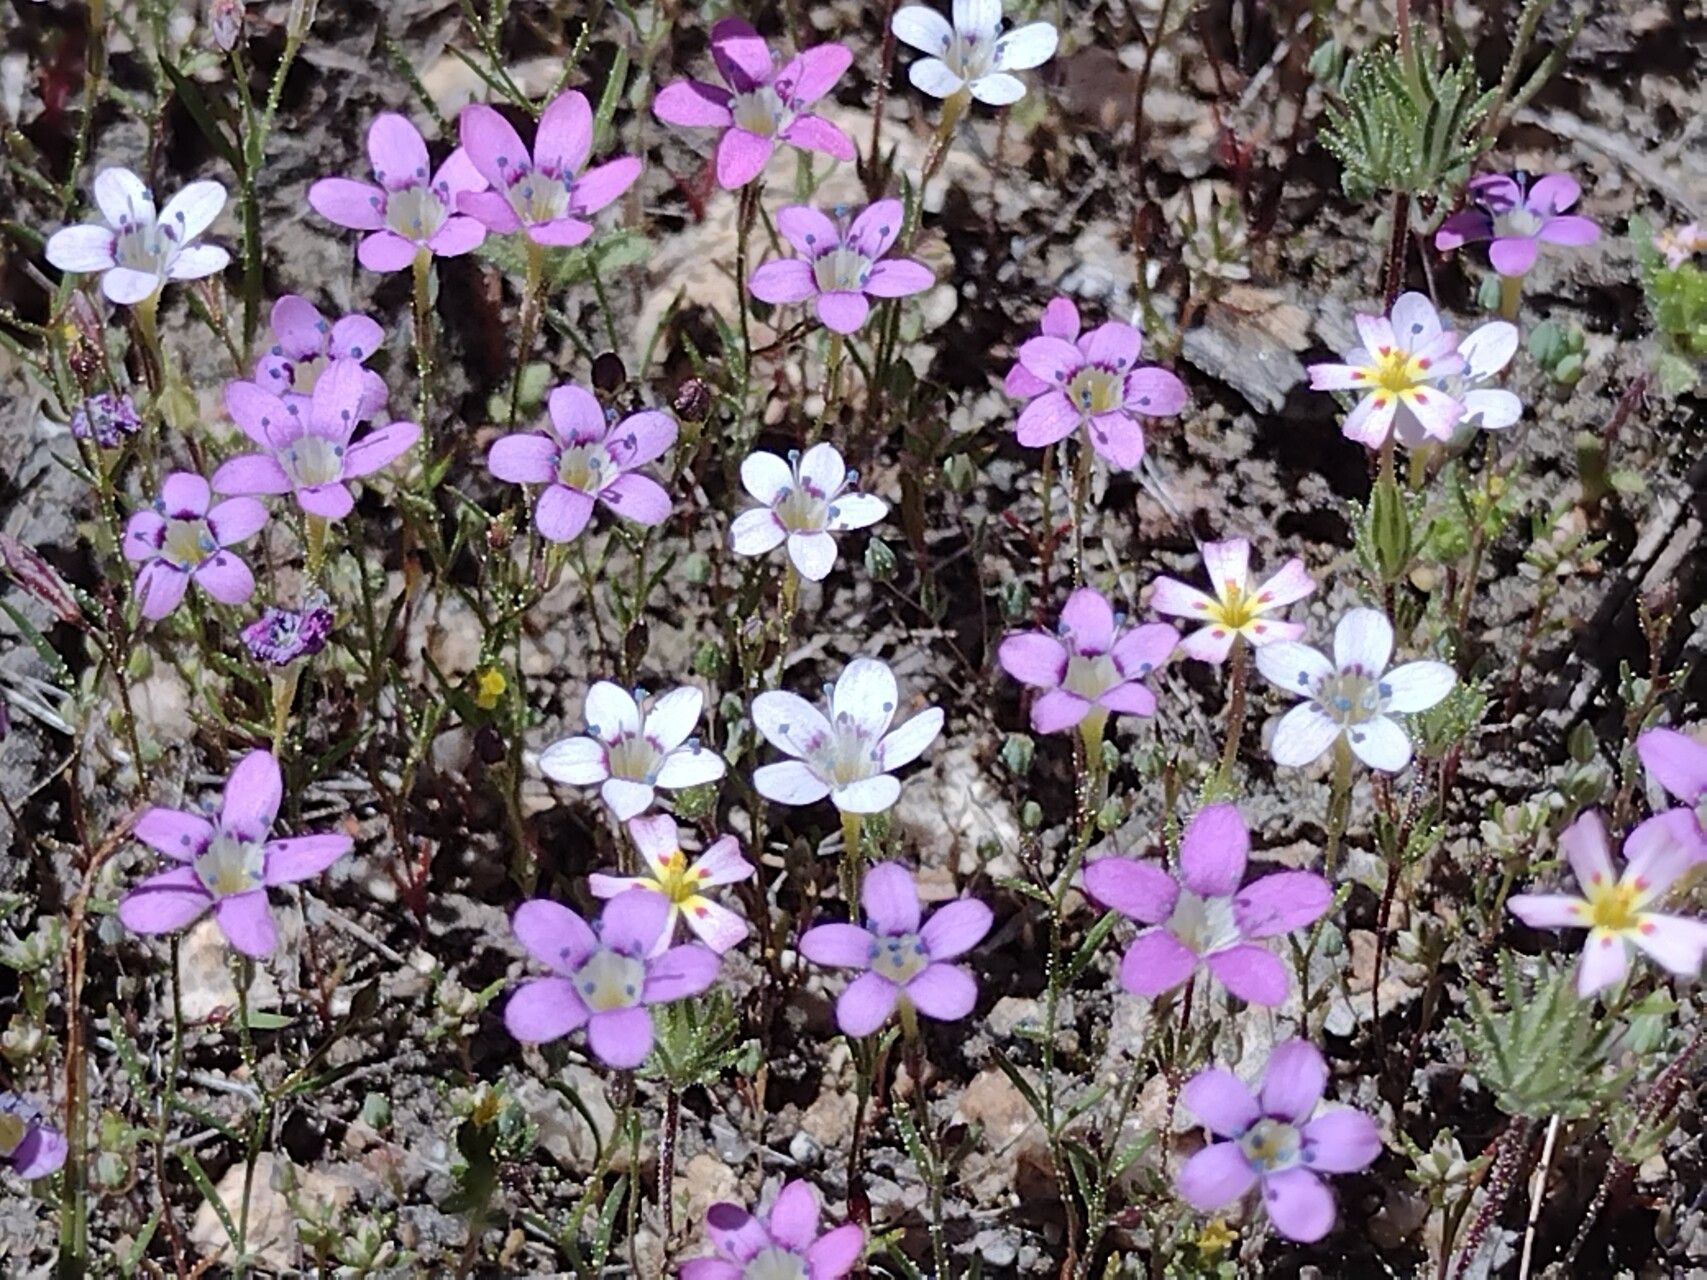
Oh, hello there! Pull up a chair and let’s chat. Today, we’re diving into the wonderful world of a truly charming wildflower: Navarretia leptalea. If you’ve ever spotted this beauty gracing a meadow or a well-curated native garden, you’ll know its subtle allure. Its delicate, often blue, star-shaped flowers are simply captivating, and there’s a special kind of joy in coaxing new life from an established plant. For those of you just dipping your toes into the gardening pool, I’ll be honest: Navarretia leptalea can be a bit of a challenge. It’s not typically a plant you strike gold with on your first try. But don’t let that deter you! The rewards are immense, and with a little patience and the right approach, you’ll be celebrating your own little clumps of this native gem.
The Best Time to Start
When it comes to getting started with Navarretia leptalea, the late spring to early summer is your golden window. This is when the plant is really hitting its stride, putting out vigorous new growth. You want to take cuttings when the stems are firm and semi-hardwood – not so floppy and green that they’ll wilt instantly, but not so woody that they’re tough to root. Think of it like this: the plant is full of energy and ready to share it.
Supplies You’ll Need
Gathering your tools beforehand makes the whole process so much smoother. Here’s what I usually have on hand:
- Sharp Pruning Shears or a Craft Knife: Clean cuts are crucial for preventing disease and encouraging rooting.
- Small Pots or Seed Starting Trays: With good drainage holes, of course!
- Well-Draining Potting Mix: I love a mix of about two parts perlite or sharp horticultural sand to one part peat moss or coco coir. This ensures excellent aeration and prevents soggy conditions, which these plants loathe.
- Rooting Hormone (Optional but Recommended): A powder or gel can give your cuttings a little boost.
- Clear Plastic Bags or a Propagation Dome: To create a humid microclimate.
- Watering Can with a Fine Rose: For gentle watering.
Propagation Methods
For Navarretia leptalea, I’ve found the most success with stem cuttings. It’s a reliable method for this plant.
Step-by-Step Stem Cuttings:
- Take Your Cuttings: Gently select healthy stems that are about 3-5 inches long. Using your sharp shears or knife, make a clean cut just below a leaf node (where a leaf attaches to the stem). This is where the magic hormones are concentrated.
- Prepare the Cuttings: Carefully remove any lower leaves that would be below the soil line. If your cuttings have more than a couple of sets of leaves at the top, you can pinch off the top two or three leaf sets to reduce water loss.
- Apply Rooting Hormone (If Using): Dip the cut end of each stem into your rooting hormone, tapping off any excess.
- Plant Your Cuttings: Fill your pots or trays with the prepared potting mix. Make a small hole with a pencil or your finger, and gently insert the cut end of the stem. Firm the soil around the stem to ensure good contact. You can usually fit several cuttings in one pot, leaving a little space between them.
- Water Gently: Water thoroughly but gently to settle the soil around the cuttings. You don’t want to dislodge them.
- Create Humidity: This is key! Cover the pots with a clear plastic bag, making sure it doesn’t directly touch the leaves if possible, or use a propagation dome. This traps moisture and creates a mini-greenhouse effect. Place them in a bright location, but out of direct, hot sun – the leaves can scorch easily.
The “Secret Sauce” (Pro Tips)
Okay, time for a couple of my little tricks that have helped me out over the years:
- Don’t Let Leaves Touch the Water (if doing water propagation): While stem cuttings direct into soil are my go-to for Navarretia leptalea, if you do decide to try water propagation (which is trickier with this plant), remember: any leaves submerged in water will rot, taking your cutting down with them. It’s a sure-fire way to invite trouble.
- Bottom Heat is Your Friend: If you have it, using a seedling heat mat underneath your pots dramatically speeds up root development. This mimics the warm soil of summer and gives your cuttings a real head start. It’s not essential, but it’s a game-changer for trickier propagations.
- Sterilize Everything: It might sound obsessive, but cleanliness prevents a world of problems. Make sure your pots, tools, and even your hands are clean before you start. This minimizes the risk of fungal diseases and bacteria setting up shop.
Aftercare & Troubleshooting
Once your cuttings have been planted, the waiting game begins. Keep the soil consistently moist but never waterlogged. Check the humidity under your plastic cover regularly; you might need to open it for a few minutes each day to allow for air circulation and prevent fungal issues.
You’ll know your cuttings are rooting when you see new leaf growth or feel a gentle resistance when you lightly tug on the stem. This usually takes anywhere from 4 to 8 weeks, sometimes longer. Be patient!
The most common sign of failure is wilting and mushy stems, which usually indicates rot. This is often due to overwatering, poor drainage, or a lack of air circulation. If you see this, unfortunately, it’s best to discard the affected cuttings and start again, paying closer attention to your watering and soil aeration.
A Wrap-Up
Propagating Navarretia leptalea is akin to coaxing a shy woodland creature out of its shell – it requires a gentle hand and a bit of whispered encouragement. Don’t be discouraged if your first attempts aren’t perfect. Every gardener has had their share of “failures” – we just call them learning experiences! Enjoy the process, observe your cuttings, and celebrate each tiny leaf that unfurls. Happy propagating!
Resource: