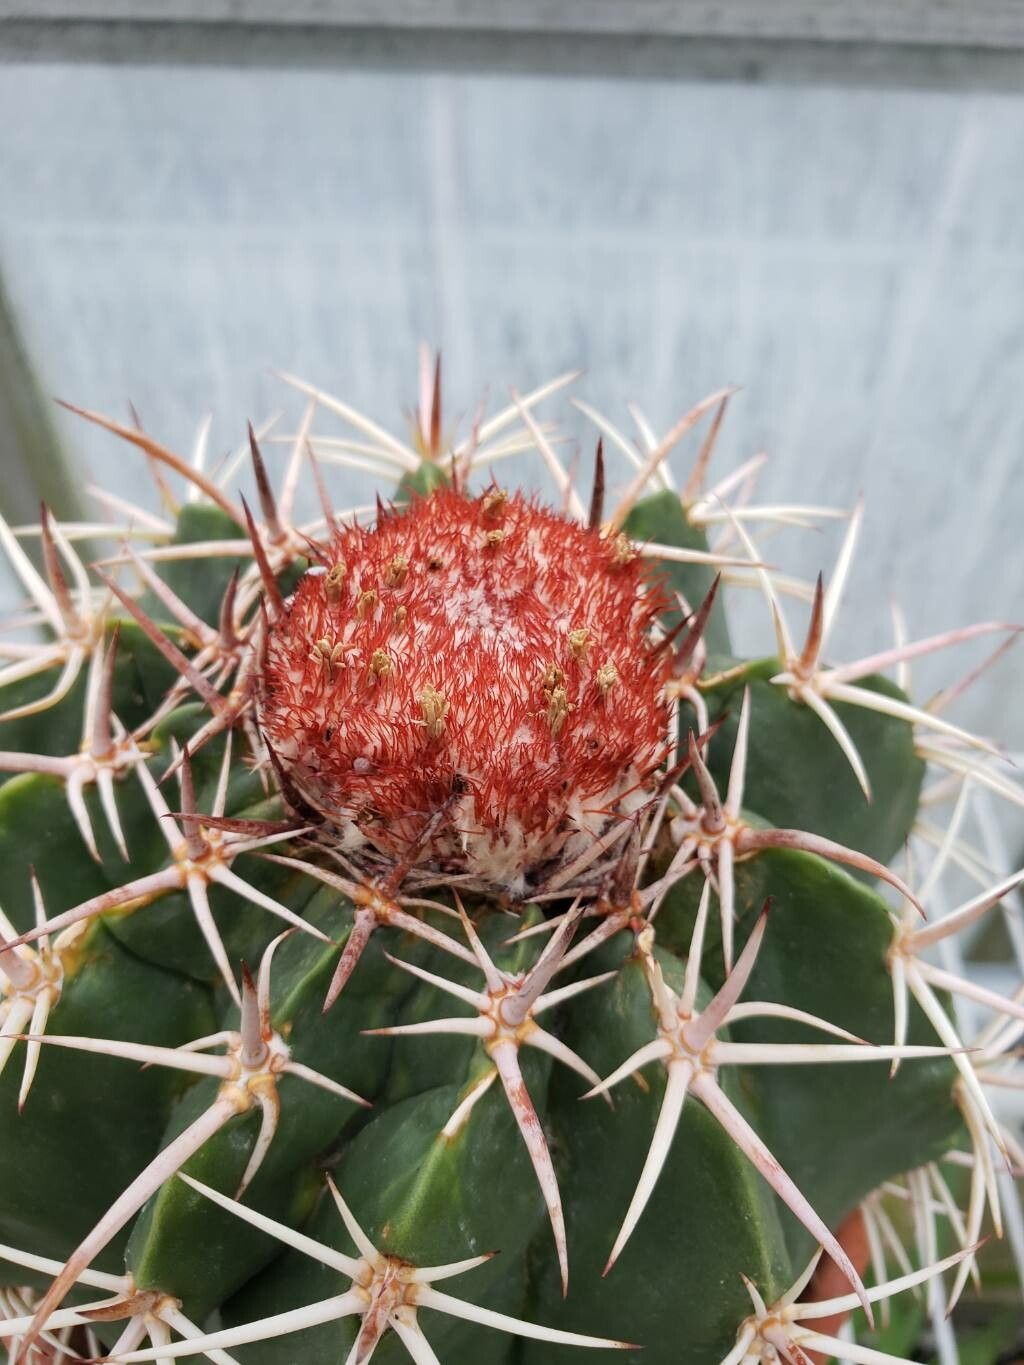
Hello fellow plant lovers! Today, we’re diving into the wonderful world of propagating Melocactus zehntneri, often called the Azure Cactus. This stunning cactus, with its beautiful blue-green body and that distinctive cephalium (the fuzzy red crown), is a real prize in any collection. Trust me, nurturing a brand new one from a cutting feels incredibly rewarding. While it’s not the absolute easiest plant to start for a complete beginner, with a little care and patience, you’ll find propagating these beauties to be a genuinely enjoyable and successful endeavor.
The Best Time to Start
For Melocactus zehntneri, spring and early summer are your golden windows. This is when the plant is actively growing, and the warmer temperatures and longer daylight hours give your cuttings the best chance to root. Aim to take cuttings from healthy, mature stems that have just finished a growth spurt.
Supplies You’ll Need
Here’s what you’ll want to have on hand before you begin:
- Sharp, sterile pruning shears or a clean knife: To make clean cuts. Sterilize with rubbing alcohol between cuts!
- Rooting hormone (optional but recommended): This really helps give your cuttings a boost.
- Well-draining potting mix: I like a blend of equal parts perlite, coarse sand, and cactus/succulent potting soil. A little horticultural charcoal mixed in is also a good idea.
- Small pots or trays: Enough to hold your cuttings. Make sure they have drainage holes.
- Gloves: Cacti spines can be a nuisance!
- Watering can with a fine spray or a spray bottle: For gentle watering.
Propagation Methods
Let’s get our hands dirty! The most effective way to propagate Melocactus zehntneri is through stem cuttings.
- Take Your Cutting: Using your sterile shears or knife, carefully make a clean cut from the mother plant. Try to get a piece that is at least 3-4 inches long. Look for a section that is firm and healthy, not soft or mushy.
- Allow to Callus: This is a super important step! Place your cutting on a clean paper towel in a bright, airy spot, away from direct sun, for 2 to 7 days. You’ll see the cut end dry out and form a protective callus. This prevents rot when you plant it. Don’t skip this!
- Apply Rooting Hormone (Optional): Once callused, you can dip the cut end into your rooting hormone powder. Tap off any excess.
- Plant Your Cutting: Fill your small pots with your prepared well-draining mix. Make a small hole in the center with your finger or a pencil. Gently insert the callused end of your cutting into the hole, making sure it’s stable. You can use small rocks or pebbles to prop it up if needed.
The “Secret Sauce” (Pro Tips)
Now for a couple of my favorite little tricks that have worked wonders for me over the years:
- The Bottom Heat Trick: If you can, place your pots on a seedling heat mat. This gentle warmth from below really encourages root development, especially if your room temperature isn’t consistently warm. It’s like giving your cutting a cozy little spa treatment!
- Don’t Rush the Water: After planting, resist the urge to water immediately. Wait at least a day or two. And when you do water, be absolutely sure the soil is dry before watering again. Overwatering is the quickest way to lose a cutting. Think of it as desert conditions – they don’t get soaked every day!
Aftercare & Troubleshooting
Once your cutting is planted and has callused, it’s all about patience and gentle care.
- Light: Place your potted cutting in a bright, indirect light spot. Avoid intense, direct sunlight, which can scorch a fragile new plant.
- Watering: Water sparingly. Wait until the soil is completely dry before watering again. Typically, this might be every 2-4 weeks, depending on your environment. A good test is to stick your finger an inch or two into the soil. If it feels dry, it’s time.
- Signs of Rooting: You’ll know your cutting is happy and rooting when you see new growth appearing from the top or sides. You might also feel a gentle tug when you try to move it slightly (but try not to disturb it too much!). This can take anywhere from a few weeks to a few months.
- Troubleshooting: Rot: The most common issue is rot. If you see the cutting turning mushy, black, or developing soft spots, it’s usually a sign of too much moisture and not enough airflow. If you catch it early, you might be able to cut away the rotted part with your sterile knife and let the remaining healthy portion callus and try again. Ensure your soil is well-draining and that you’re not overwatering.
A Little Encouragement
Propagating succulents, especially cacti, is a journey. There might be a cutting or two that doesn’t make it, and that’s completely normal. The key is to learn from each attempt. Be patient, observe your new little plant, and celebrate every tiny sign of success. Happy propagating!
Resource: