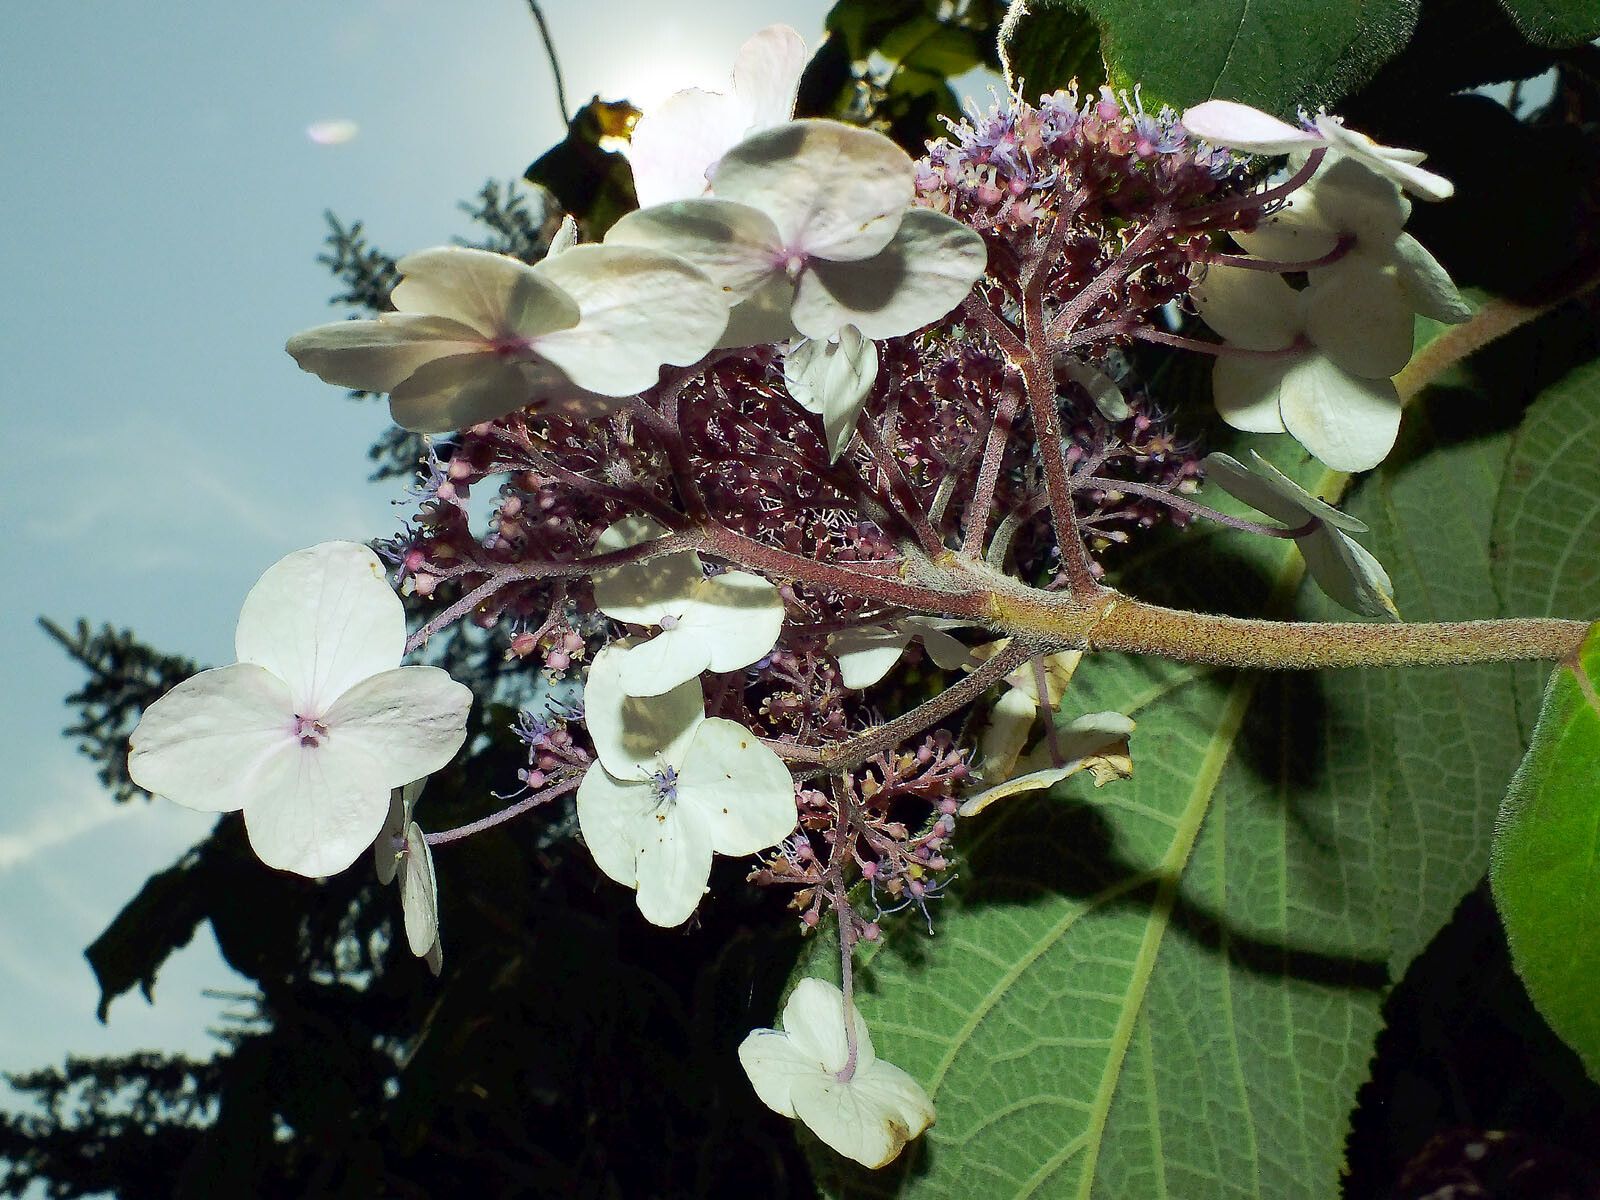
Hello, fellow garden enthusiasts! Today, I want to chat about a truly magnificent hydrangea, one that often stops people in their tracks with its grand scale and beautiful blooms: Hydrangea sargentiana. If you’ve ever admired its generous flower heads and wondered how to get more of this beauty for your own garden, you’re in the right place. Propagating Hydrangea sargentiana is a wonderfully rewarding endeavor. It’s not the simplest plant to start from scratch, but with a little patience and the right approach, I promise you, it’s absolutely achievable for most gardeners. Think of it as a slightly more advanced, but entirely worthwhile, gardening project!
The Best Time to Start
For the highest success rate, I always recommend taking cuttings in mid-summer. This is usually around July or early August, when the new growth has hardened off a bit but is still flexible. You’re looking for stems that are neither brand new and floppy, nor old and woody. They should snap cleanly when bent. This “semi-hardwood” stage is perfect for rooting.
Supplies You’ll Need
Gathering your tools before you begin makes the whole process so much smoother. Here’s what I usually have on hand:
- Sharp Pruning Shears or Knife: Clean cuts are crucial for healthy rooting.
- Rooting Hormone: A good quality rooting powder or gel will significantly speed up the process. I prefer powders, but gels work wonderfully too.
- Potting Mix: A blend of perlite and peat moss (roughly 50/50) is excellent. You want something that drains well but retains a little moisture. A decent quality seed-starting mix will also work.
- Small Pots or Trays: Clean containers with drainage holes are essential. Small cell packs are great for starting multiple cuttings.
- Plastic Bags or Greenhouse Cover: To create a humid environment.
- Watering Can with a Fine Rose: For gentle watering.
- Labels: So you don’t forget what you’ve planted where!
- Bottom Heat Source (Optional but Recommended): A propagator mat can make a big difference.
Propagation Methods: Stem Cuttings
This is my go-to method for hydrangeas, and it works beautifully for H. sargentiana.
- Take Your Cuttings: On a cool morning, select healthy, non-flowering shoots from your established plant. I aim for stems about 4-6 inches long. Using your clean shears or knife, make a cut just below a leaf node (where a leaf attaches to the stem). This node is where much of the magic happens for root formation.
- Prepare the Cuttings: Gently remove the lower leaves, leaving just one or two at the very top. This prevents them from rotting in the soil and reduces water loss. If the remaining leaves are very large, I’ll often snip them in half.
- Apply Rooting Hormone: Dip the cut end of each stem into your rooting hormone, tapping off any excess. This step is really important for encouraging robust root development.
- Pot Them Up: Fill your clean pots or trays with the well-draining potting mix. Make a hole in the center of the mix with your finger or a pencil, and insert the cutting up to its lower leaves. Gently firm the soil around the base.
- Water Gently: Give them a light watering to settle the soil.
- Create Humidity: Cover the pots or trays with a clear plastic bag, securing it around the base with a rubber band, or use a propagator lid. This creates a humid microclimate, which is vital for preventing cuttings from drying out. Make sure no leaves touch the plastic. You can prop the bag up with skewers if needed.
- Find a Good Spot: Place your pots in a bright, indirect light location. Avoid direct sun, which can scorch the young cuttings.
The “Secret Sauce” (Pro Tips)
Over the years, I’ve learned a few tricks that often make all the difference!
- Bottom Heat is Your Friend: If you can manage it, placing your pots on a propagator mat set to a gentle warmth (around 70-75°F or 21-24°C) will dramatically speed up root formation. It tells the plant, “Hey, it’s time to get growing!”
- Keep it Humid, But Not Soggy: While humidity is key, you don’t want your soil to be waterlogged. Mist the leaves occasionally if they look a little limp, and check the soil moisture regularly. If it’s bone dry, water; if it’s constantly soaked, you might have an issue.
- Patience with Airflow: Don’t just seal them up and forget them. Check on your cuttings daily. Once a day, lift the plastic bag for a few minutes to allow for some air circulation. This helps prevent fungal diseases from setting in.
Aftercare & Troubleshooting
You’ll know your cuttings are rooting when you see new leaf growth or feel a gentle resistance when you lightly tug on the stem. This usually takes 4-8 weeks, sometimes longer.
Once roots have formed, slowly acclimate your new plants to normal conditions by gradually opening the plastic bag over a week or two. Continue to keep them moist but not waterlogged.
The most common issue you’ll encounter is rot. If you find your cuttings turning mushy and black, it’s usually a sign of too much moisture and not enough airflow. Unfortunately, once rot sets in, it’s hard to save them. This is why that well-draining soil and good airflow are so crucial. If leaves yellow and drop before any signs of root, they might be getting too much light or drying out too quickly.
A Little Patience, A Lot of Reward
Propagating Hydrangea sargentiana is a journey, not a race. Don’t get discouraged if not every cutting takes. Nature has its own rhythm, and sometimes things just don’t work out. But when you see those tiny roots appearing and a new plant begin to unfurl its first proper leaves, there’s a special kind of joy. Enjoy the process, learn from each attempt, and soon you’ll be rewarded with more of these stunning hydrangeas to share and enjoy! Happy gardening!
Resource:
https://identify.plantnet.org/k-world-flora/species/Hydrangea%20sargentiana%20Rehder/data