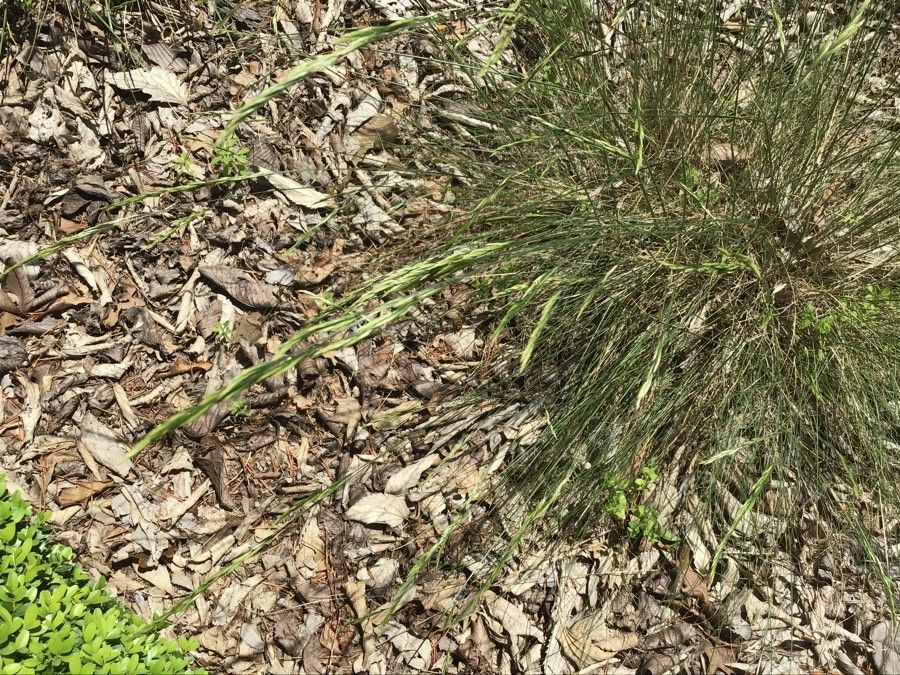
Hey there, fellow plant lovers! Today, we’re diving into the wonderful world of propagating Festuca ampla, also known as Tall Fescue. If you’re a fan of those gorgeous, lush green lawns with that lovely, slightly coarse texture, you’re going to adore this grass. It’s incredibly resilient and adds such a beautiful natural feel to any garden space.
Taking cuttings or dividing this grass is really one of those plant-parenting joys. It’s a fantastic way to expand your own landscape without spending a fortune, and honestly, there’s a deep satisfaction in nurturing a new plant from a piece of an old one. For newcomers to the propagation scene, I’m happy to say Festuca ampla is fairly forgiving. While nothing is guaranteed in gardening, you’ll likely find this process quite rewarding!
The Best Time to Start
For the absolute highest success rate with Festuca ampla, you want to tap into its natural growth spurt. The ideal time is late spring to early summer. This is when the plant is actively growing and has plenty of energy reserves to put into developing new roots. You can also have success with a fall division, but be a bit more mindful of cooler temperatures and give your new divisions ample time to establish before winter.
Supplies You’ll Need
Before we get our hands dirty, let’s gather our tools:
- Sharp Pruning Shears or a Clean Knife: For making clean cuts.
- A Well-Draining Potting Mix: I like to use a mix of equal parts peat moss, perlite, and compost. For division, you might just use your existing garden soil, but amending it helps.
- Rooting Hormone (Optional but Recommended): This gives your cuttings a little boost.
- Small Pots or Seed Trays: For your new babies.
- Watering Can or Spray Bottle: For gentle watering.
- A Dibber or Small Stick: To make planting holes.
- Labels: So you don’t forget what you planted where!
Propagation Methods
Festuca ampla is primarily propagated through division. If you have a mature clump, this is your go-to method.
Division: Giving Your Clumps a New Lease on Life
- Assess Your Plant: Find a healthy, vigorous clump of Festuca ampla. If it’s in a pot, gently slide it out and look at the root ball. If it’s in the ground, you might need to carefully dig around the perimeter.
- Loosen the Roots: This is where the magic happens! Gently tease apart the root ball with your hands. For larger clumps, you might need to use your pruning shears or even a spade to help separate sections. You’re aiming for divisions that have both roots and some leafy growth. Don’t be afraid to get in there – a little separation is exactly what the plant wants!
- Prepare Your New Home: Fill your pots with your prepared potting mix or have your garden bed ready. Make a hole large enough to accommodate the root system of each division.
- Plant Your Divisions: Place each division into the hole, ensuring the crown (where the leaves meet the roots) is at soil level.
- Water Gently: Water thoroughly but gently. You want the soil to be moist, not waterlogged.
The “Secret Sauce” (Pro Tips)
Here are a few little tricks I’ve learned over the years that can really help your Festuca ampla cuttings thrive:
- Don’t Overcrowd: When dividing, give each new piece enough space in its pot or garden bed. They need room to breathe and develop a robust root system without competing too much.
- Embrace the Shade (Initially): While Festuca ampla loves sun once established, newly divided plants are a bit sensitive. Place them in a spot with bright, indirect light for the first week or two. This prevents shock and allows them to focus on root development rather than fighting intense sun.
- The “Firm Up” Trick: After planting your divisions, gently press down the soil around the base of each plant. This helps eliminate air pockets and ensures good contact between the roots and the soil, which is crucial for moisture absorption.
Aftercare & Troubleshooting
Once your Festuca ampla divisions are planted, a little tender loving care goes a long way.
- Watering: Keep the soil consistently moist but not soggy. Check the soil moisture by sticking your finger about an inch deep. If it feels dry, it’s time to water. As the plants become established, you can gradually reduce the frequency.
- Fertilizing: Hold off on heavy fertilizing for a few weeks. Once you see new growth, you can introduce a light, balanced liquid fertilizer every 4-6 weeks.
- Signs of Success: Look for new, vibrant green growth emerging from the center of the clump. This is your signal that roots are forming and the plant is happy.
- Troubleshooting: The most common issue new divisions face is drying out or rot. If the leaves turn yellow and crispy, it’s likely too dry. If they turn brown and mushy, you might be overwatering, leading to rot. If you suspect rot, gently try to separate the affected parts and ensure better drainage.
A Little Patience Goes a Long Way
There you have it! Propagating Festuca ampla through division is a wonderfully accessible way to fill your garden with this beautiful grass. Be patient, observe your new plants, and soon you’ll be admiring your handiwork. Happy gardening!
Resource:
https://identify.plantnet.org/k-world-flora/species/Festuca%20ampla%20Hack./data