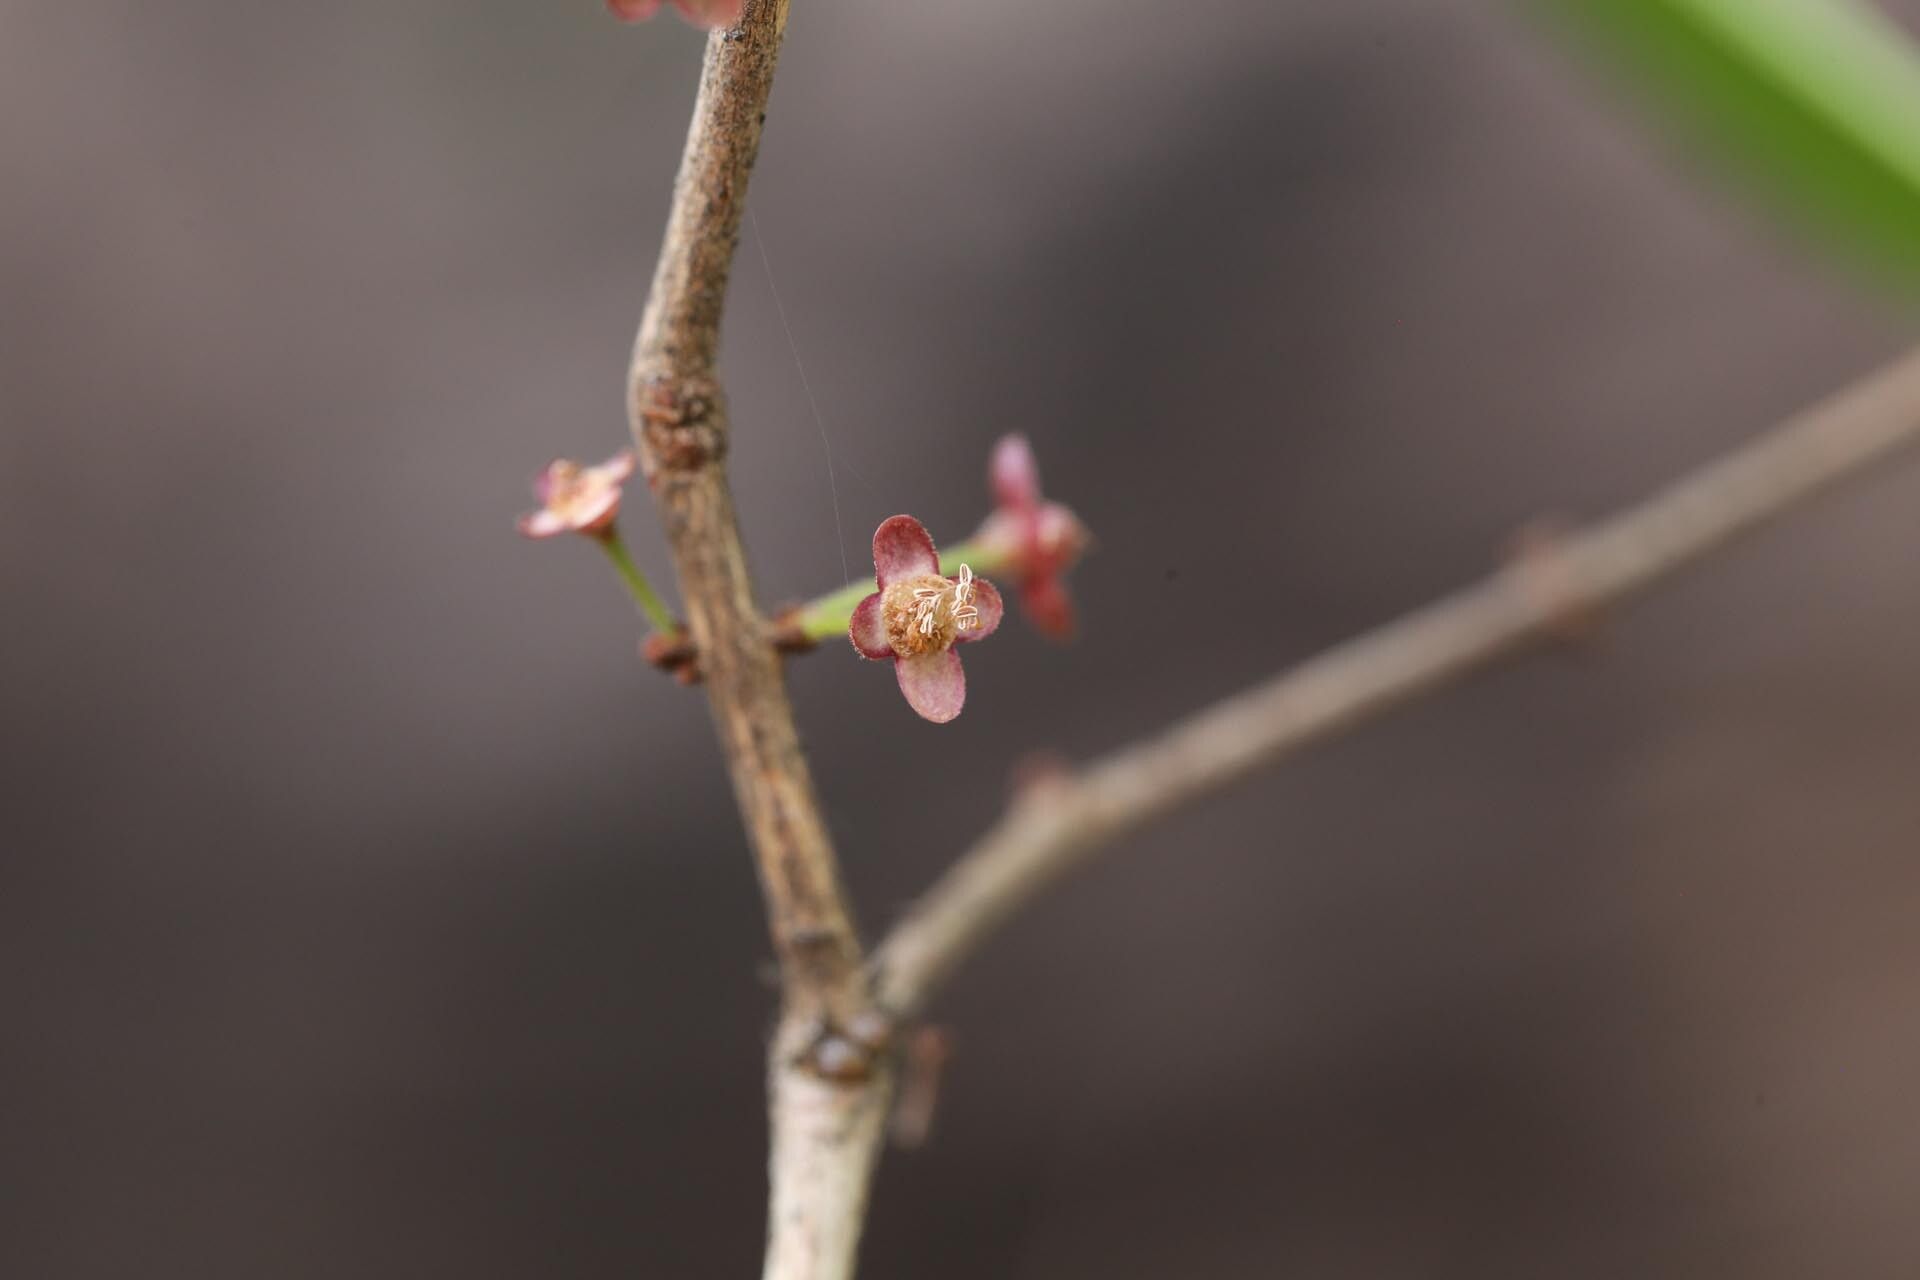
Oh, hello there! Come on in, grab a mug. Today, we’re diving into the wonderful world of Eugenia capensis, sometimes called cape myrtle or forest waterberry. If you’ve ever admired its glossy green leaves and the delicate, almost star-like white flowers that give way to lovely little berries, then you’re in for a treat. Propagating this beauty yourself is incredibly satisfying. Honestly, for most home gardeners, it’s a pretty forgiving plant to work with, which makes it a great choice for those just dipping their toes into propagation.
The Best Time to Start
For the highest chance of success with Eugenia capensis, I like to focus on propagation during its active growing season. This typically means late spring through summer. You want to work with healthy, vigorous new growth. Avoid trying to propagate from branches that look old, woody, or stressed. Think of it as picking the best time for a plant to enthusiastically embrace new beginnings!
Supplies You’ll Need
Here’s what you’ll want to have on hand before you get started:
- Sharp pruning shears or a clean knife: Essential for making clean cuts.
- Rooting hormone (optional but helpful): A powdered or gel form can really give those cuttings a boost.
- Well-draining potting mix: I usually go for a blend of perlite, peat moss, and a good quality potting soil. You can also find specific propagation mixes.
- Small pots or trays: Clean containers are key to preventing disease.
- Plastic bags or a propagation dome: To create a humid environment.
- Watering can or spray bottle: For gentle watering.
- Labels and a pen: To keep track of your projects!
Propagation Methods
Stem cuttings are my go-to method for Eugenia capensis. It’s straightforward and usually yields great results.
- Take Your Cuttings: Select healthy, semi-hardwood stems from your parent plant. Look for branches that are green but have started to firm up a bit. Using your sharp shears or knife, make a clean cut about 4-6 inches long, just below a leaf node (where a leaf attaches to the stem).
- Prepare the Cuttings: Gently remove the lower leaves from the cutting. You want to leave maybe two to four sets of leaves at the top. This reduces water loss and directs the plant’s energy towards root development. If any leaves are very large, I’ll often cut them in half horizontally to further reduce transpiration.
- Apply Rooting Hormone (Optional): Dip the cut end of the stem into your rooting hormone, tapping off any excess.
- Plant Your Cuttings: Fill your clean pots or trays with your well-draining potting mix. Make a hole in the center with your finger or a pencil. Insert the cut end of the Eugenia cutting into the hole, ensuring the leaves are not buried. Gently firm the soil around the stem.
- Create Humidity: Water the soil gently. Then, cover the pots with a clear plastic bag or place them under a propagation dome to maintain high humidity. Make sure the leaves don’t touch the plastic if possible. You can use small stakes to prop up the bag if needed.
- Find a Good Spot: Place your cuttings in a warm spot with bright, indirect light. Avoid direct sun, which can scorch the delicate leaves and dehydrate the cuttings.
The “Secret Sauce” (Pro Tips)
Here are a couple of things I’ve learned over the years that can really make a difference:
- Bottom Heat is Your Friend: Eugenia capensis absolutely loves a bit of warmth from below. If you have a heat mat designed for seedlings or cuttings, using it will significantly speed up root development. It mimics the warmth of spring soil and encourages that rooty magic to happen.
- Don’t Be Afraid to Root Rotting: Seriously! If you see a cutting that looks mushy or has black spots, remove it immediately. Don’t let it contaminate the others. Early detection and removal are crucial. It’s better to lose one than to lose the whole tray.
Aftercare & Troubleshooting
Once you start to see signs of new growth – tiny leaves unfurling at the top or resistance when you gently tug on the cutting – that’s a good indicator that roots have formed.
- Acclimatize Gradually: Slowly begin to ventilate the plastic bag or dome over a week or two. This allows your new plant to adjust to lower humidity levels before you fully remove the cover.
- Continue Watering: Keep the soil consistently moist but never waterlogged. Overwatering is the quickest way to invite root rot, which is often indicated by wilting despite the soil being wet, or a foul smell from the pot. If you see this, it’s usually too late to save that particular cutting.
- Gentle Fertilizing: Once your plant is clearly established and showing active new growth, you can start with a diluted liquid fertilizer every few weeks.
A Little Patience Goes a Long Way
Propagating plants is a journey, not a race. Some cuttings will take off, others might falter. Don’t get discouraged if every single one doesn’t make it. Celebrate the successes, learn from any setbacks, and most importantly, enjoy the process of nurturing new life from a piece of your favorite Eugenia. Happy gardening!
Resource: