Oh, hello there! Come on in, grab a mug. I’m so glad you’re here. Today, we’re diving into something truly special: propagating Erythrina fusca, or the Coral Tree, as it’s often called. I’ve spent years with these beauties, and trust me, coaxing a new life from them brings a special kind of joy.
The Allure of the Coral Tree
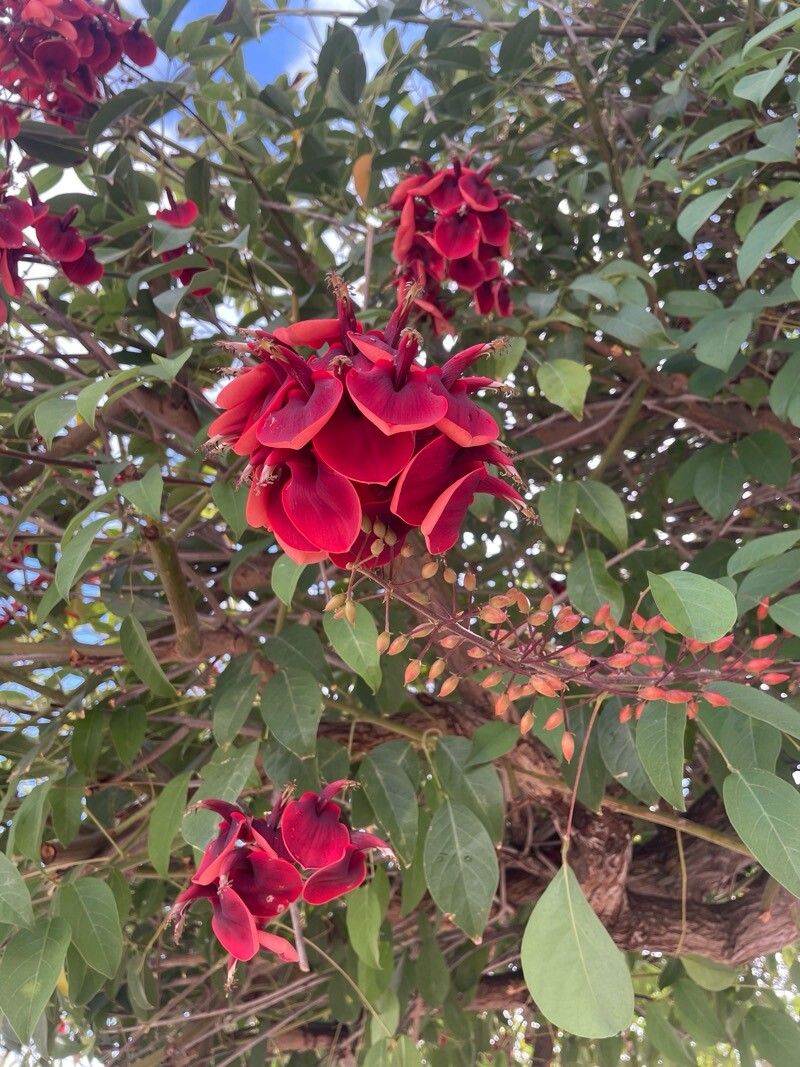
Erythrina fusca is just stunning. Those fiery coral-red blooms in late winter or early spring? They’re a sight for sore eyes, especially when the rest of the garden is still waking up. And the satisfaction of nurturing a tiny seedling into a mature tree, one that you grew yourself, is simply unparalleled. Now, for beginners, I’d say propagating the Coral Tree leans a little more towards the “challenging but rewarding” side. It’s not as straightforward as a simple houseplant, but with a little patience and the right approach, you can absolutely nail it.
When to Get Your Hands Dirty
The absolute best time to start propagating Erythrina fusca is when they are actively growing, which is typically in late spring or early summer. After the danger of frost has passed and the days are getting longer and warmer, both mature plants and your potential propagation material will be at their most vigorous. This means they’ll have the energy reserves to focus on root development.
Your Essential Toolkit
Here’s what you’ll want to have at the ready:
- Sharp Pruning Shears or a Clean Knife: For making clean cuts. Sterilize them with rubbing alcohol before and after use!
- Rooting Hormone: I personally prefer the powdered kind for stem cuttings of woody plants like this.
- Well-Draining Potting Mix: A good starter mix is key. I like a blend of coarse sand, perlite, and a good quality potting soil. You want it to dry out adequately between waterings.
- Pots or Containers: Small pots or even seed trays will work. Make sure they have drainage holes.
- Watering Can or Spray Bottle: For gentle watering.
- Plastic Bag or Humidity Dome: To maintain moisture around your cuttings.
- Trowel: For scooping your potting mix.
Bringing New Coral Trees to Life: Propagation Methods
We’ll focus on the most reliable methods for Erythrina fusca.
Stem Cuttings: My Go-To
This is probably the most common and effective way to go.
- Select Your Cuttings: In late spring or early summer, look for healthy, semi-hardwood stems that are about the thickness of a pencil. You want stems that have grown this season but have started to firm up a bit. Avoid very soft, new growth or old, woody material.
- Make the Cut: Using your sterilized pruning shears, take cuttings that are 6-8 inches long. Make your cut just below a leaf node (where a leaf attaches to the stem).
- Prepare the Cuttings: Gently strip off any lower leaves, leaving just 2-3 leaves at the very top. If your leaves are particularly large, you can even cut them in half horizontally to reduce water loss.
- Apply Rooting Hormone: Dip the cut end of each cutting into rooting hormone, tapping off any excess.
- Plant Your Cuttings: Fill your pots with your prepared potting mix. Make a pilot hole with a pencil or your finger to avoid rubbing off the rooting hormone. Insert the cuttings, ensuring the nodes where you removed the leaves are buried in the soil. Gently firm the soil around them.
- Water and Cover: Water thoroughly but allow excess to drain. Then, cover the pots with a clear plastic bag or a humidity dome. This creates a mini-greenhouse effect, keeping humidity high.
- Find a Spot: Place them in a bright location out of direct sunlight. Consistent warmth is important.
Seed Propagation: A Patience Game
While cuttings are quicker, growing from seed is also possible, though it can be a bit more hit-or-miss.
- Scarify the Seeds: Erythrina seeds have a hard coat that needs to be broken. You can do this by gently nicking the seed coat with a file or sandpaper, being careful not to damage the embryo inside. Alternatively, you can soak them in hot (not boiling) water for 24 hours.
- Sow the Seeds: Sow them in your well-draining seed starting mix, about 1 inch deep.
- Provide Warmth and Moisture: Keep the soil consistently moist and warm. A heated propagator is ideal for this.
- Be Patient: Germination can take anywhere from a few weeks to a few months.
The “Secret Sauce” (Insider Tips from My Garden)
I’ve learned a few tricks over the years that really seem to give cuttings a boost.
- Bottom Heat is Your Friend: For stem cuttings, placing your pots on a seedling heat mat makes a world of difference. It encourages root development from the bottom up, mimicking the warmth of summer soil and significantly increasing your success rate. I rarely skip this step.
- Don’t Let Those Leaves Drip: When you water your covered cuttings, be mindful that the leaves don’t touch the inside of the plastic bag. If they do, the moisture can lead to fungal diseases and rot, which is the last thing you want. Gently adjust the plastic if needed.
- Air Them Out: For those cuttings tucked away in their plastic domes, open them up for a few minutes every day or every other day. This allows for fresh air circulation and helps prevent fungal issues. It’s a small step that can prevent big problems.
Babying Your Sprouts: Aftercare & Troubleshooting
Once those little roots start to form, it’s time for a new phase. You’ll know they’re rooting when you feel slight resistance if you gently tug on a cutting, or if you see new leaf growth.
- Acclimation: When you see good root development (usually after 4-8 weeks), start gradually acclimating your plants to normal humidity. This means taking the plastic bag off for longer periods each day before removing it entirely.
- Repotting: Once acclimatized, you can repot them into slightly larger pots with fresh, but still well-draining, potting mix. Continue to keep them in bright, indirect light.
- Watering: Water them when the top inch or so of soil feels dry. It’s better to err on the side of underwatering than overwatering at this stage.
Troubleshooting: The most common issue you’ll face is rot. If your cuttings look yellow, mushy, or completely wilted and black at the base, it’s likely rot. This is often caused by too much moisture, poor drainage, or lack of air circulation. If you catch it early, you might be able to salvage a healthy section of the stem and try again, but often, it’s a sign that the cutting wasn’t successful. Don’t be discouraged! It happens to all of us.
A Little Bit of Magic
Watching a new plant emerge is, in my opinion, one of gardening’s greatest magic tricks. Propagating Erythrina fusca might take a bit of nurturing, but the rewards are so worth it. Remember to be patient, observe your plants closely, and don’t be afraid to experiment. You’ve got this. Happy growing!
Resource:
https://identify.plantnet.org/k-world-flora/species/Erythrina%20fusca%20Lour./data