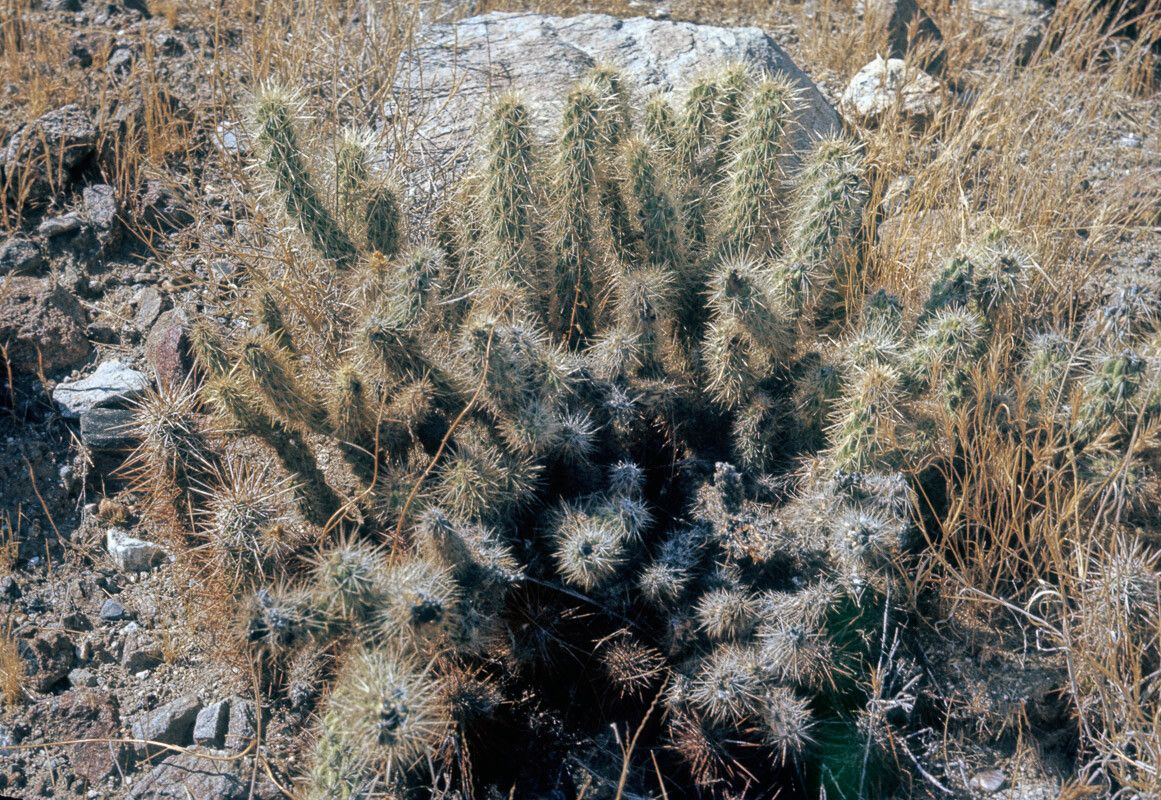
Oh, hello there! Come on in, grab a mug of something warm. Today, I want to chat about a cactus that’s captured my heart over the years: the Cylindropuntia ganderi. You know, the one with those cute, segmented stems that really give it character? Propagating these beauties is incredibly rewarding. It’s like watching a little piece of magic unfold right before your eyes. And good news for those just starting out: I find Cylindropuntia ganderi to be quite forgiving, a great plant to begin your propagation journey with.
The Best Time to Start
For the best results when propagating Cylindropuntia ganderi, I always reach for my pruning shears in the warm months of spring and early summer. This is when the plant is actively growing and has the energy to put out new roots. Waiting until after the last frost, but before the intense heat of mid-summer, is usually your sweet spot.
Supplies You’ll Need
Before we get our hands in the dirt (or rather, sand!), let’s gather our tools. You’ll want:
- Sharp, clean pruning shears or a knife: For making clean cuts.
- Well-draining potting mix: A cactus and succulent mix is perfect. You can also make your own by combining potting soil with perlite or coarse sand.
- Gloves: Those spines can be persistent!
- A rooting hormone (optional but helpful): Available at most garden centers.
- Small pots or trays: Something with drainage holes is a must.
- A watering can or spray bottle: For gentle watering.
- Newspaper or cardboard: To handle the segments without getting pricked.
Propagation Methods
The most straightforward way to multiply your Cylindropuntia ganderi is through stem cuttings. It’s wonderfully effective.
-
Harvesting Your Cuttings: Using your clean shears, carefully select a healthy pad or segment from your parent plant. Give it a gentle twist or cut at a joint where two segments meet. Don’t be shy; a single pad can often be enough to get a new plant going. The key is to make a clean cut.
-
Callousing Time: This is crucial for cacti and succulents! Before planting, you need to let the cut end dry out and form a callus. Place your cuttings in a dry, airy spot away from direct sun for a few days, or even a week. You’ll see the cut end turn a bit yellowish and firm up. This prevents rot when you plant them.
-
Planting the Cuttings: Once calloused, it’s time to plant. Dip the calloused end into your rooting hormone if you’re using it. Then, gently insert the cut end about an inch or so into your prepared well-draining potting mix. You can place several cuttings in one pot, just make sure they have a little space.
-
Initial Watering: After planting, wait a few days before watering. This gives the cutting another chance to settle in without immediate moisture. When you do water, do so sparingly. You want the soil to be barely moist, not soggy.
The “Secret Sauce” (Pro Tips)
Here are a few little tricks I’ve learned over the years that can really boost your success:
- Bottom Heat is Your Friend: If you can, pop your pots onto a seedling heat mat. Cacti absolutely love a bit of warmth at their base, and it significantly speeds up root development. You don’t need it scorching hot, just a gentle warmth.
- Talk to Them (Optional, but it doesn’t hurt!): Honestly, a little bit of cheerful talk and encouragement can’t hurt. But more practically, avoid letting new cuttings sit in standing water. Rot is the enemy, and this is the quickest way to invite it.
- Think “Dry” First: Remember, these are desert dwellers. They’re built to survive drought. So, when you’re starting them, it’s always better to err on the side of underwatering. They’ll tell you if they’re stressed by eventually plumping up with roots.
Aftercare & Troubleshooting
Once you start seeing signs of life – perhaps a slight swelling at the base, or even tiny new growth – it’s time to adjust your watering. You can slowly increase the frequency, but always let the soil dry out completely between waterings. New plants are still delicate, so ease them into brighter light gradually too.
The most common issue you’ll encounter is rot. If a cutting turns mushy, black, or slimy, it’s likely rotted. Remove it immediately to prevent it from spreading. This usually happens from overwatering or not allowing the cutting to callus properly. Don’t despair if one or two don’t make it; it’s part of the learning process!
A Encouraging Closing
There you have it! Propagating Cylindropuntia ganderi is a joy. Be patient with your new cuttings. Sometimes it takes a few weeks, or even a couple of months, for roots to establish. Just keep them in a warm, bright spot with that well-draining soil, and you’ll be rewarded. Enjoy the journey, and happy gardening!
Resource: