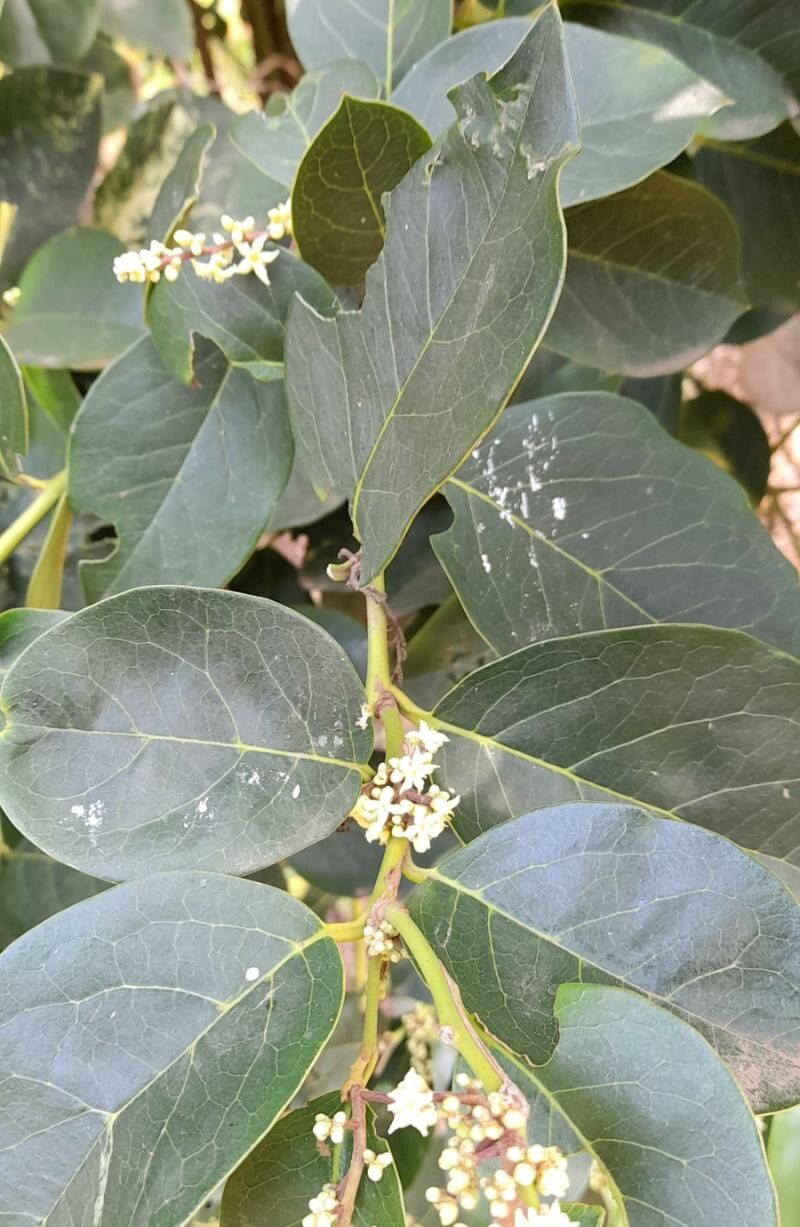
Oh, hello there, fellow plant lover! So, you’ve got your eye on Citronella mucronata, have you? That’s a fantastic choice! Those lovely, fragrant leaves are just delightful, aren’t they? They bring such a wonderful scent to the garden, and who doesn’t appreciate a bit of natural bug deterrent? Plus, the joy of watching a tiny cutting transform into a thriving new plant is truly special. And the good news? Propagating Citronella mucronata is definitely achievable, even for those new to the plant parenting game. We’ll get you started with all the tips and tricks!
The Best Time to Start
For the highest success rate, I always aim to take cuttings in late spring or early summer. This is when the plant is actively growing and has plenty of energy to put into developing new roots. You want to select stems that are somewhat mature but still pliable – not woody, but not so soft that they wilt instantly. Think of it like a happy medium.
Supplies You’ll Need
Gathering your tools beforehand makes the whole process so much smoother. Here’s what I usually have on hand:
- Sharp pruning shears or a clean, sharp knife: Essential for making clean cuts to prevent damage and disease.
- Rooting hormone powder or gel: This isn’t strictly necessary for Citronella mucronata, as they can often root on their own, but it gives them a wonderful boost and increases your success rate.
- Well-draining potting mix: A good blend for this purpose is usually one part perlite or coarse sand to two parts potting soil. You want something that won’t hold too much moisture.
- Small pots or propagating trays: Clean containers are key to preventing fungal issues.
- Plastic bags or a clear propagation dome: To create a humid environment for the cuttings.
- Watering can or spray bottle: For gentle watering.
Propagation Methods
Let’s get our hands dirty! Stem cuttings are by far the most common and effective way to propagate Citronella mucronata.
Stem Cuttings Method:
- Select and Cut: Find a healthy stem on your mature Citronella mucronata. Using your sharp shears or knife, take cuttings that are about 4-6 inches long. Aim to make the cut just below a leaf node (where a leaf attaches to the stem).
- Prepare the Cutting: Gently remove the lower leaves from the cutting. You want to expose at least a couple of leaf nodes.
- Apply Rooting Hormone (Optional but Recommended): Dip the cut end of the stem into your rooting hormone powder or gel. Tap off any excess.
- Plant the Cuttings: Fill your small pots or trays with your well-draining potting mix. Make a small hole in the center with your finger or a pencil, and gently insert the cutting, ensuring at least two leaf nodes are below the soil surface. Firm the soil gently around the stem.
- Water Gently: Water thoroughly but gently, making sure the soil is evenly moist.
- Create Humidity: Cover the pot or tray with a plastic bag (propped up with skewers so it doesn’t touch the leaves) or a clear propagation dome. This creates a mini-greenhouse effect, keeping the cuttings from drying out while they root.
- Place in Bright, Indirect Light: Find a warm spot for your cuttings that receives bright, indirect sunlight. Avoid direct sun, which can scorch the delicate new growth.
Water Propagation (Another Option):
If you prefer to see the roots develop, water propagation is also an option.
- Prepare Cuttings: Follow steps 1 and 2 above for preparing your stem cuttings.
- Place in Water: Fill a clean jar or glass with water and place the cuttings in it. Crucially, make sure no leaves are submerged in the water. Leaves left in the water will rot and can potentially kill your cutting.
- Change Water Regularly: Change the water every few days to keep it fresh and prevent bacterial growth.
- Wait for Roots: You should start to see small white roots emerging from the leaf nodes within a few weeks. Once the roots are about an inch long, you can carefully transplant them into your well-draining potting mix as described in step 4 of the stem cutting method.
The “Secret Sauce” (Pro Tips)
Here are a couple of little things I’ve learned over the years that can really make a difference:
- The Power of Bottom Heat: If you have a heating mat designed for seedlings, placing your pots on it can significantly speed up root development. The gentle warmth encourages those roots to sprout faster.
- Don’t Be Afraid to Pinch: Once your cuttings have started to show signs of growth (new leaves!), gently pinch off the very tip of the main stem. This encourages the plant to branch out, resulting in a bushier, more robust plant rather than a leggy one.
Aftercare & Troubleshooting
Once you see new leaves unfurling and feel a gentle resistance when you tug lightly on the cutting (meaning roots have formed!), it’s time to treat it like a young plant.
- Gradually Acclimate: Slowly remove the plastic bag or dome over a few days to help the plant adjust to less humid conditions.
- Water Wisely: Water when the surface of the soil feels dry to the touch. Avoid overwatering, as this is the quickest way to invite rot.
- Fertilize Lightly: Once the plant is established and showing good new growth, you can start feeding it with a diluted liquid fertilizer about once a month during the growing season.
Common Signs of Failure:
- Wilting and Crispy Leaves: This usually means the cutting dried out too much. Ensure the humidity is maintained and the soil is kept consistently moist (but not soggy).
- Mushy, Brown Stems: This is a classic sign of rot, most often caused by overwatering and poor drainage. If you see this, it’s usually too late for that particular cutting. Start over with fresh cuttings and ensure good airflow and less moisture.
A Encouraging Closing
Don’t be discouraged if you have a few failures along the way. Every gardener has them! The key is to be patient, observe your plants, and learn from each experience. Propagating Citronella mucronata is a rewarding journey, and soon you’ll have a little army of these fragrant beauties to share or enjoy yourself. Happy growing!
Resource: