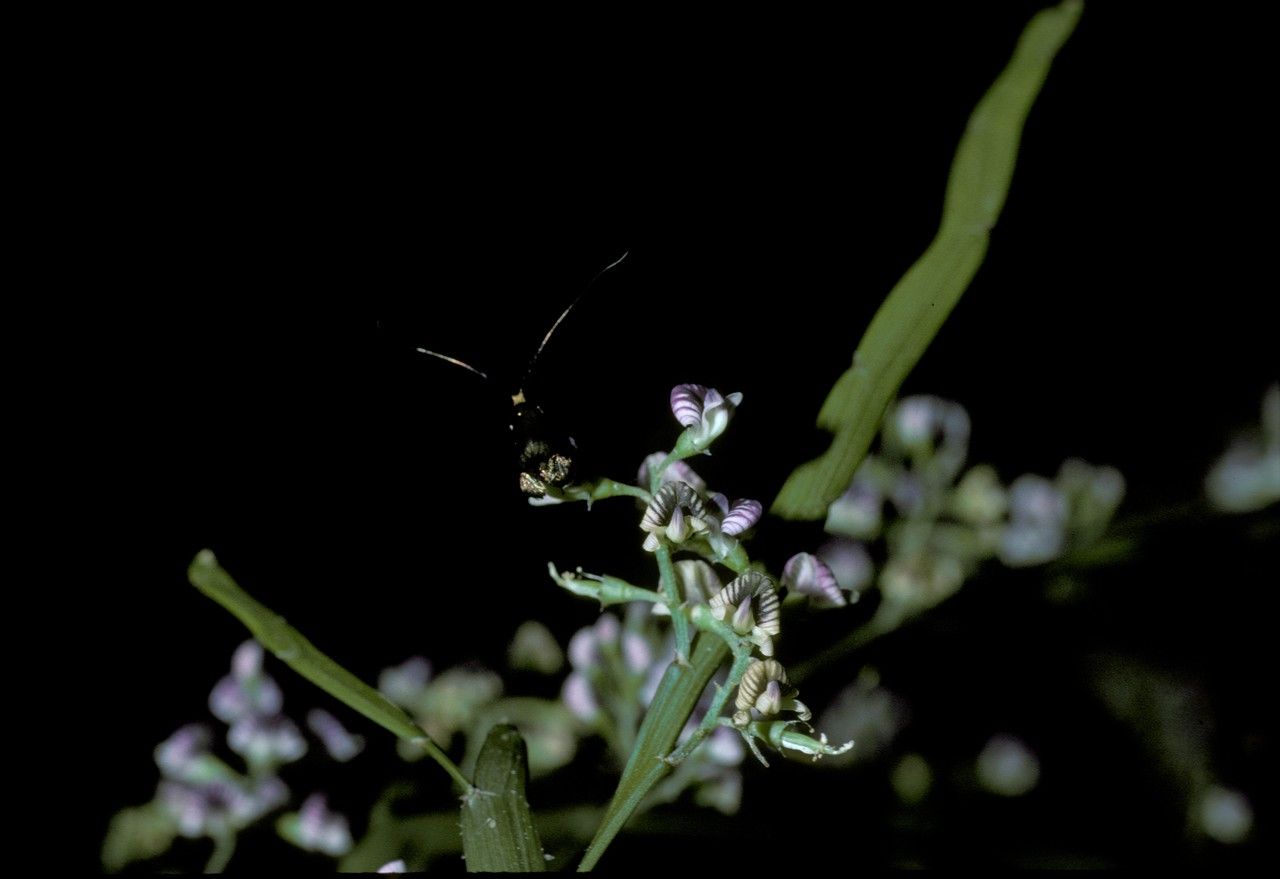
Hello, fellow plant lovers! Today, I want to talk about a gem in many New Zealand gardens: Carmichaelia australis, or native broom as it’s often called. This lovely plant, with its delicate sprays of pea-like flowers, can really bring a touch of wild charm to any space. It’s a fantastic fixer-upper for tricky slopes or coastal spots.
Honestly, propagating Carmichaelia australis is a wonderfully rewarding journey. You get to witness new life spring from a single stem! For beginners, I’d rate it as moderately easy. It doesn’t require overly fussy conditions, but it does appreciate a bit of tender loving care.
The Best Time to Start
My best advice is to take cuttings in the early to mid-summer. This is when the plant is actively growing, and the wood is what we call ‘semi-hardwood’. It’s not too soft and floppy like new spring growth, nor is it completely woody and mature. You’ll find these cuttings are often the most successful.
Supplies You’ll Need
Here’s what you’ll want to have on hand:
- Sharp pruning shears or a clean knife: For making those precise cuts.
- Seedling trays or small pots: For your cuttings to root in.
- A well-draining potting mix: I love a blend of equal parts perlite, peat moss, and coarse sand. This gives good aeration and prevents waterlogging.
- Rooting hormone powder or gel: This is a real confidence booster. It helps those stems develop roots faster.
- A plastic bag or propagation lid: To create a mini-greenhouse effect.
- Watering can or spray bottle: For gentle misting.
Propagation Methods
The most reliable way I’ve found to get new Carmichaelia plants going is through stem cuttings. Here’s how I do it:
- Select your parent plant: Find a healthy, vigorous Carmichaelia australis. Look for stems that have developed a bit but are still flexible.
- Take the cuttings: Using your clean shears, cut lengths of stem about 10-15 cm long. Make the cut just below a leaf node (where a leaf joins the stem). Try to get a few of these nodes on each cutting.
- Prepare the cuttings: Gently remove the lower leaves, leaving just a couple at the very top. This reduces water loss and prevents leaves from rotting in the soil.
- Apply rooting hormone: Dip the cut end of each stem into your rooting hormone. Tap off any excess.
- Pot them up: Fill your small pots with your prepared potting mix. Make a little hole with a pencil or your finger and gently insert the cut end of the stem. Firm the soil gently around it.
- Water them in: Give them a good, gentle watering. You want the soil to be moist but not soggy.
- Create a humid environment: Cover the pots with a clear plastic bag or a propagation lid. This traps moisture, which is crucial for the cuttings to avoid drying out before they can root.
The “Secret Sauce” (Pro Tips)
Now, a couple of things I’ve learned over the years that can really make a difference:
- Don’t let the leaves touch the water: If you are attempting water propagation (though I find cuttings in soil more successful for Carmichaelia), make sure absolutely none of the leaves are submerged. They will just rot.
- Bottom heat is your friend: If you have a heat mat you use for seed starting, placing your cuttings on it can significantly speed up the rooting process. The gentle warmth encourages root development.
- Cleanliness is key: Always ensure your tools are clean. This prevents the spread of any diseases that could harm your cuttings.
Aftercare & Troubleshooting
Once your cuttings are potted, place them in a bright spot out of direct sunlight. Keep the soil consistently moist, but never waterlogged. You’ll know your cuttings are rooting when you see new growth emerging from the top or feel a gentle resistance when you try to pull the stem lightly. This can take anywhere from 4-8 weeks, so be patient!
The most common issue you might encounter is rot. If your cuttings turn black and mushy, it’s usually a sign of too much moisture and not enough air circulation. If you see any signs of this, remove the affected cuttings immediately and ensure good drainage for the rest.
A Little Encouragement
So there you have it! Propagating Carmichaelia australis is a straightforward process with a little patience. Enjoy the process of nurturing these tiny shoots, and before you know it, you’ll have a whole new fleet of these delightful native beauties to share or plant in your own garden. Happy growing!
Resource:
https://identify.plantnet.org/k-world-flora/species/Carmichaelia%20australis%20R.Br./data