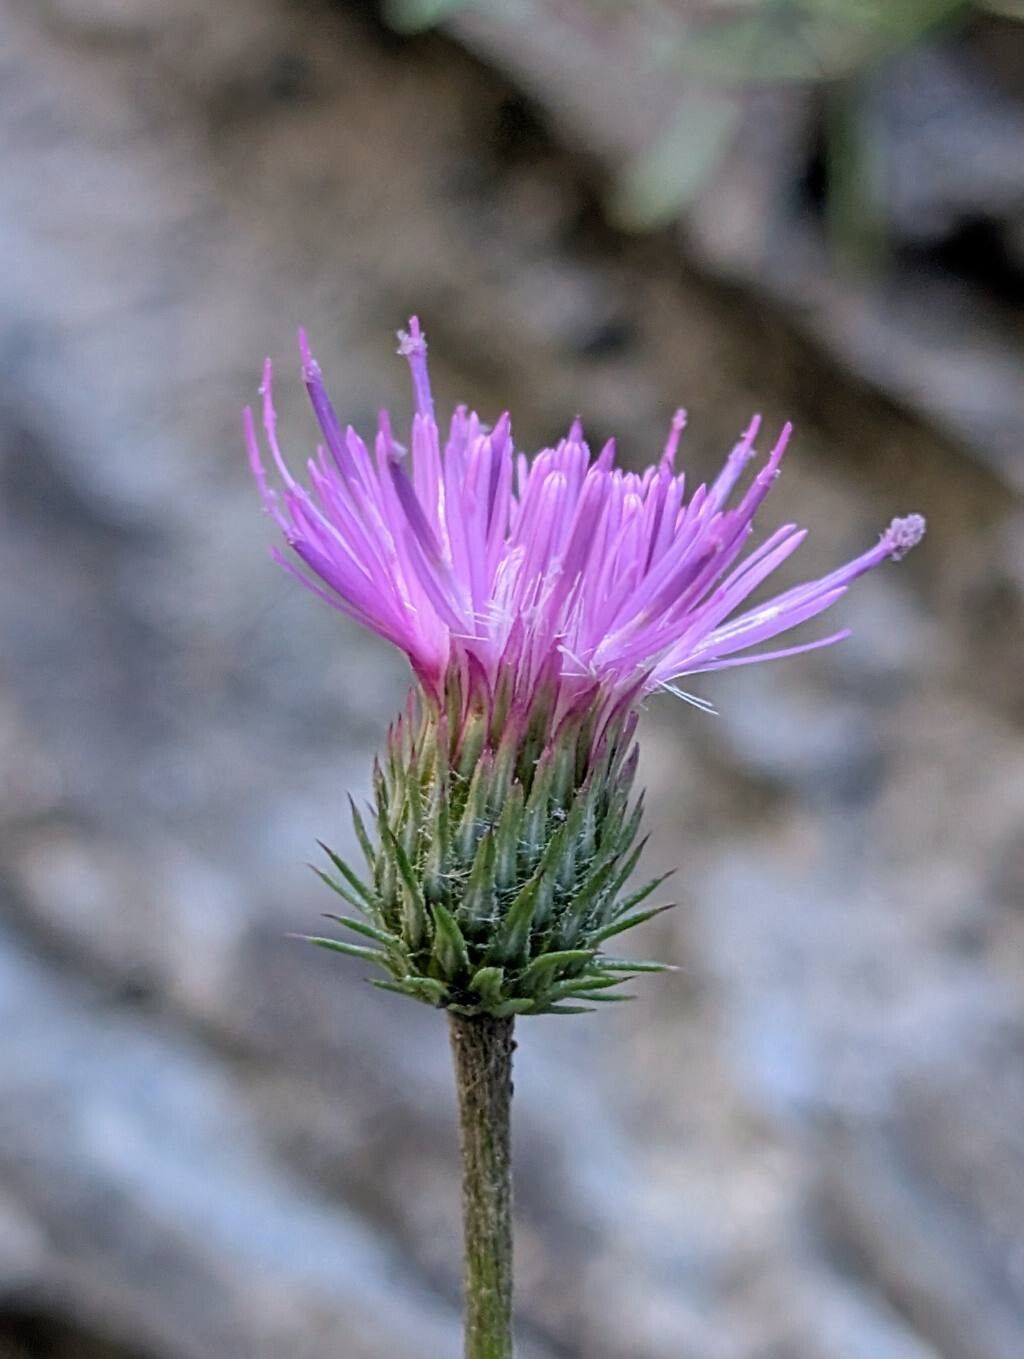
Well hello there, fellow garden enthusiasts! It’s so nice to have you join me for a chat about a plant that truly brings a touch of wild elegance to any space: the stately Carduus defloratus, often known as the plumeless thistle or alpine thistle. Its dramatic spiky blooms and architectural form are simply captivating, and there’s something incredibly satisfying about coaxing new life from an existing beauty. If you’ve ever admired this plant and wished you had more of it, you’re in the right place.
Propagating Carduus defloratus can be a wonderfully rewarding endeavor. Now, I won’t sugarcoat it – it’s not the absolute easiest plant for total beginners, but with a little care and attention, I’ve seen many new gardeners have success. The trick is understanding its needs.
The Best Time to Start
For the highest success rate, I find that late spring to early summer is your golden window. This is when the plant is actively growing after its winter dormancy and has plenty of energy reserves. You want to be working with healthy, vigorous material.
Supplies You’ll Need
Gathering your tools beforehand makes the whole process smoother. Here’s what I recommend:
- Sharp pruning shears or a clean knife: For making clean cuts.
- A well-draining potting mix: I usually go for a seed starting mix combined with perlite or coarse sand. This ensures excellent aeration and prevents waterlogging.
- Small pots or trays: Clean ones are a must!
- Rooting hormone (optional but recommended): A light dusting can really speed things up.
- A watering can with a fine rose: Gentle watering is key.
- Plastic bags or a propagator: To create a humid environment.
- Labels and a marker: So you don’t forget what you’ve planted!
Propagation Methods
The most reliable way I’ve found to propagate Carduus defloratus is through division, but we can also try stem cuttings.
Stem Cuttings: A Step-by-Step Approach
- Select your cutting material: Look for healthy, non-flowering stems that are about 4-6 inches long. Crucially, choose stems that are firm but not woody. They should snap cleanly if bent slightly.
- Prepare the cutting: Using your sharp shears or knife, make a clean cut just below a leaf node (where a leaf attaches to the stem). Gently remove the lower leaves, leaving just a couple at the top. If the stem is very leafy, you can even pinch off the very top set of leaves to reduce water loss.
- Apply rooting hormone (if using): Dip the cut end of the stem into your rooting hormone powder, tapping off any excess.
- Plant the cutting: Fill your small pots with the prepared potting mix. Make a hole in the center of the soil with your finger or a pencil. Insert the cut end of the stem into the hole, ensuring it’s firm.
- Water gently: Water thoroughly but carefully, so you don’t dislodge your cutting.
- Create humidity: Cover the pot with a clear plastic bag, creating a mini-greenhouse effect. You can prop the bag up with a few stakes or use a propagator lid.
Division: For Established Plants
This is best done in early spring when the plant is just waking up.
- Gently excavate the parent plant: Carefully dig around the base of the established clump, trying not to damage the root system too much. You want to lift the whole plant.
- Examine the root ball: You’ll likely see that the clump is made up of several smaller sections, each with its own root system.
- Separate the divisions: Using your hands or a clean spade, gently pull or cut the clump apart into smaller sections. Aim for divisions that have at least a few healthy roots and some visible shoots.
- Replant immediately: Plant each division into its own pot filled with good potting mix, watering them in well.
The “Secret Sauce” (Pro Tips)
Here are a few things I’ve learned over the years that can make a big difference:
- Bottom heat is your friend! If you can, place your pots on a heated propagator mat or in a warm spot. This encourages root development from below, and it’s a game-changer, especially for stem cuttings.
- Watch your watering carefully. While you want the soil to stay consistently moist, you definitely do not want it soggy. Soggy soil is the number one killer of cuttings through rot. Stick your finger in the soil; if it feels wet, wait to water.
- Don’t give up too soon! Thistles can be a bit tardy in showing signs of rooting. Be patient. I’ve had cuttings take 6-8 weeks to show real progress.
Aftercare & Troubleshooting
Once you see new growth emerging from the base of your cutting or division, that’s a fantastic sign!
- Acclimatization: Gradually introduce your new plants to less humid conditions. Start by opening the plastic bag for a few hours each day, eventually removing it altogether over a week or two.
- Light: Once roots are established, these young plants will appreciate bright, indirect light.
- Repotting: When they’ve grown a bit larger and are filling their pots, you can transplant them into slightly larger pots or directly into their final garden location.
Troubleshooting: The most common enemy here is rot. If your cutting turns black and mushy at the base, or if you see fungal growth on the soil surface, it’s usually a sign of too much moisture and not enough air circulation. Unfortunately, this is often the end of that particular cutting. Don’t be discouraged; just try again with fresh material and adjust your watering.
So, there you have it! I hope this guide gives you the confidence to try propagating your own Carduus defloratus. Gardening is a journey of learning and experimentation, and each new plant you grow is a little victory. Be patient with yourself and your little sproutlings, and most importantly, enjoy the process! Happy gardening!
Resource:
https://identify.plantnet.org/k-world-flora/species/Carduus%20defloratus%20L./data