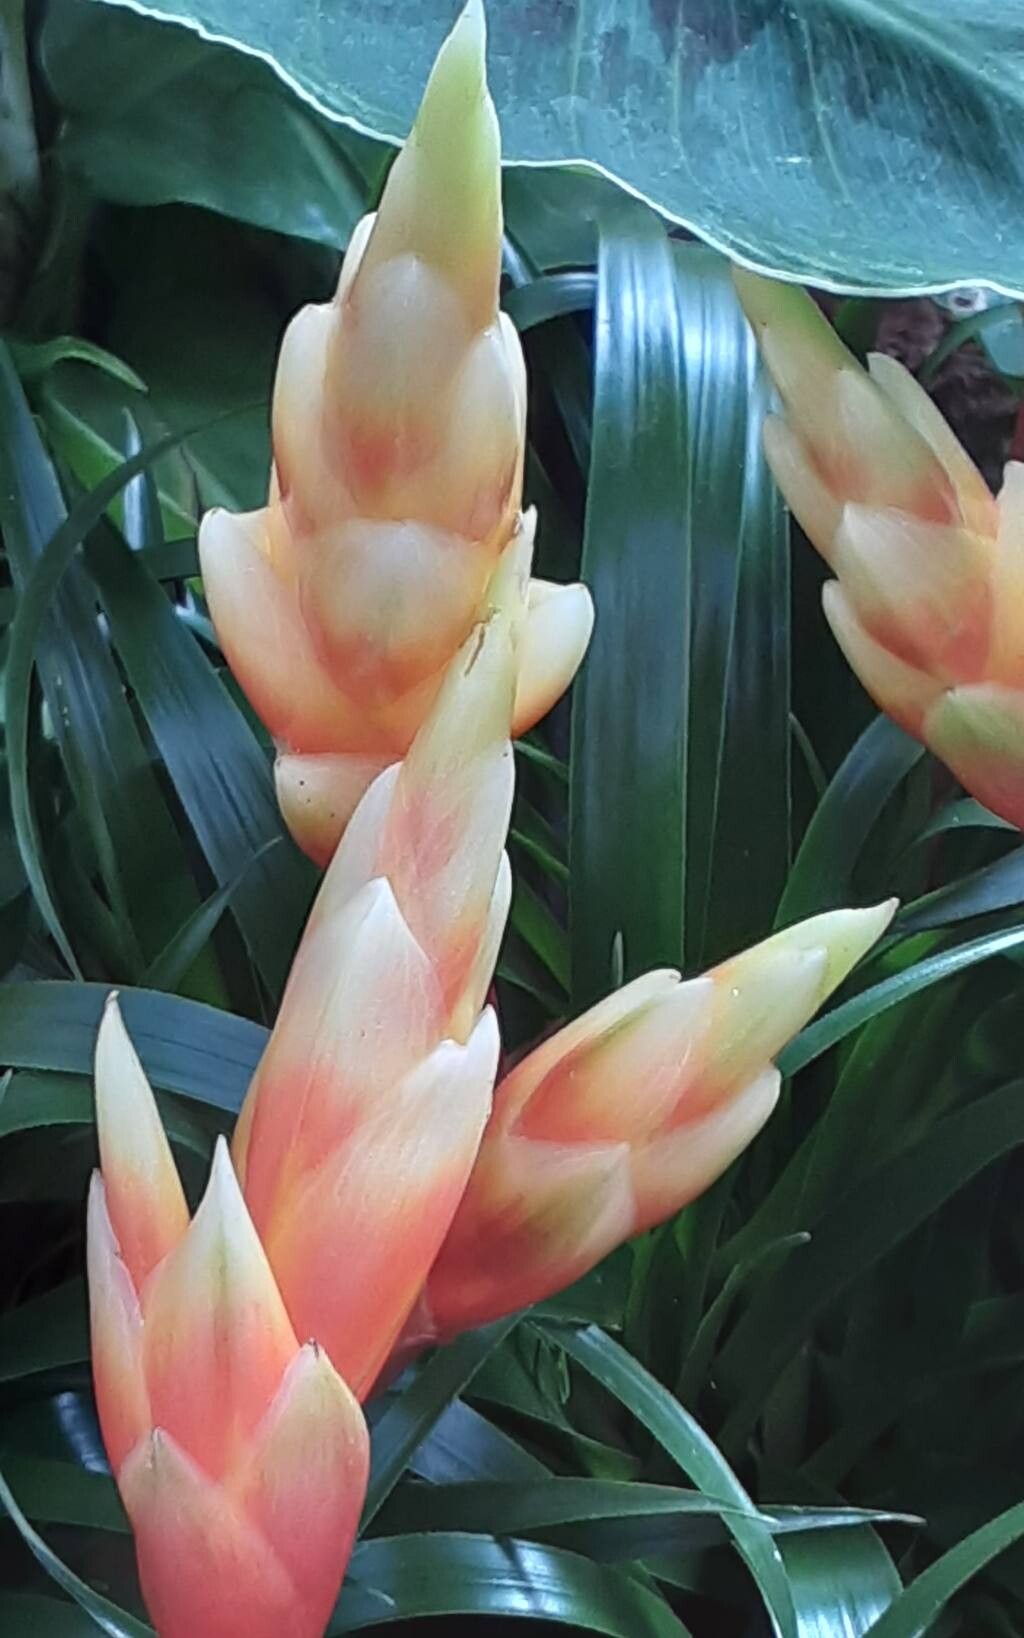
Oh, hello there! Pull up a chair, let’s chat about something truly delightful: Billbergia viridiflora. If you’re looking for a bromeliad that brings a touch of the tropics without demanding a degree in plant science, this is it. It’s a real beauty, with its slender, arching leaves that can have a lovely subtle speckling and a truly spectacular inflorescence that often unfurls to reveal vibrant colors.
Propagating Billbergia viridiflora is incredibly rewarding. You get to witness new life sprout from a parent plant you already love. It’s a fantastic way to fill your home or garden with more of these charismatic plants, or even share them with fellow plant enthusiasts. And if you’re just starting your plant propagation journey, you’ll be happy to know that Billbergia viridiflora is quite forgiving. It’s a great plant to learn with!
The Best Time to Start
Honestly, the absolute best time to propagate Billbergia viridiflora is when the parent plant is in active growth. For most of us, that means spring and early summer. You’ll see new pups (that’s what we call the baby plants on bromeliads) emerging from the base or even further up the stem. This vigorous growth period means the plant has plenty of energy to put into establishing new roots.
Supplies You’ll Need
Here’s what I usually have on hand when I’m dividing or taking cuttings:
- Sharp Pruning Shears or a Clean Knife: For making neat cuts.
- Well-Draining Potting Mix: I often use a mix of orchid bark, perlite, and a bit of coco coir. You could also use a good quality cactus/succulent mix.
- Small Pots or Trays: Whatever you have that the pups or cuttings will fit into comfortably.
- Rooting Hormone (Optional but helpful): A powder or gel can give babies a little boost.
- Watering Can or Spray Bottle: For gentle watering.
- Patience! The most important tool of all.
Propagation Methods
The most common and easiest way to propagate Billbergia viridiflora is through division of pups. These are the offsets that naturally grow from the base of the mother plant.
- Identify the Pups: Look for new shoots emerging from around the base of your Billbergia viridiflora. Some will be quite small, while others might already be a decent size, perhaps a third or half the size of the mother plant.
- Gently Loosen the Soil: If the pups are still attached firmly, carefully loosen the soil around the base of the mother plant and the pup.
- Separate the Pup: Using your clean shears or knife, make a clean cut as close to the mother plant as possible, ensuring the pup has at least a small portion of its own root system attached. If a pup doesn’t have visible roots yet, don’t worry too much; it will form them.
- Allow to Dry (Optional but recommended for pups): If you’ve made a clean cut and the pup has roots, I like to let it sit for a day or two on a dry surface. This helps the cut end callus over, reducing the risk of rot when you plant it.
- Plant Your Pup: Fill your small pot with your well-draining mix. Create a small depression in the center and place your pup in it. Gently firm the soil around the base. If you’re using rooting hormone, dip the cut end into it before planting.
- Water Sparingly: Give the newly potted pup a gentle watering. Don’t drench it, just moisten the soil.
- Water Propagation (for stem cuttings): While pups are easiest, you can also propagate stem cuttings if you’re trimming excess growth or have a particularly long stem.
- Take a cutting from the main stem, ensuring it has a few leaves.
- Remove any lower leaves that would sit below the water line.
- Place the cutting in a jar of clean water.
- Crucially, make sure no leaves are submerged. Leaves in the water will rot and contaminate your water.
- Place the jar in bright, indirect light. Change the water every few days. Roots should appear in a few weeks.
- Once the roots are about an inch long, you can pot it up in your well-draining mix.
The “Secret Sauce” (Pro Tips)
Here are a couple of things I’ve learned over the years that really seem to help:
- Don’t Drown Your Pups: When you first pot up a pup, especially one with no established roots, it’s tempting to water it constantly. Resist this urge! They need moisture, but overwatering is the quickest way to invite rot. Let that soil surface dry out between waterings.
- A Little Warmth Goes a Long Way: If you’re propagating in a cooler part of your home, or during a less-than-ideal season, a gentle bottom heat can make a huge difference. A seedling heat mat, placed underneath your propagation tray, can encourage root development significantly. Just ensure the heat isn’t too intense.
Aftercare & Troubleshooting
Once your little Billbergia viridiflora has roots and you see new growth emerging from the center, you’re doing great! Continue to water them when the top inch of soil feels dry. They love bright, indirect light. Avoid direct sunlight, which can scorch their leaves.
The most common issue you’ll encounter is rot. If you notice parts of your pup turning mushy, black, or smelly, it’s a sign of too much moisture. If it’s a small spot, you might be able to trim it away, but often, if rot sets in, it’s best to discard the affected part to prevent it from spreading. If you see wilting that isn’t due to dryness, it could also be an early sign of rot.
A Encouraging Closing
Watching a new plant emerge and grow is one of the most satisfying aspects of gardening. Don’t be discouraged if your first attempt isn’t perfect. Gardening is a journey, and each plant teaches us something new. Be patient with your little Billbergia viridiflora babies. Give them a good start, a little love, and they’ll reward you with their tropical charm. Happy propagating!
Resource:
https://identify.plantnet.org/k-world-flora/species/Billbergia%20viridiflora%20H.Wendl./data