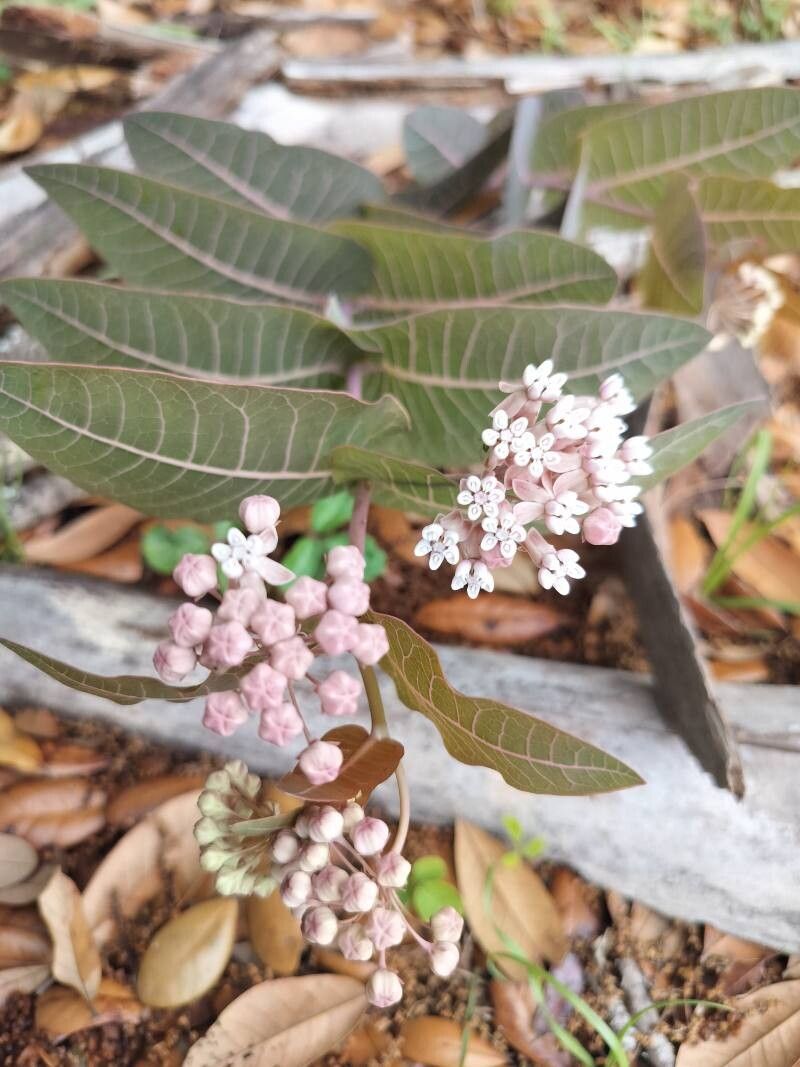
Hello there, fellow garden enthusiasts! I’m so excited to chat with you today about a truly special plant: the Sandhill Milkweed, or Asclepias humistrata. If you’ve ever seen this beauty unfurl its delicate, pinkish-lavender blooms, you know the magic I’m talking about. It’s a magnet for butterflies, especially those beautiful Monarchs, and its low, spreading habit makes it a wonderful groundcover. Plus, there’s a unique satisfaction that comes from nurturing new life from a piece of an existing plant. Now, if you’re wondering if this is a good one to start with, I’d say Asclepias humistrata can be a little bit of a tinkerer’s delight. It’s not as straightforward as some of its cousins, but with a bit of patience and a few key techniques, you’ll absolutely be rewarded.
The Best Time to Start
For Asclepias humistrata, timing is everything. I find the absolute best time to take cuttings for propagation is in late spring to early summer. This is when the plant is actively growing, producing those lovely new shoots that have a good amount of energy to put into rooting. Waiting until the plant has finished its main flush of growth means you’re working with more mature, established material.
Supplies You’ll Need
Let’s gather our tools! Think of this as your propagation starter pack:
- Sharp Pruning Shears or a Clean Knife: A clean cut is crucial.
- Rooting Hormone (Optional but helpful): Especially for stem cuttings.
- Well-Draining Potting Mix: A mix of peat moss, perlite, and coarse sand works wonders. You can even buy specialized succulent or cactus mixes.
- Small Pots or Seed Starting Trays: For your cuttings to grow in.
- Watering Can with a Fine Rose Attachment: Gentle watering is key.
- Plastic Bag or Humidity Dome: To create a mini greenhouse effect.
- Gloves: Milkweed sap can be a bit sticky and irritating for some.
Propagation Methods
While you could try seed starting, I find stem cuttings to be the most reliable and rewarding method for Asclepias humistrata. Here’s how I tackle it:
- Select Your Cutting: Look for healthy, non-flowering stems. You want pieces that are about 4-6 inches long. Make a clean cut just below a leaf node (where a leaf attaches to the stem).
- Prepare the Cutting: Gently remove the lower leaves from the cutting, leaving just a couple at the top. This helps prevent them from rotting once planted. If you’re using rooting hormone, dip the cut end of the stem into it.
- Plant Your Cutting: Fill your small pot with the well-draining mix. Make a small hole with your finger and insert the prepared cutting, ensuring the leaf nodes are below the soil surface. Gently firm the soil around it.
- Create a Humid Environment: Water the soil lightly, then cover the pot with a plastic bag or humidity dome. This traps moisture and encourages rooting. I like to use stakes to keep the bag from touching the leaves too much.
- Placement: Place the pot in a bright spot, but out of direct, harsh sunlight. Warmth is also beneficial – if you have a heat mat, now’s the time to use it!
The “Secret Sauce” (Pro Tips)
Now for a couple of little secrets that have worked wonders for me over the years:
- Rinse off the Sap: Milkweed loves to ooze that milky sap. Before planting your cutting, rinse the cut end under cool water. This helps stop the bleeding and can prevent some of the initial sap from interfering with rooting or causing rot.
- Don’t Drown It: While humidity is important, overwatering is the kiss of death for cuttings. You want the soil to be consistently moist, but never soggy. Feel the soil with your finger; if it feels wet, wait a day or two before watering again.
Aftercare & Troubleshooting
Once roots start to form (which can take anywhere from 2 to 6 weeks, so be patient!), you’ll start to see new growth appearing.
- Gradual Acclimation: When you see good root development and new leafage, it’s time to gradually remove the plastic bag or dome. Start by taking it off for a few hours each day, slowly increasing the time until the plant is fully acclimated to the ambient humidity.
- Transplanting: Once your seedling is robust enough, you can transplant it into a slightly larger pot or its permanent garden home. Continue to provide good drainage and bright light.
- Common Issues: The biggest foe here is rot. If you notice your cutting turning mushy, black, or wilting dramatically despite being watered, it’s likely rot. This usually means the soil has been too wet for too long. Unfortunately, a cutting that’s rotted is usually a goner, but don’t let it discourage you! Just try again with better watering practices.
So there you have it! Propagating Asclepias humistrata is a journey, and like any good gardening project, it requires a little bit of nurturing and a whole lot of hope. Be patient with your little cuttings, celebrate every new leaf, and soon you’ll be rewarded with your own beautiful Sandhill Milkweed patches, buzzing with life. Happy propagating!
Resource:
https://identify.plantnet.org/k-world-flora/species/Asclepias%20humistrata%20Walter/data