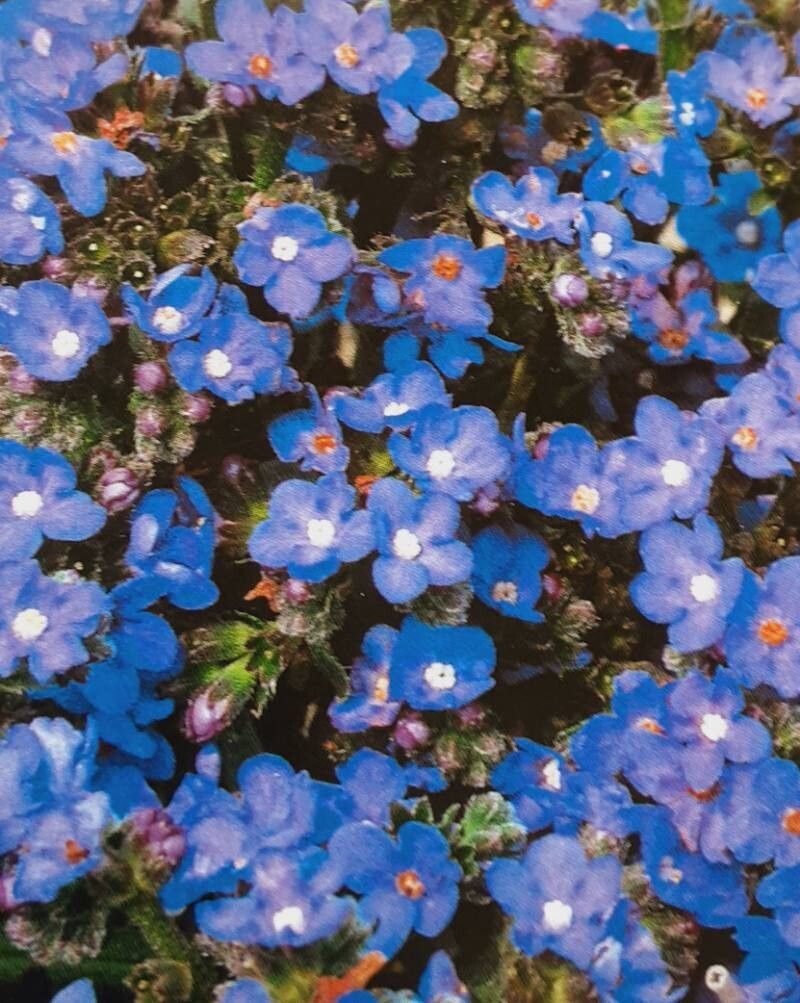
Hello fellow garden enthusiasts! It’s so lovely to connect with you again. Today, I want to talk about a real gem in the garden – Anchusa capensis. You know, those gorgeous plants with the startlingly blue, forget-me-not-like flowers. They just burst with vibrant color and bring such joy to any border.
If you’ve ever admired Anchusa capensis and wished you had more of them prancing around your yard, you’ll be happy to know that propagating them is quite doable! For beginners, I’d say this plant is pleasantly moderately easy to propagate, especially when you understand a few key things. It’s incredibly rewarding to watch a tiny snippet of stem or a divided root turn into a full-fledged plant. Think of it as giving hugs to your garden buddies!
The Best Time to Start
My go-to time for propagating Anchusa capensis is late spring to early summer. This is when the plant is actively growing, full of vigor, and has plenty of healthy material to work with. You want to catch it before things get too hot and dry, or the plant starts to slow down. Looking for stems that are neither too soft and new nor too woody and old is key. Think of a firm, developing shoot – that’s your sweet spot!
Supplies You’ll Need
Gathering your tools beforehand makes the whole process so much smoother. Here’s what I usually have on hand:
- Sharp pruning shears or a clean knife: For making clean cuts.
- Rooting hormone (optional, but recommended): A little boost never hurt anyone!
- Potting mix: A well-draining, sterile potting mix is crucial. I often use a blend of 50% peat moss or coco coir and 50% perlite or coarse sand.
- Small pots or seed trays: Cleaned thoroughly, of course.
- Plastic bags or a propagator lid: To create a humid environment.
- Watering can with a fine rose: For gentle watering.
Propagation Methods
Anchusa capensis is quite versatile, but I find the most success with stem cuttings. It’s a classic for a reason!
Stem Cuttings:
- Take Your Cuttings: In late spring or early summer, select healthy, non-flowering stems. Using your sharp pruners or knife, take cuttings that are about 4-6 inches long. Make the cut just below a leaf node (where a leaf attaches to the stem).
- Prepare the Cuttings: Gently remove the lower leaves from the cutting, leaving just a few at the top. You can even snip the remaining leaves in half to reduce water loss.
- Apply Rooting Hormone (Optional): Dip the cut end of the stem into rooting hormone, tapping off any excess.
- Pot Them Up: Fill your clean pots or trays with your prepared potting mix. Make a small hole with a pencil or your finger and insert the cut end of the stem, firming the soil gently around it.
- Water and Cover: Water the soil lightly until it’s moist but not soggy. Then, cover the pots with a plastic bag or a propagator lid to maintain high humidity. You can prop the bag up with a few twigs so it doesn’t touch the leaves.
- Place in Bright, Indirect Light: Find a warm spot that receives bright, indirect light. Avoid direct sun, which can scorch the delicate cuttings.
The “Secret Sauce” (Pro Tips)
After years of getting my hands dirty, I’ve picked up a few tricks!
- Don’t Let the Leaves Touch the Water: If you choose to try water propagation (which can work for Anchusa, though sometimes trickier), make sure no leaves are submerged. Any leaves in the water will just rot and make things messy. Only the stem should be in contact with the water.
- Bottom Heat is Your Friend: If you can, a gentle heat mat placed underneath your pots can significantly speed up root development. Anchusa cuttings love a little warmth from below! It mimics that cozy spring soil temperature.
Aftercare & Troubleshooting
Once your cuttings are potted, the waiting game begins!
- Maintain Humidity: Keep that plastic bag or propagator lid on, and check the soil moisture regularly. You want it consistently moist, like a wrung-out sponge.
- Look for Roots: After a few weeks, you might start to see signs of new growth at the top. A gentle tug on the cutting should reveal some resistance if roots have formed.
- When to Uncover: Once you see good new growth and roots (you might even see roots peeking out of the drainage holes), you can gradually acclimate your new plants to normal humidity by removing the cover for longer periods each day.
- Troubleshooting: The most common issue you’ll encounter is rot. If a cutting turns black and mushy, it’s usually a sign of too much moisture or not enough air circulation. Don’t be discouraged; just discard the rotted cutting and try again with a fresh one, ensuring your soil is a bit drier and you’re providing adequate airflow.
A Encouraging Closing
Propagating Anchusa capensis is a wonderful way to expand your garden and share the beauty of these azure blooms. Be patient with the process – nature has its own rhythm. Enjoy the little victories, learn from any setbacks, and most importantly, have fun with it! Happy gardening!
Resource:
https://identify.plantnet.org/k-world-flora/species/Anchusa%20capensis%20Thunb./data