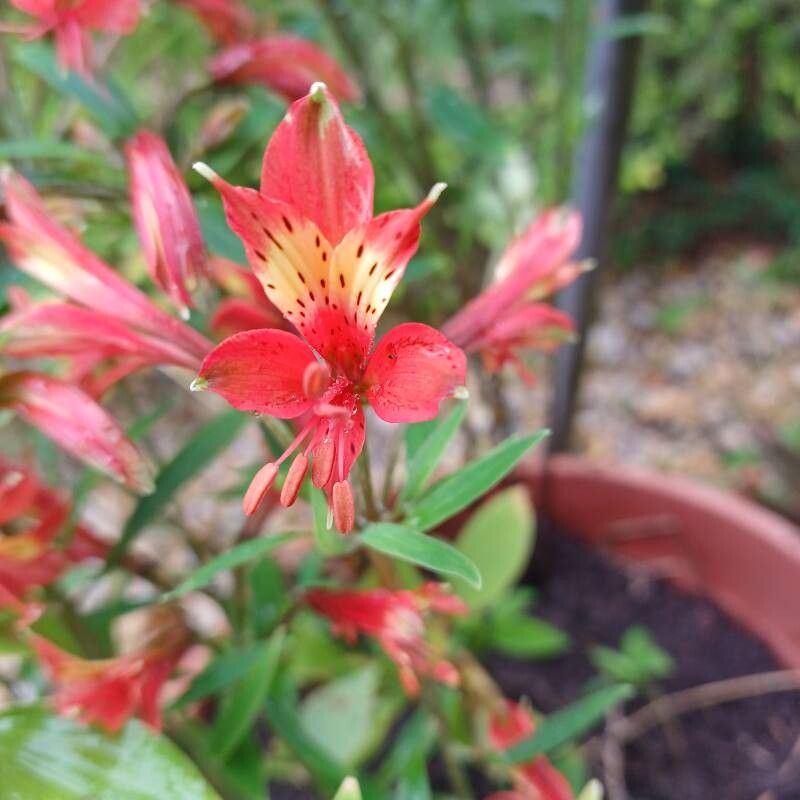
Oh, Alstroemeria brasiliensis! Isn’t she a beauty? I just adore those vibrant, often speckled blooms that bring such cheer to the garden. They remind me of little lilies, but with an extra pop of personality. And the best part? You can easily fill your garden with even more of these charmers by propagating your existing plants. Don’t be intimidated, it’s a wonderfully rewarding process, and with my guidance, you’ll be well on your way to success. In fact, I’d say Alstroemeria is surprisingly approachable for beginners, especially when we focus on division.
The Best Time to Start
For Alstroemeria, the absolute sweet spot for propagation is early spring, just as new growth is starting to emerge. After a long winter, the plant is bursting with energy, and the cuttings or divisions will have the best chance of establishing themselves before the heat of summer truly kicks in. Aim for a time when the soil is starting to warm up but hasn’t become baked hard.
Supplies You’ll Need
Here’s what you’ll want to have on hand:
- Sharp pruning shears or a clean, sharp knife: For making clean cuts.
- Well-draining potting mix: A blend of peat moss, perlite, and a bit of compost works wonders.
- Rooting hormone (optional but recommended for cuttings): This little helper can give your cuttings a significant boost.
- Small pots or seed trays with drainage holes: For your new plant babies.
- Watering can or spray bottle: For gentle watering.
- A shady spot: To keep your cuttings from drying out too quickly.
- A trowel or garden fork: For dividing established clumps.
Propagation Methods
Alstroemeria is most successfully propagated by division. While stem cuttings are possible, they can be a bit trickier for this particular plant. Let’s focus on the method that usually yields the best results for home gardeners.
Division: The Gold Standard
- Gently excavate: In early spring, carefully dig around the base of your Alstroemeria plant with your trowel or garden fork. You want to lift the entire root ball out of the ground without causing too much damage.
- Shake off excess soil: Gently brush away as much of the soil as you can. You’re looking for the fleshy rhizomes (underground stems) that connect the different growth points.
- Identify the divisions: Look for natural breaks in the rhizomes. You’ll want to separate sections that have at least one healthy shoot or eye and a good portion of root attached.
- Make the cut: Use your sharp pruning shears or knife to carefully cut through the rhizomes. Make sure each division has its own root system to support it. If the soil is really packed, you can even use a bit of water to help loosen it and reveal the points where the rhizomes divide.
- Plant your new divisions: Plant each division into its own pot or directly into a prepared garden bed. Make sure the top of the rhizome is just at or slightly below the soil surface. Water them in thoroughly.
The “Secret Sauce” (Pro Tips)
- Don’t overload a division: When dividing, it’s tempting to break up a big clump into tiny pieces, but resist! Stick to sections with more substantial root systems and at least one good eye. Larger divisions have a better chance of surviving.
- Think “moisture retention” for divisions: After planting your divisions, I like to cover them loosely with a cloche or even an overturned clear plastic container for the first week or two. This traps humidity and prevents them from drying out while they re-establish. Just make sure to vent it occasionally to prevent fungal issues.
- Be patient with re-blooming: Don’t expect your newly divided Alstroemeria to put on a massive show of flowers immediately. Give them a season to settle in and build strength. The spectacular blooms will come!
Aftercare & Troubleshooting
Once your divisions are planted, keep the soil consistently moist but not waterlogged. This is crucial. As they start to send up new shoots, you can gradually increase watering as needed, especially during dry spells.
The most common issue you might encounter is rot. This usually happens if the plant is sitting in too much water, especially after being disturbed. You’ll notice wilting, yellowing leaves, and perhaps a mushy base. If you see this, try to improve drainage immediately. For cuttings, if the stem turns black and mushy, it’s likely rotted and won’t recover.
A Encouraging Closing
Growing more Alstroemeria is such a joy, and dividing them is a fantastic way to multiply your garden’s beauty. Remember, gardening is a journey, and every plant has its own rhythm. Be gentle, be patient, and savor the process. Happy propagating!
Resource:
https://identify.plantnet.org/k-world-flora/species/Alstroemeria%20brasiliensis%20Spreng./data