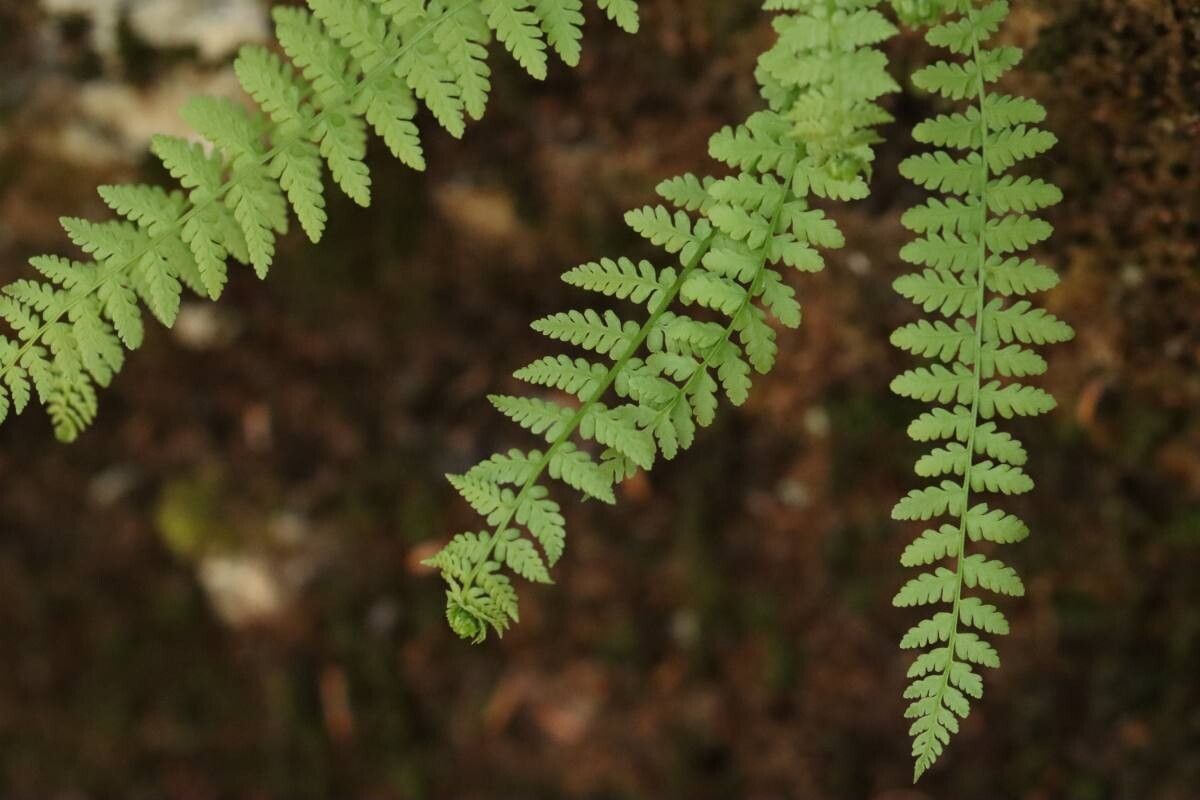
Hey there, fellow plant enthusiasts! It’s so good to connect with you today. We’re going to dive into something really special: propagating Woodsia manchuriensis. If you’ve ever admired this lovely fern, with its delicate fronds that evoke a sense of ancient woodlands, you already know its charm. And the best part? Bringing more of it into your life through propagation is incredibly rewarding, though I’ll be honest, it’s not always the easiest plant for absolute beginners. But with a little patience and a few pointers, you can absolutely succeed!
The Best Time to Start
For Woodsia manchuriensis, the sweet spot for propagation is generally early spring, after the plant has come out of dormancy but before the real heat of summer sets in. You’re looking for actively growing material. If you can’t get to it then, late summer, just as things start to cool down a bit, can also work. The key is to work with a healthy, vigorous plant that’s eager to grow.
Supplies You’ll Need
Here’s what I like to have on hand when I’m propagating ferns like this:
- Sharp, clean pruning shears or a sterile knife: This is non-negotiable for clean cuts.
- A well-draining potting mix: I usually go for a blend of peat moss or coco coir, perlite, and a bit of orchid bark. Think airy!
- Small pots or propagation trays: Yogurt cups with drainage holes work too – get creative!
- Clear plastic bags or a propagation dome: To create a humid microclimate.
- Optional: Rooting hormone powder: While not always strictly necessary for ferns, some gardeners find it gives a little boost.
- Watering can with a fine rose: To avoid disturbing delicate new growth.
Propagation Methods
The most reliable way to propagate Woodsia manchuriensis is through division. This fern doesn’t typically produce easily takeable stem cuttings like some other houseplants.
Division: A Step-by-Step Guide
- Gently Remove from Pot: Carefully take your mature Woodsia manchuriensis out of its current pot. You want to avoid damaging the root ball as much as possible.
- Inspect the Root Ball: Gently tease away some of the old soil. You’re looking for natural divisions in the rhizome (the underground stem). You might see where the plant is already starting to branch out.
- Make Your Cuts: Using your clean shears or knife, carefully separate these divisions. Aim for sections that have at least a few healthy fronds and a good amount of roots attached. If the rhizome is tough, a little wriggling can help, but don’t force it too much.
- Pot Up Your New Plants: Plant each division in its own small pot filled with your prepared potting mix. Make sure the top of the rhizome is level with or slightly above the soil surface.
- Water Thoroughly: Give your newly potted divisions a good watering until you see it drain from the bottom.
- Create Humidity: This is crucial! Place a clear plastic bag over each pot, or group them under a propagation dome. This will trap moisture and keep the humidity high, which is exactly what ferns love. Secure the bag with a rubber band or twist tie, allowing a little air circulation.
The “Secret Sauce” (Pro Tips)
Here are a couple of things I’ve learned over the years that really help with fern propagation:
- Don’t let the fronds touch the soil. For the divisions you’ve just potted, try to keep the delicate new fronds from resting directly on the damp soil. This can lead to rot. If they’re flopping, you can gently support them with a small stake or trim them back slightly if they’re clearly damaged or too long.
- Bottom heat is your friend. If you have a gently warm spot, like a heat mat designed for seedlings or even just a warm windowsill that isn’t in direct, scorching sun, placing your pots on it can really encourage root growth. Ferns appreciate a little cozy warmth.
Aftercare & Troubleshooting
Once your Woodsia manchuriensis divisions are potted up and happy under their humidity domes, keep the soil consistently moist but not waterlogged. You’ll want to aerate them regularly – lift the plastic bag for a few minutes each day to let fresh air in and prevent fungal issues. After a few weeks, you should start seeing signs of new growth, like tiny, unfurling fronds, which are called fiddleheads.
The most common issue you might encounter is rot. This usually happens if the soil is too wet and the humidity is too high without enough air circulation. If you see yellowing or mushy fronds, or a slimy base, it’s a sign things are too damp. Pull back on watering, increase air circulation, and if a division is clearly beyond saving, it’s best to discard it to prevent it from affecting others.
A Little Patience, A Lot of Joy
Propagating Woodsia manchuriensis is a journey, and like all good things in the garden, it takes a bit of time and observation. Don’t be discouraged if your first attempt isn’t perfect. Each plant, each season, offers a new lesson. The reward of nurturing a new life from an existing one is truly special. So, grab your tools, get your hands dirty, and enjoy the process of bringing more of these beautiful ferns into your green sanctuary. Happy gardening!
Resource:
https://identify.plantnet.org/k-world-flora/species/Woodsia%20manchuriensis%20Hook./data