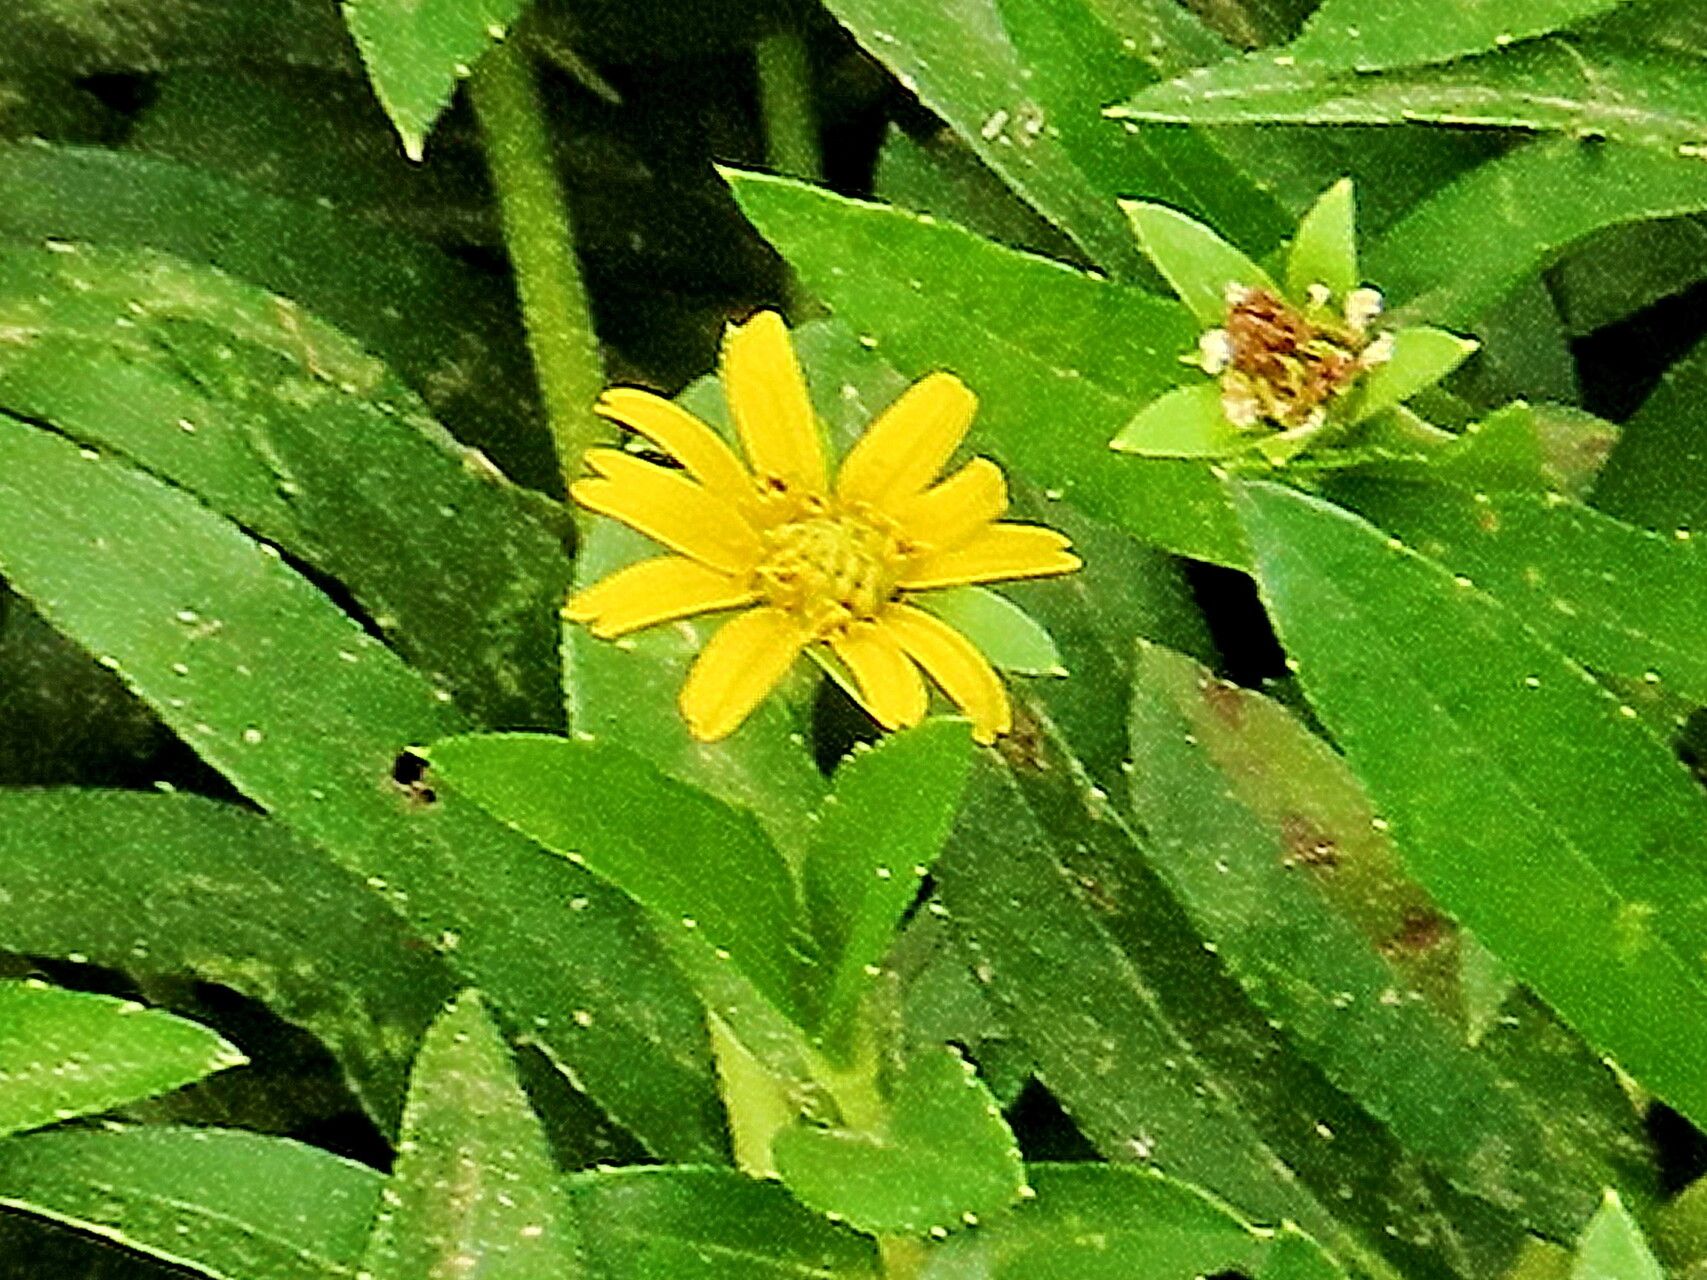
Oh, hello there! Pull up a chair and let’s chat about a plant that’s absolutely won my heart over the years: Sphagneticola calendulacea. It’s also known as trailing daisy or wedelia, and honestly, its cheerful yellow blooms are like little suns scattered across your garden. It’s a fantastic groundcover, spilling over edges with such easy grace. And guess what? Propagating it is one of those deeply satisfying garden activities. You know, the kind where you blink and suddenly you have a whole new plant to share or tuck into another sunny spot. For beginners, I’d say Sphagneticola is positively a delight – it’s quite forgiving, which is always a bonus when you’re just starting out.
The Best Time to Start
For the absolute best chance of success with our friend Sphagneticola, I always recommend spring or early summer. That’s when the plant is actively putting on new growth. The days are getting longer, the temperatures are warming up, and there’s plenty of energy in the plant for it to focus on rooting. While you can sometimes get away with it a bit later in the season, starting when things are really waking up is your golden ticket.
Supplies You’ll Need
Alright, let’s get our hands a little dirty! Here’s a quick rundown of what you’ll want to have on hand:
- Sharp Pruning Shears or a Craft Knife: Cleanliness is key here, so make sure they’re nice and sharp to make a clean cut.
- A Well-Draining Potting Mix: I like a blend of peat moss, perlite, and a little bit of compost. You want something that lets water drain freely but still holds some moisture.
- Small Pots or Trays: For your cuttings to root in. Yogurt cups with drainage holes poked in the bottom work in a pinch!
- Rooting Hormone (Optional but Recommended): This isn’t strictly necessary for Sphagneticola as it roots quite readily, but a dip in some rooting hormone can give those cuttings a little extra encouragement.
- Watering Can or Mister: For gentle watering.
- Plastic Bags or a Clear Lid: To create a mini-greenhouse effect.
Propagation Methods
Sphagneticola is wonderfully flexible, and I find two methods work particularly well.
Stem Cuttings: My Go-To Method
This is my absolute favorite way to multiply Sphagneticola.
- Select Your Cuttings: Look for healthy stems that are at least 4-6 inches long. Ideally, choose stems that have new growth at the tip but aren’t flowering heavily. You want a bit of soft growth and some slightly harder wood.
- Make the Cut: Using your sharp shears, make a clean cut just below a leaf node. A leaf node is where a leaf attaches to the stem. This is where the magic will happen and roots will form. You can take several cuttings from one healthy plant.
- Prepare the Cuttings: Gently remove the lower leaves from the bottom half of the cutting. We don’t want any leaves sitting in the soil or water, as they’ll just rot and invite trouble.
- Dip in Rooting Hormone (Optional): If you’re using it, dip the cut end of the stem into the rooting hormone powder, tapping off any excess.
- Plant Them Up: Fill your small pots or trays with your well-draining potting mix. Make a small hole in the center with your finger or a pencil. Gently insert the cut end of the stem into the hole, making sure at least one leaf node is buried in the soil. Firm the soil gently around the cutting.
- Water and Cover: Water the soil thoroughly but gently. You want it to be moist, not waterlogged. Pop a clear plastic bag over the pot, securing it around the rim with a rubber band, or place the pots inside a propagator with a lid. This keeps humidity high, which is crucial for cuttings.
Water Propagation: The See-Through Success
If you’re a visual learner like me, you’ll love this!
- Take Your Cuttings: Follow steps 1 and 2 from the stem cutting method above.
- Remove Lower Leaves: Again, strip off all the leaves that would be submerged in water.
- Place in Water: Find a clean jar or glass and fill it with fresh water. Pop your cuttings in, ensuring no leaves are touching the water. They should just have their cut end submerged.
- Find a Bright Spot: Place the jar in a bright location, but out of direct, harsh sunlight.
The “Secret Sauce” (Pro Tips)
After years of getting my hands dirty, I’ve picked up a few tricks that really make a difference with plants like Sphagneticola.
- Don’t Let the Leaves Touch the Water: This is a big one for water propagation. If a leaf dips below the waterline, it’s an open invitation for rot. Keep those leaves high and dry!
- Give Them a Little Warmth: While not as crucial as for some fussier plants, placing your pots on a heat mat can significantly speed up rooting. It’s like a cozy little spa day for your cuttings. You’ll often see roots forming much faster.
- Think “Snug, Not Tight”: When planting your stem cuttings, you want the soil to be in contact with the cutting, but don’t pack it down like concrete. A gentle firming is all that’s needed. Too much compression can hinder root growth.
Aftercare & Troubleshooting
Once those little roots start to appear (you’ll usually see them peeking out of the drainage holes in a few weeks, or if you’re water propagating, you’ll see them clearly in the jar!), it’s time to give them a bit more attention.
- Transitioning: If you’ve water-propagated, wait until the roots are at least an inch long before carefully transplanting them into pots with your potting mix. Water very gently and keep them in high humidity for a few days.
- Watering: Keep the potting mix consistently moist but not soggy. You want to avoid letting them dry out completely, as this can shock the new roots.
- Light: Gradually introduce your new plants to brighter light. Start in a spot with bright, indirect light and slowly move them to a location where they’ll receive their sun, similar to the parent plant.
The most common issue you might encounter is rot. If a cutting looks black and mushy at the base, or if the leaves are yellowing and wilting rapidly, it’s often a sign of too much moisture and not enough air circulation. If you see this, try removing the affected cutting and ensuring your soil is draining well. Sometimes, a bit of overwatering is the culprit.
A Little Encouragement to Finish
See? It’s not too complicated, is it? Propagating Sphagneticola calendulacea is a wonderful way to get more of that sunshine in your garden without spending a penny. Be patient with your new little plants. Some will take off faster than others, and that’s perfectly normal. Enjoy the process, celebrate those tiny roots, and soon you’ll have a cascade of cheerful yellow blooms to admire. Happy propagating!
Resource: