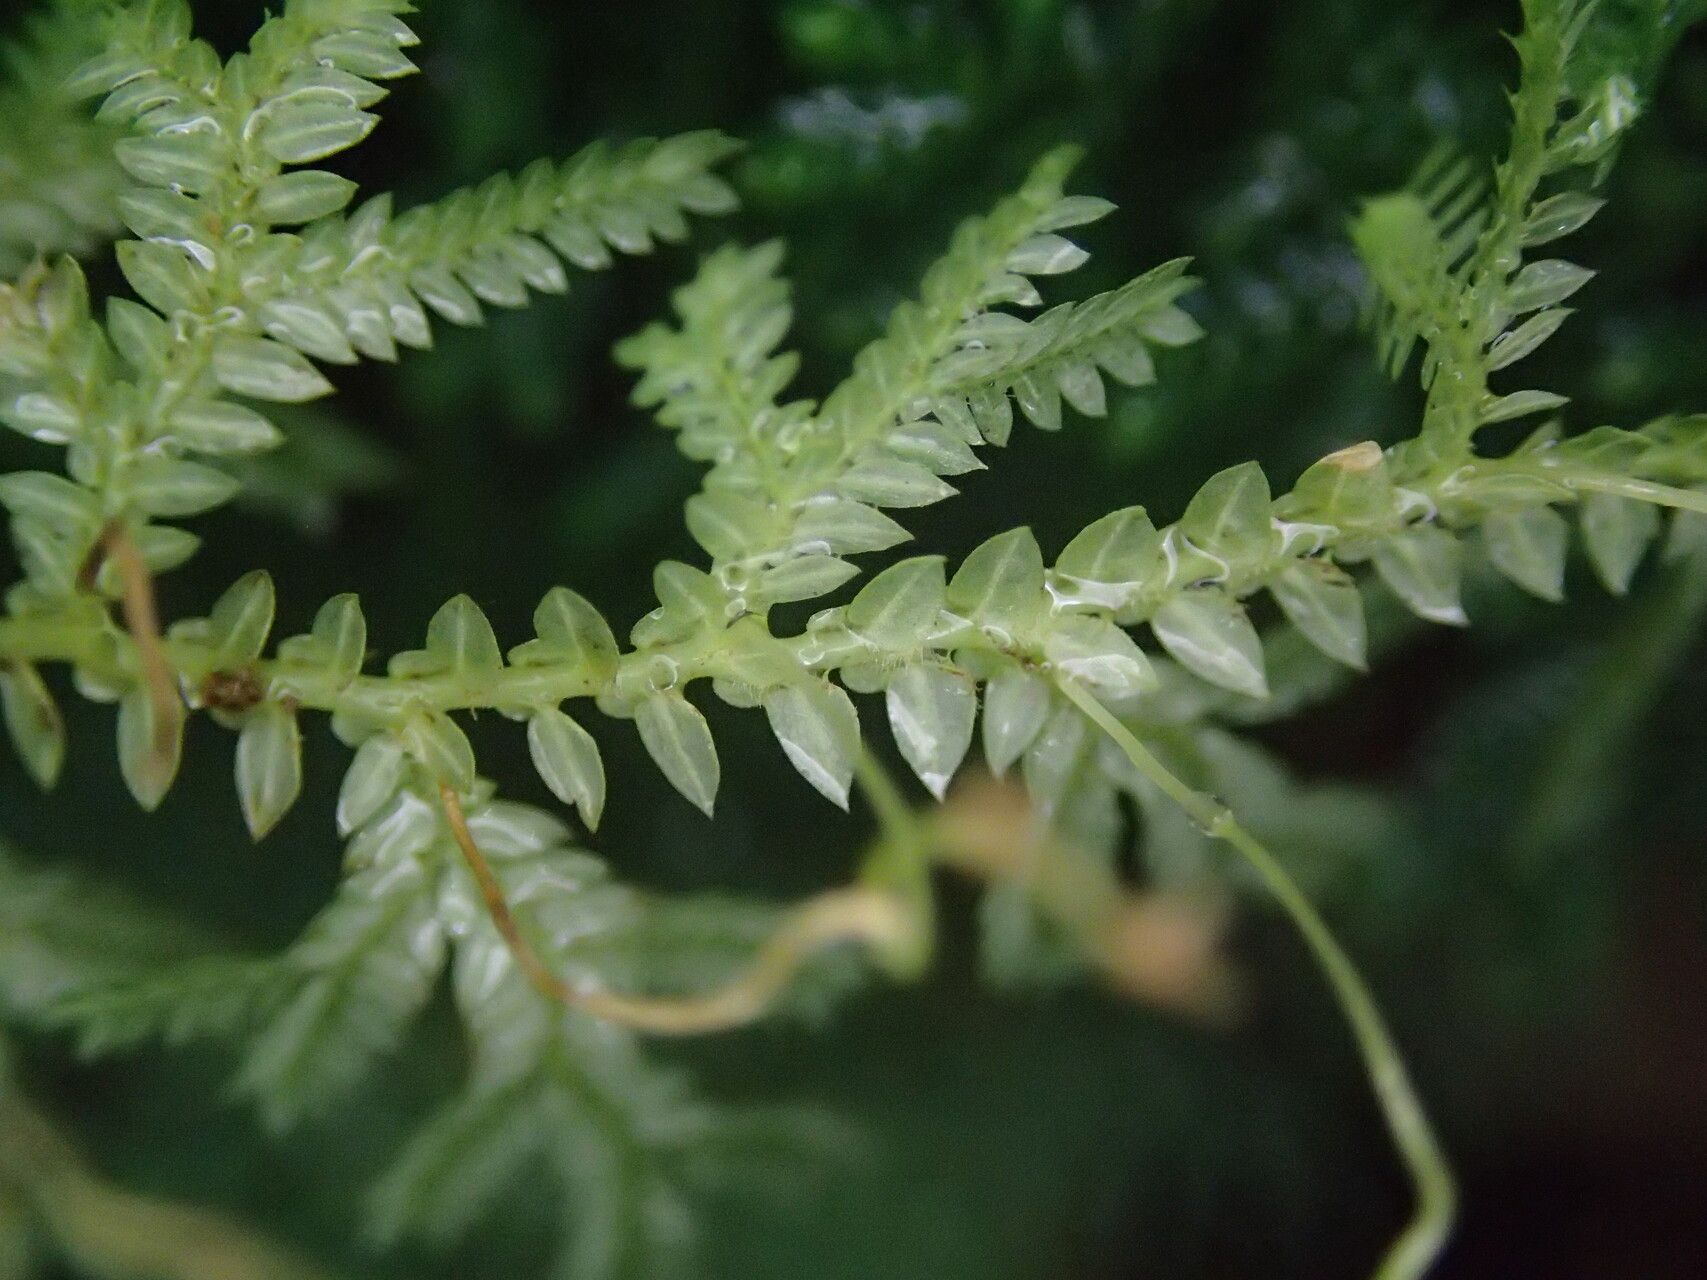
Hello fellow plant lovers! Today, we’re delving into the wonderful world of Selaginella cathedrifolia. If you’re captivated by its delicate, fern-like fronds and its ability to bring a touch of lush, tropical elegance to shady corners, then you’re in for a treat. Propagating this beauty is incredibly rewarding, and I’m here to guide you through it with what I hope is a friendly, down-to-earth approach.
Now, for the good news: Selaginella cathedrifolia is generally considered quite easy to propagate, even for those of you just starting your indoor jungle journey. We’ll get plenty of new plants to share or to fill out your own spaces!
The Best Time to Start
My experience tells me the sweet spot for propagating Selaginella cathedrifolia is during its active growing season. This typically falls in late spring through early summer. You’ll be looking for healthy, vigorous growth on your existing plant. New shoots that are firm and not yet fully woody are ideal – they contain all the energy needed to sprout roots. Avoid taking cuttings from a plant that looks stressed or is in a dormant phase.
Supplies You’ll Need
Gathering your tools beforehand makes the whole process smoother. Here’s my go-to list:
- Sharp Pruning Shears or a Clean Knife: We want to make clean cuts to avoid damaging the plant.
- Well-Draining Potting Mix: A good blend of peat moss or coco coir, perlite, and orchid bark works wonders. You want something that holds moisture but doesn’t become waterlogged.
- Small Pots or Seedling Trays: Clean containers are key to preventing disease.
- Rooting Hormone (Optional but Recommended): While Selaginella can root without it, a little dip can speed things up and increase your success rate. Look for one specifically for stem cuttings.
- Clear Plastic Bags or a Humidity Dome: We need to create a humid microclimate for our cuttings.
- Spray Bottle: For misting.
- Labeling Stakes and a Marker: To keep track of what you’ve propagated and when.
Propagation Methods
Selaginella cathedrifolia is quite amenable to a few different methods. Here are my favorites:
Stem Cuttings: My Tried-and-True Method
This is my personal favorite because it’s efficient and usually yields great results.
- Select Your Cuttings: Look for healthy stems that are at least 3-4 inches long. Gently bend a stem; if it snaps cleanly, it’s a good candidate. Avoid overly soft or woody stems.
- Make the Cut: Using your clean shears or knife, make a clean cut just below a leaf node. This is where roots are most likely to form. You can usually get a few cuttings from a single healthy stem.
- Prepare the Cuttings: Gently remove the lower leaves from the cutting, leaving just a few at the very top. This prevents them from rotting in the soil or water.
- Dip in Rooting Hormone (Optional): If you’re using rooting hormone, lightly moisten the cut end of the stem and dip it into the powder or gel. Tap off any excess.
- Pot Them Up: Fill your small pots or trays with your prepared potting mix. Gently water the mix until it’s evenly moist. Make a small hole with your finger or a pencil.
- Insert the Cuttings: Carefully insert the cut end of each cutting into the pre-made hole, ensuring the node where you removed the leaves is buried. Gently firm the soil around the stem.
- Create a Humid Environment: Water the surface of the soil again lightly. Then, cover the pot with a clear plastic bag (making sure the leaves don’t touch the sides) or place it under a humidity dome. This is crucial for keeping the cuttings hydrated.
- Placement: Place the potted cuttings in a spot with bright, indirect light. Avoid direct sunlight, as it can scorch the delicate cuttings.
Water Propagation: Seeing is Believing!
I love watching roots develop in water, and Selaginella does quite well with this method too.
- Take Your Cuttings: Follow steps 1-3 from the stem cutting method. So, select healthy stems, make clean cuts below nodes, and remove lower leaves.
- Place in Water: Fill a clean jar or glass with room-temperature water. Place the cuttings in the water, ensuring no leaves are submerged. If the leaves touch the water, they’ll likely rot.
- Change the Water Regularly: This is important! Change the water every 2-3 days to keep it fresh and oxygenated.
- Placement: Just like with soil propagation, place the jar in a spot with bright, indirect light.
- Potting Up: Once you see roots about 1-2 inches long, it’s time to transplant them into soil. Handle the newly rooted cuttings very gently, as the roots are still fragile. Pot them in your well-draining mix as described in step 5 for stem cuttings.
Division: For the Lush Mother Plant
If your Selaginella has grown into a beautifully full specimen, you might be able to divide it to create new plants.
- Gently Unpot: Carefully remove the mother plant from its pot.
- Inspect the Root Ball: Gently brush away some of the soil to get a good view of the root system. Look for natural divisions where the plant has grown outwards and formed distinct clumps.
- Separate the Clumps: With clean hands or a trowel, gently tease apart the root ball to separate it into smaller sections. Try to ensure each section has a good portion of both roots and stems. If the roots are very tangled, you might need to use a clean knife to cut through them in a few places.
- Pot Up: Pot each of these divisions into their own small pots filled with your well-draining potting mix. Water them in well.
- Aftercare: Treat the newly potted divisions as you would any other new plant – provide consistent moisture and bright, indirect light. They may take a little while to settle in, but they usually bounce back nicely.
The “Secret Sauce” (Pro Tips)
Here are a few things I’ve learned over the years that can really give your propagation efforts a boost:
- Don’t Drown Your Cuttings: Whether you’re using soil or water, consistent moisture is key, not soddenness. Overwatering is the fastest way to invite fungal issues and rot. The goal is to keep things evenly moist, like a wrung-out sponge.
- Bottom Heat is Your Friend: For stem cuttings in soil, placing the pots on a gentle heat mat can significantly speed up root formation. It mimics the warm soil found in their natural habitat and encourages those roots to stretch out towards the warmth. Just be sure the heat isn’t too intense; lukewarm is perfect.
- Watch for the Bounce: Once your cuttings have rooted and you’ve removed them from the humidity dome or bag, give them a gentle poke. If they feel firm and perk up, that’s a good sign they’re establishing. If they feel soft and floppy, they might still be a bit stressed and may need a little more time in a humid environment or a bit more consistent watering.
Aftercare & Troubleshooting
Once you see those first signs of new growth, or if you’ve gently tugged a cutting and felt resistance (meaning roots!), it’s time for gentle aftercare.
- Gradual Acclimation: If your cuttings were in a humidity dome or bag, gradually introduce them to lower humidity over a week or two. Start by opening the bag or dome for a few hours each day. This prevents shock.
- Watering: Continue to keep the soil consistently moist but not waterlogged. As the plant grows, you can start to water a bit more thoroughly, allowing the top inch of soil to dry out between waterings.
- Light: Keep them in bright, indirect light. As they grow stronger, you can slowly move them to a location with slightly more light, but they generally prefer shaded conditions.
Now, what if things go wrong? The most common problem you’ll encounter is rot. This usually shows up as a mushy, brown stem or leaves. It’s almost always a sign of too much moisture and/or poor air circulation. If you spot it, remove the affected cutting immediately to prevent it from spreading. You might be able to salvage a healthy-looking tip if you catch it early enough. Another sign of trouble can be wilting. This could be from under-watering, or if the roots haven’t developed yet, the plant simply can’t take up enough water. Check the soil moisture.
A Little Patience Goes a Long Way
Propagating plants is a journey, and sometimes it’s a bit of a waiting game. Don’t get discouraged if your first attempt isn’t perfect. The beauty of Selaginella cathedrifolia is that it’s a resilient plant, and with a little practice and a lot of care, you’ll soon have a wonderful collection of your own. Enjoy the process and the joy of nurturing new life! Happy gardening!
Resource:
https://identify.plantnet.org/k-world-flora/species/Selaginella%20cathedrifolia%20Spring/data