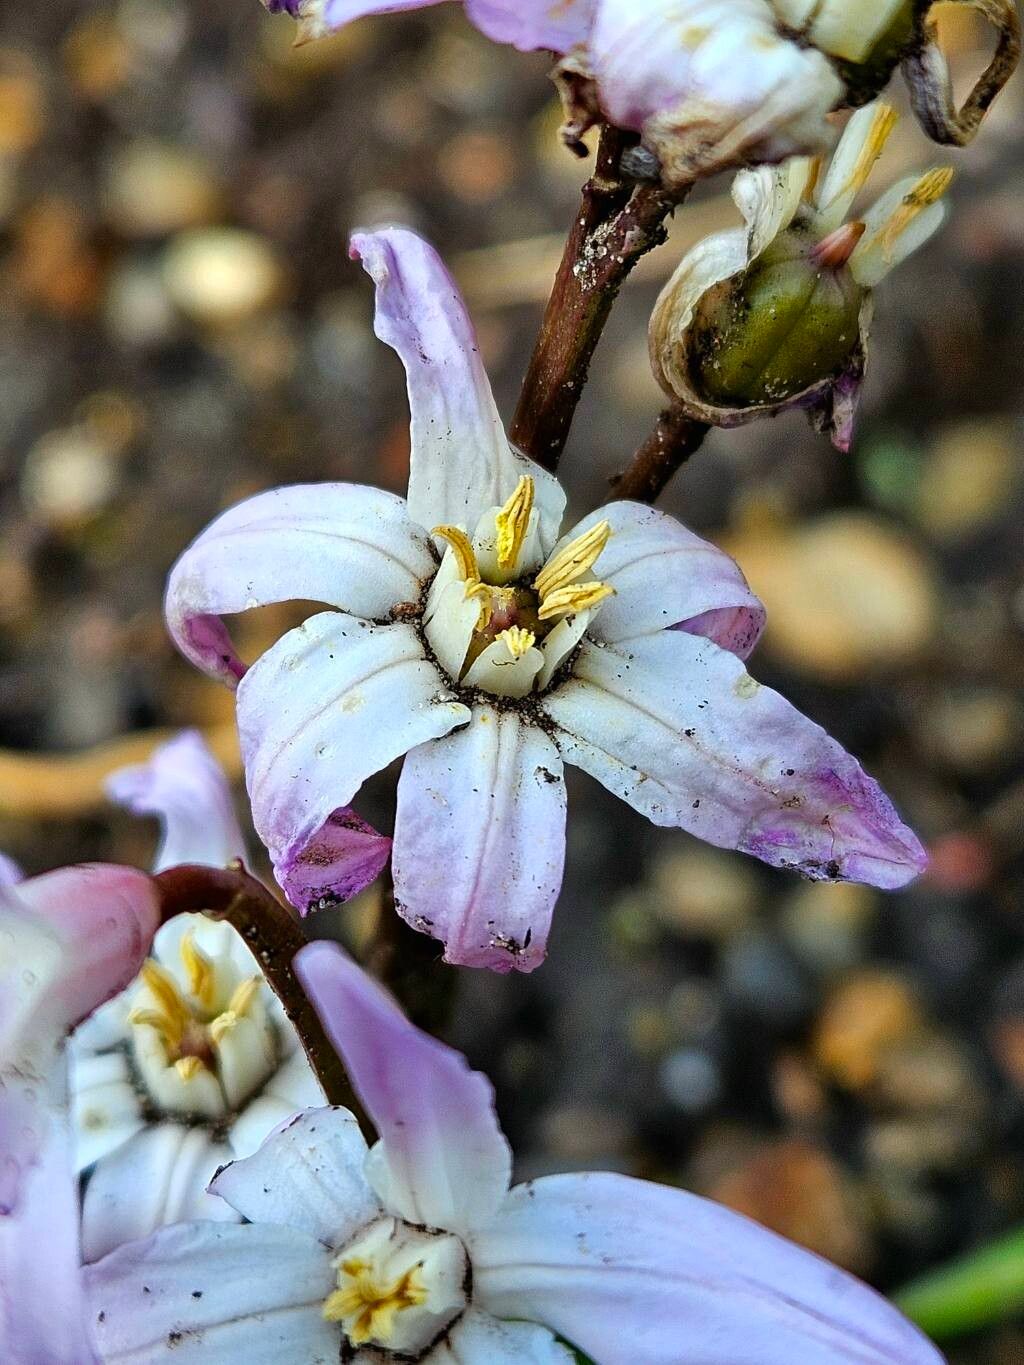
Hello green thumbs! I’m so thrilled you’re interested in propagating Scilla forbesii. This little gem, with its star-shaped, vibrant blue flowers, is an absolute delight in early spring. Seeing those tiny buds unfurl brings such a sense of joy and accomplishment. And the best part? Sharing that joy by creating more of these beauties from your existing plants is incredibly rewarding. For beginners, I’d say Scilla forbesii is a moderately straightforward plant to propagate, especially if you focus on its natural inclinations.
The Best Time to Start
For Scilla forbesii, the absolute sweet spot for propagation is late spring to early summer, right after the plant has finished its blooming cycle. You’ll notice the foliage starting to yellow and die back. This is when the bulbs are storing energy and are most robust, giving your propagation efforts the best chance of success. Trying to do it when the plant is actively growing or flowering can stress it out unnecessarily.
Supplies You’ll Need
To get started on your propagation adventure, here’s a simple list of what you’ll want to have on hand:
- Hand trowel or small spade: For carefully excavating the bulbs.
- Sharp, clean knife or secateurs: To divide clumps or trim roots. Sterilize them with rubbing alcohol beforehand!
- Well-draining potting mix: A good quality mix for bulbs or a blend of potting soil, perlite, and sand works wonderfully.
- Small pots or seed trays: With drainage holes, of course.
- Rooting hormone (optional but helpful): For division, it can give a little boost.
- Watering can or spray bottle: For gentle watering.
- Labels and a marker: To keep track of what you’ve planted.
Propagation Methods
The most effective and easiest way to propagate Scilla forbesii is through division. These plants naturally form small clusters of bulbs underground, and separating them is a natural process.
- Gently Excavate: With your trowel, carefully dig around the base of the Scilla forbesii plant. Start a few inches away from the main clump to avoid damaging the bulbs. Loosen the soil and gently lift the entire clump out of the ground.
- Clean the Bulbs: Gently brush away as much soil as you can from the bulbs. You’ll see the main bulb with smaller offset bulbs attached.
- Separate the Offsets: This is where your clean knife comes in. Carefully examine the clump. You’re looking for individual bulbs that are already slightly separated or have their own roots. Gently twist or use your knife to separate healthy offsets from the main bulb. Ideally, each offset will have at least a few roots attached. Don’t worry if you lose a few tiny roots; they’ll grow back. If you’re dividing a very tight cluster, you might need to cut through some tougher bulb tissue, but always aim for the cleanest separation possible.
- Pot Them Up: Fill your chosen pots or trays with your well-draining potting mix. Make a small hole large enough to accommodate the bulb and its roots. Plant the offsets so the top of the bulb is just at or slightly below the soil surface. Don’t plant them too deep!
- Water Gently: Give the newly potted bulbs a light watering. You want the soil to be moist, not soggy.
The “Secret Sauce” (Pro Tips)
Now, for a couple of tricks I’ve learned over the years:
- Don’t Over-Crowd: When you’re dividing, resist the urge to plant every tiny little bulbule you find. Focus on offsets that are at least the size of a pea and have some discernible roots. Smaller ones might struggle to establish.
- Mimic Nature’s Dormancy: After planting your divisions, I like to keep them in a relatively cool, dry place for a couple of weeks. This mimics the natural dry period they experience underground and allows them to settle in before encouraging new growth. Think of it as a little “rest” period.
- Label Everything: This might seem obvious, but trust me, when you have multiple pots going, it’s easy to forget which Scilla forbesii came from which clump. A simple label with the date and source plant will save you confusion later.
Aftercare & Troubleshooting
Once your divisions are potted, keep them in a bright spot out of direct, intense sun. Water them whenever the top inch of soil feels dry. You might not see much action for a while, and that’s perfectly normal! The bulbs are busy establishing their root systems before pushing up new foliage.
The most common issue you’ll likely encounter is rot. This happens if the soil stays too wet for too long. You’ll see the bulb turn mushy and a bit translucent, often with a foul smell. If you spot this, it’s best to discard the affected bulb to prevent it from spreading. Good drainage is your best friend here! If you see no sign of life after several weeks, don’t despair. Sometimes bulbs take their time. Gently probe the soil to check if the bulb is still firm.
A Encouraging Closing
Propagating Scilla forbesii is a peaceful and rewarding process. It connects you more deeply with your garden and gives you the joy of countless blue blooms to come. Be patient with your new divisions; they’ve got a journey ahead of them. Enjoy the anticipation, celebrate the tiny shoots that eventually emerge, and savor the beauty you’ve helped create! Happy gardening!
Resource:
https://identify.plantnet.org/k-world-flora/species/Scilla%20forbesii%20(Baker)%20Speta/data