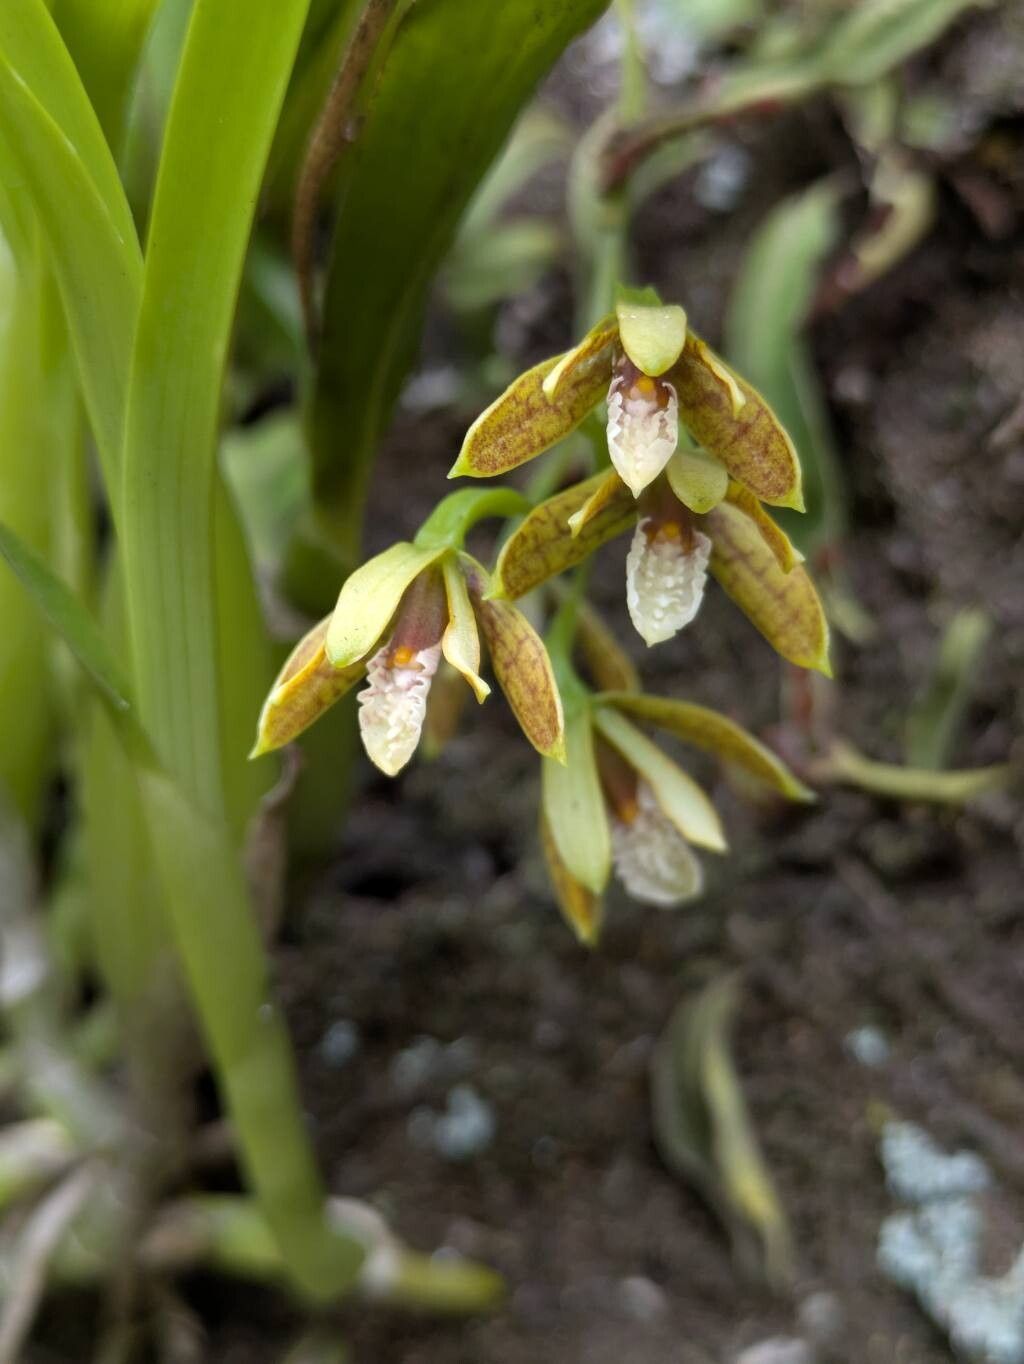
Hello there, fellow plant lovers! Today, we’re diving into the wonderful world of Prosthechea livida, a gem of an orchid that brings a unique charm to any collection. I’ve spent years growing and sharing these beauties, and let me tell you, propagating them is a truly rewarding journey. There’s something incredibly satisfying about nurturing a tiny cutting into a blooming plant you’ve grown yourself. Now, while Prosthechea livida can be a touch more demanding than some of the super-easy orchids, I promise, with a little patience and this guide, you’ll be well on your way to success. It’s not about being a fancy expert; it’s about understanding what our plants need.
The Best Time to Start
For Prosthechea livida, the sweet spot for propagation is typically late spring or early summer. This coincides with the plant’s active growth phase. You’ll see new pseudobulbs forming and the plant really pushing upwards. Starting when the plant is strong and vibrant means your cuttings or divisions have the best chance of thriving. Trying to propagate when the plant is resting or stressed is just asking for disappointment!
Supplies You’ll Need
Here’s what I always have on hand for my Prosthechea livida propagation projects:
- Sharp, Sterilized Pruning Shears or a Clean Knife: Sterilizing is key to preventing disease transfer. I use rubbing alcohol.
- Cinnamon or a Commercial Fungicide: This acts as a sealant for cuts and helps prevent rot.
- The Right Potting Mix: For orchids like this, a well-draining orchid bark mix is essential. You can buy pre-made mixes or create your own with orchid bark, perlite, and a bit of horticultural charcoal.
- Small Pots or Seedling Trays: These should have good drainage holes.
- Rooting Hormone (Optional but Recommended): A powder or gel form can give your cuttings a helpful boost.
- Spray Bottle: For gentle misting.
- Clear Plastic Bag or Humidity Dome: To maintain a humid environment for cuttings.
- Labels and a Marker: So you know what you’ve propagated and when!
Propagation Methods
Prosthechea livida is best propagated by division when it’s well-established, or by taking keikis (which are like little baby plants that grow off the main plant).
Division
When your Prosthechea livida has several pseudobulbs and is looking a bit crowded in its pot, it’s a prime candidate for division.
- Gently remove your orchid from its pot. Try not to damage the roots too much.
- Carefully tease apart the root ball. You’re looking for natural breaks where the plant divides into sections, each with at least two or three pseudobulbs and healthy roots.
- If the roots are tangled, you might need to use your sterilized knife or shears to make a clean cut. Don’t be afraid to make the cut, just make it clean and efficient.
- Once you have your divisions, inspect the cut surfaces. Let them air dry for a few hours to callus over, or apply a bit of cinnamon or fungicide. This is crucial for preventing rot.
- Pot each division into its own small pot with fresh, well-draining orchid mix. The base of the pseudobulbs should be at or slightly above the surface of the mix.
- Water lightly after potting. Don’t drench it.
Keikis
Keikis are often the result of good care and can be an exciting discovery!
- Look for keikis forming on the mature pseudobulbs or even on flower spikes. They’ll usually have tiny leaves and even a few small roots.
- Wait until the keiki has developed a few of its own roots, ideally at least an inch long. This is important for its survival.
- Using your sterilized knife or shears, carefully cut the keiki away from the mother plant, ensuring you get a bit of its own root system attached.
- If the attachment point on the mother plant looks a bit fleshy, you can dust it with cinnamon as a preventive measure.
- Pot the keiki in a small pot with orchid mix, just as you would a division. Make sure the roots are nestled into the mix.
The “Secret Sauce” (Pro Tips)
Here are a couple of things I’ve learned through trial and error that really make a difference:
- Don’t Over-Pot Early On: For divisions and keikis, start them in smaller pots than you might think. A pot that’s too large can hold too much moisture and lead to root rot, which is the enemy of new orchid growth. They like to feel a little snug at first.
- The Power of Gentle Airflow: While you want to keep humidity high for your new propagations, don’t suffocate them. A gentle breeze from a fan on a low setting, or just an open window when the conditions are right, can help prevent fungal issues and encourage stronger growth. Stagnant, overly damp air is a recipe for trouble.
Aftercare & Troubleshooting
Once your divisions or keikis are potted, they need a little extra TLC.
- Humidity is Key: Place the pots inside a clear plastic bag, a terrarium, or under a humidity dome. Mist the surrounding air lightly with your spray bottle, but try to avoid getting water directly on the leaves or pseudobulbs for extended periods. You want the air to be moist, not soggy.
- Light Requirements: Place the newly potted plants in a spot with bright, indirect light. Avoid direct sun, which can scorch tender new growth.
- Watering: Water sparingly at first. Let the potting mix dry out slightly between waterings. You’re encouraging root development, not drowning them.
- Troubleshooting: The most common problem you’ll encounter is rot. If you see pseudobulbs turning mushy and dark, or leaves yellowing and dropping rapidly even with no obvious drought, it’s often rot. This can happen if too much moisture sits on the plant or in the potting mix. If you catch it early, try to remove the affected parts with your sterilized tools, dust with cinnamon or fungicide, and let it dry out more thoroughly. If a plant is severely rotted, it might be time to let it go and try again.
A Encouraging Closing
There you have it! Propagating Prosthechea livida might seem a little daunting at first, but it’s a journey filled with learning and discovery. Be patient with your new plants, observe them closely, and don’t be discouraged if every attempt isn’t perfect. That’s part of the gardening adventure! Enjoy the process, and soon you’ll be rewarded with more of these stunning orchids to admire. Happy growing!
Resource: