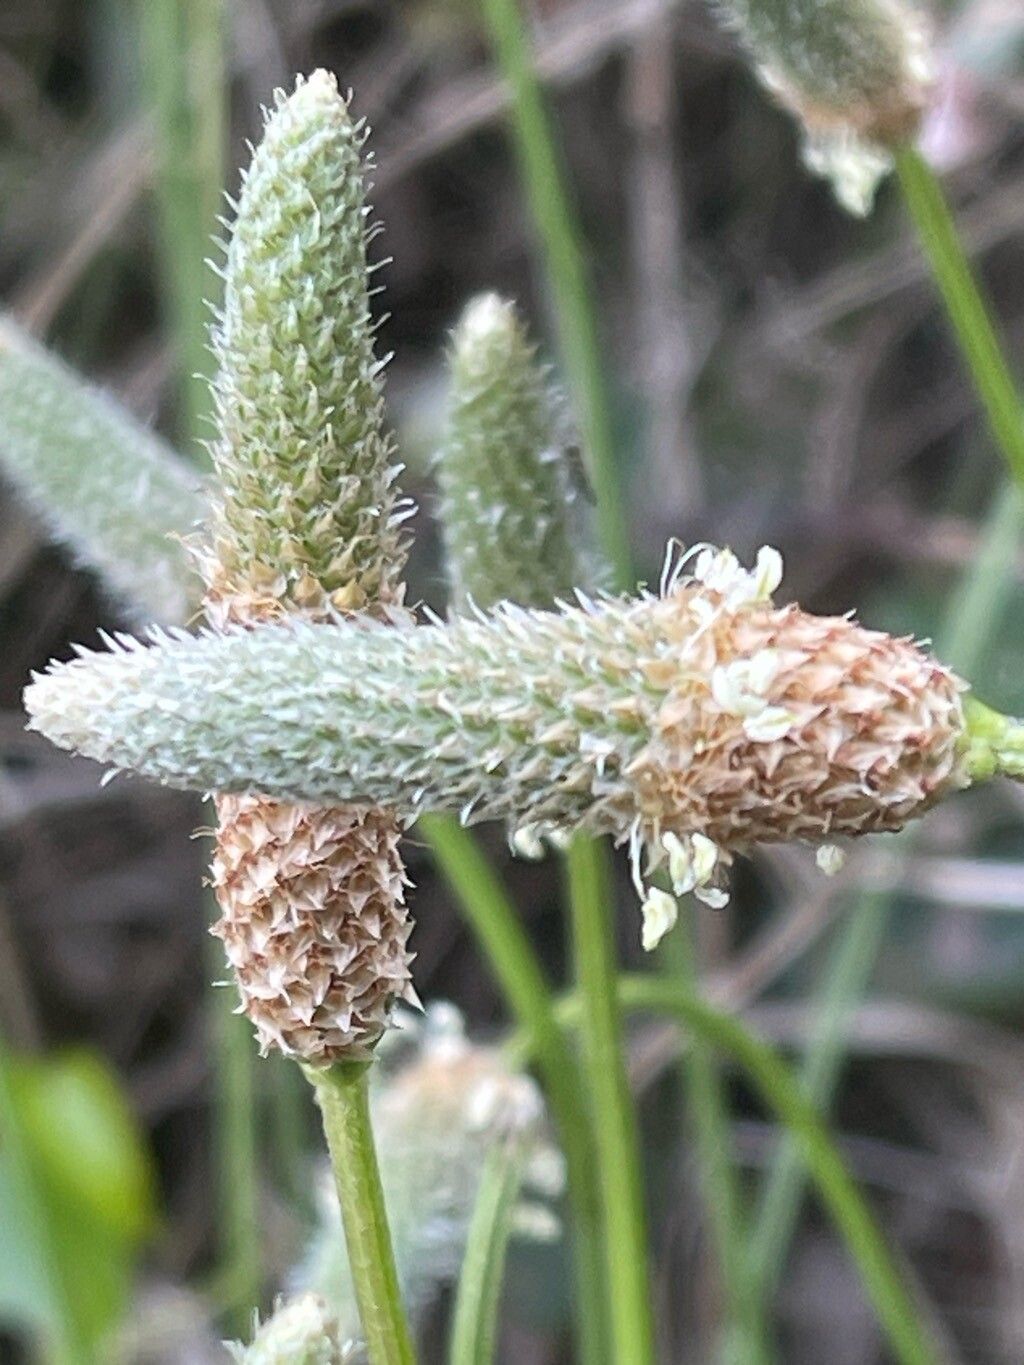
Hey there, fellow plant lovers! It’s so good to have you here. Today, we’re diving into the wonderful world of propagating Plantago lanceolata, or as some folks affectionately call it, ribwort or lanceleaf plantain. This humble little plant might not have the flashy blooms of a rose, but it’s got a quiet charm all its own. I love it for its resilience, its fascinating leaf structure, and the tiny, architectural flower spikes it sends up. Plus, it’s a fantastic plant for attracting beneficial insects to your garden.
Now, if you’re new to the gardening game, I’ve got good news for you! Propagating Plantago lanceolata is wonderfully straightforward. You’ll find it to be a very forgiving plant, making it a fantastic choice for beginners looking to expand their plant family. It’s incredibly rewarding to take a piece of your favorite plant and help it grow into something new.
The Best Time to Start
For the absolute highest success rate, I always aim to propagate Plantago lanceolata in late spring to early summer. This is when the plant is in its most vigorous growth phase. New shoots are plump and full of energy, and the warmer temperatures provide that essential boost for root development. You can also do it in early autumn before the real chill sets in, but spring is generally my go-to.
Supplies You’ll Need
Don’t worry, you won’t need a whole greenhouse full of fancy gadgets. Here’s a simple list to get you started:
- Sharp Pruning Shears or a Clean Knife: For making clean cuts.
- Small Pots or Seed Trays: With good drainage holes.
- Well-Draining Potting Mix: I like a blend of seed-starting mix and perlite (about a 50/50 ratio is perfect).
- Rooting Hormone (Optional but Recommended): A powder or gel can give your cuttings an extra edge.
- Watering Can with a Fine Rose Attachment: To water gently without disturbing delicate roots.
- Plastic Bag or Clear Dome Lid: To create a humid environment for your cuttings.
Propagation Methods
Plantago lanceolata is a champion of division, and it’s also quite happy to root from cuttings. Here’s how I usually tackle it:
Method 1: Division (My Favorite for This Plant!)
This is probably the easiest and most rewarding way to propagate Plantago lanceolata.
- Gently Excavate: Water your main plant thoroughly a day or two beforehand. Then, carefully dig it up from the ground or remove it from its pot.
- Identify Natural Breaks: Look at the root ball. You’ll usually see natural clumps or divisions where new growth has emerged.
- Separate with Care: Using your hands or a clean trowel, gently pull the clumps apart. Try to keep as much of the root system intact as possible on each division. If the roots are really tangled, a clean knife can help here. Each division should have at least a few viable shoots and some roots.
- Pot Them Up: Fill your small pots with your prepared potting mix. Make a little hole in the center of each and place a division in, spreading the roots out naturally.
- Water Well: Water them in thoroughly, making sure the soil is evenly moist but not waterlogged.
Method 2: Stem Cuttings
This method is also quite effective, especially with softer new growth.
- Take Your Cuttings: In late spring or early summer, find a healthy, non-flowering shoot. Using your sharp shears, make a clean cut just below a leaf node (where a leaf attaches to the stem). Aim for cuttings that are about 3-4 inches long.
- Prepare the Cuttings: Remove the lower leaves from the cutting, leaving just a couple at the very top. This prevents them from rotting in the soil.
- Dip in Rooting Hormone (Optional): If you’re using rooting hormone, dip the cut end into the powder or gel according to the product’s instructions.
- Plant the Cuttings: Fill your pots with the well-draining mix. Make a small hole with a pencil or your finger and insert the cutting, ensuring the leaf nodes you removed are buried in the soil. Gently firm the soil around the stem.
- Provide Humidity: Water the pots gently. Then, cover the pots loosely with a plastic bag or place them under a clear dome lid. This traps moisture and creates a humid environment, which is crucial for cuttings to root. Make sure the leaves don’t touch the plastic.
The “Secret Sauce” (Pro Tips)
Here are a few little tricks that have helped me immensely over the years:
- Bottom Heat is Your Friend: For cuttings, placing them on a gentle heating mat can dramatically speed up root formation. Most plants, including Plantago lanceolata, love a bit of warmth from below, especially when getting started. Don’t make it too hot, just a gentle warmth.
- “Wake Up” Divisions: When you’re dividing plants, even if they look healthy, sometimes giving them a gentle rinse of their roots under cool water can help remove old soil and encourage new root growth. It’s like a fresh start!
- Don’t Rush the Water: When watering newly divided plants or cuttings, patience is key. Water thoroughly once, then let the soil dry out slightly before watering again. Overwatering is the most common killer of new propagations. Let them breathe between drinks!
Aftercare & Troubleshooting
Once your divisions are potted up or your cuttings have started to show signs of rooting (you might see new leaf growth or feel a gentle tug when you very gently try to wiggle the cutting), it’s time for a bit more attentive care.
- Gradual Acclimation: If you covered your cuttings, gradually remove the plastic bag or dome over a few days. This helps them adjust to the drier air of your home or greenhouse.
- Consistent Moisture: Keep the soil consistently moist but not soggy. You’ll get a feel for it, honestly! Check the soil with your finger – if it feels dry about an inch down, it’s time for a drink.
- Bright, Indirect Light: Place your new plants in a spot with bright, indirect sunlight. Avoid harsh, direct sun, which can scorch delicate new growth.
Now, what if things don’t go as planned? The most common issue you’ll encounter is rot. If you see stems turning black or mushy, or the leaves wilting dramatically despite the soil being moist, it’s usually a sign of too much water and not enough air circulation. Discard any rotted material immediately and ensure your potting mix is free-draining. If cuttings shrivel up and don’t root, it might be that they simply didn’t get enough humidity or warmth. Don’t be discouraged; every gardener loses some!
A Encouraging Closing
Propagating plants is such a beautiful journey. It teaches us patience, observation, and the incredible power of nature. Seeing those tiny roots emerge and a new plant unfurl its first leaves is a truly special moment. So, grab your shears, get your hands in the soil, and enjoy the process. Happy propagating, and may your Plantago lanceolata thrive!
Resource:
https://identify.plantnet.org/k-world-flora/species/Plantago%20lanceolata%20L./data