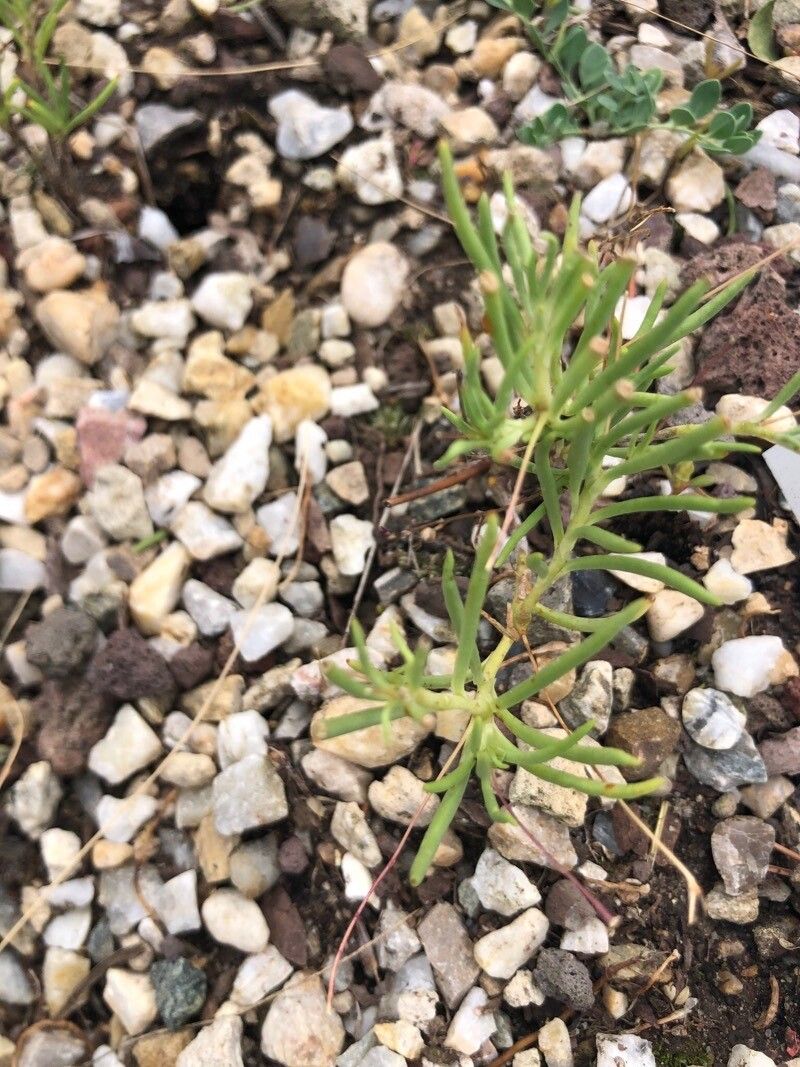
Hey there, fellow plant lovers! Today, we’re diving into the wonderful world of Phemeranthus punae, a succulent that just brings a smile to my face. Its unique, almost architectural form and vibrant colors are a real showstopper in any collection. And the best part? Propagating it is surprisingly rewarding, and I’m here to show you how.
Now, I know some succulents can be a bit… fussy. But Phemeranthus punae? I’d say it’s moderately easy to propagate, making it a fantastic project for those of you looking to expand your green family without too much stress.
The Best Time to Start
For the highest success rates, I always recommend starting your propagation efforts during the peak growing season. For most Phemeranthus punae, this means late spring through summer. You’ll notice your plants are active, producing plenty of healthy growth that’s perfect for taking cuttings. Trying to propagate when the plant is dormant in winter is like asking for water from a stone – it’s just not going to happen!
Supplies You’ll Need
Here’s a quick rundown of what you’ll want to have on hand:
- Sharp, clean pruning shears or a sharp knife: Essential for making clean cuts to prevent disease.
- Well-draining potting mix: A cactus or succulent mix is ideal. You can also make your own by combining potting soil with perlite or coarse sand at a 1:1 ratio.
- Small pots or trays: Terracotta pots are great because they breathe.
- Rooting hormone (optional but helpful): Encourages faster root development.
- Spray bottle: For gentle misting.
- Labeling stakes: To keep track of what you’ve propagated and when.
Propagation Methods
There are a couple of ways to work your magic with Phemeranthus punae. I find the following two to be the most reliable:
1. Stem Cuttings: My Go-To Method
This is usually my first choice because it feels like the most direct way to get new plants.
- Select a healthy stem: Look for a mature, strong-looking stem that’s at least 2-3 inches long. Avoid any that look leggy or sickly.
- Make a clean cut: Using your sharp shears or knife, make a clean cut just above a node (where a leaf attaches to the stem).
- Let it callous: This is a crucial step! Lay the cutting in a dry, shaded spot for 2-5 days. You want the cut end to dry out and form a protective callus. Skipping this step is a fast track to rot.
- Apply rooting hormone (if using): Lightly dip the calloused end in rooting hormone.
- Plant your cutting: Gently insert the calloused end into your prepared potting mix. Make sure it’s firm enough to stand upright. You can bury the bottom two nodes for extra stability.
- Provide gentle care: Place the pot in a bright spot with indirect light. Water very sparingly – just enough to moisten the soil.
2. Leaf Propagation: For the Patient Gardener
While stem cuttings are my favorite, you can also be successful with individual leaves, though it often takes a bit longer to see results.
- Gently remove a healthy leaf: Carefully twist or cut off a mature leaf from the main plant. Try to get a little bit of the stem attached if possible.
- Let it callous: Just like with stem cuttings, this is a non-negotiable step. Allow the leaf to callous over for a few days in a dry, shaded area.
- Place on soil: Lay the calloused leaf on top of your well-draining potting mix. You can lightly press the calloused end into the soil if you like, but it’s not strictly necessary.
- Mist lightly: Use your spray bottle to gently mist the soil surface every few days. You want the soil to be barely moist, not wet.
- Patience is key: You’ll eventually see tiny plantlets emerge from the calloused end. This can take several weeks, so try not to fuss too much!
The “Secret Sauce” (Pro Tips)
Over the years, I’ve learned a few little tricks that really seem to make a difference:
- Don’t overwater, ever! This is the golden rule for succulents, and it’s even more important for cuttings. They have no roots to soak up excess moisture, so they’ll rot in a heartbeat. I often let the soil dry out completely between waterings when propagating.
- Warmth is your friend: These little guys love a bit of warmth to get those roots going. Placing your pots on a heat mat set to a low temperature (around 70-75°F or 21-24°C) can really speed up the process for both stem and leaf cuttings.
- Airflow matters: Make sure your cuttings have good air circulation. This helps prevent fungal issues. If you’re using a propagation tray with a lid, prop it open slightly.
Aftercare & Troubleshooting
Once you start seeing tiny roots emerging (you might see them poking out of the drainage holes or feel a little resistance when you gently tug on the cutting), it’s time to adjust your care.
- Water more regularly (but still cautiously): Once roots have formed, you can start watering a bit more, but always let the soil dry out between waterings. Now you can water thoroughly until water comes out the bottom.
- Gradually introduce more light: As your new plant grows, you can slowly move it into brighter, indirect light. Avoid direct, harsh sun, especially at first.
What if things go wrong? The most common issue you’ll face is rot. If your cutting turns mushy and black, it’s likely succumbed to rot. This is often due to overwatering or not letting the cutting callous properly. Don’t get discouraged! Just clean your tools, start again with a fresh cutting, and remember those crucial steps. Another sign failures can be if the cutting shrivels up and never roots – this could mean it’s too dry, or the environment is too cool.
A Encouraging Closing
Propagating plants like Phemeranthus punae is such a wonderfully fulfilling part of gardening. It’s a chance to be patient, observe, and create new life. Don’t be afraid to experiment, and remember that every gardener, no matter how experienced, has their share of failed attempts. Just keep trying, enjoy the process, and soon you’ll have a whole tribe of these gorgeous succulents! Happy growing!
Resource: