Hello there, fellow plant lovers! It’s so lovely to connect with you today. If you’ve ever admired the vibrant foliage and charming blooms of Ouratea scottii, you’re in for a treat. I’m going to share how to bring more of this beauty into your garden by propagating your own. Trust me, there’s a special kind of joy in watching a tiny cutting transform into a thriving plant.
Why Ouratea Scottii?
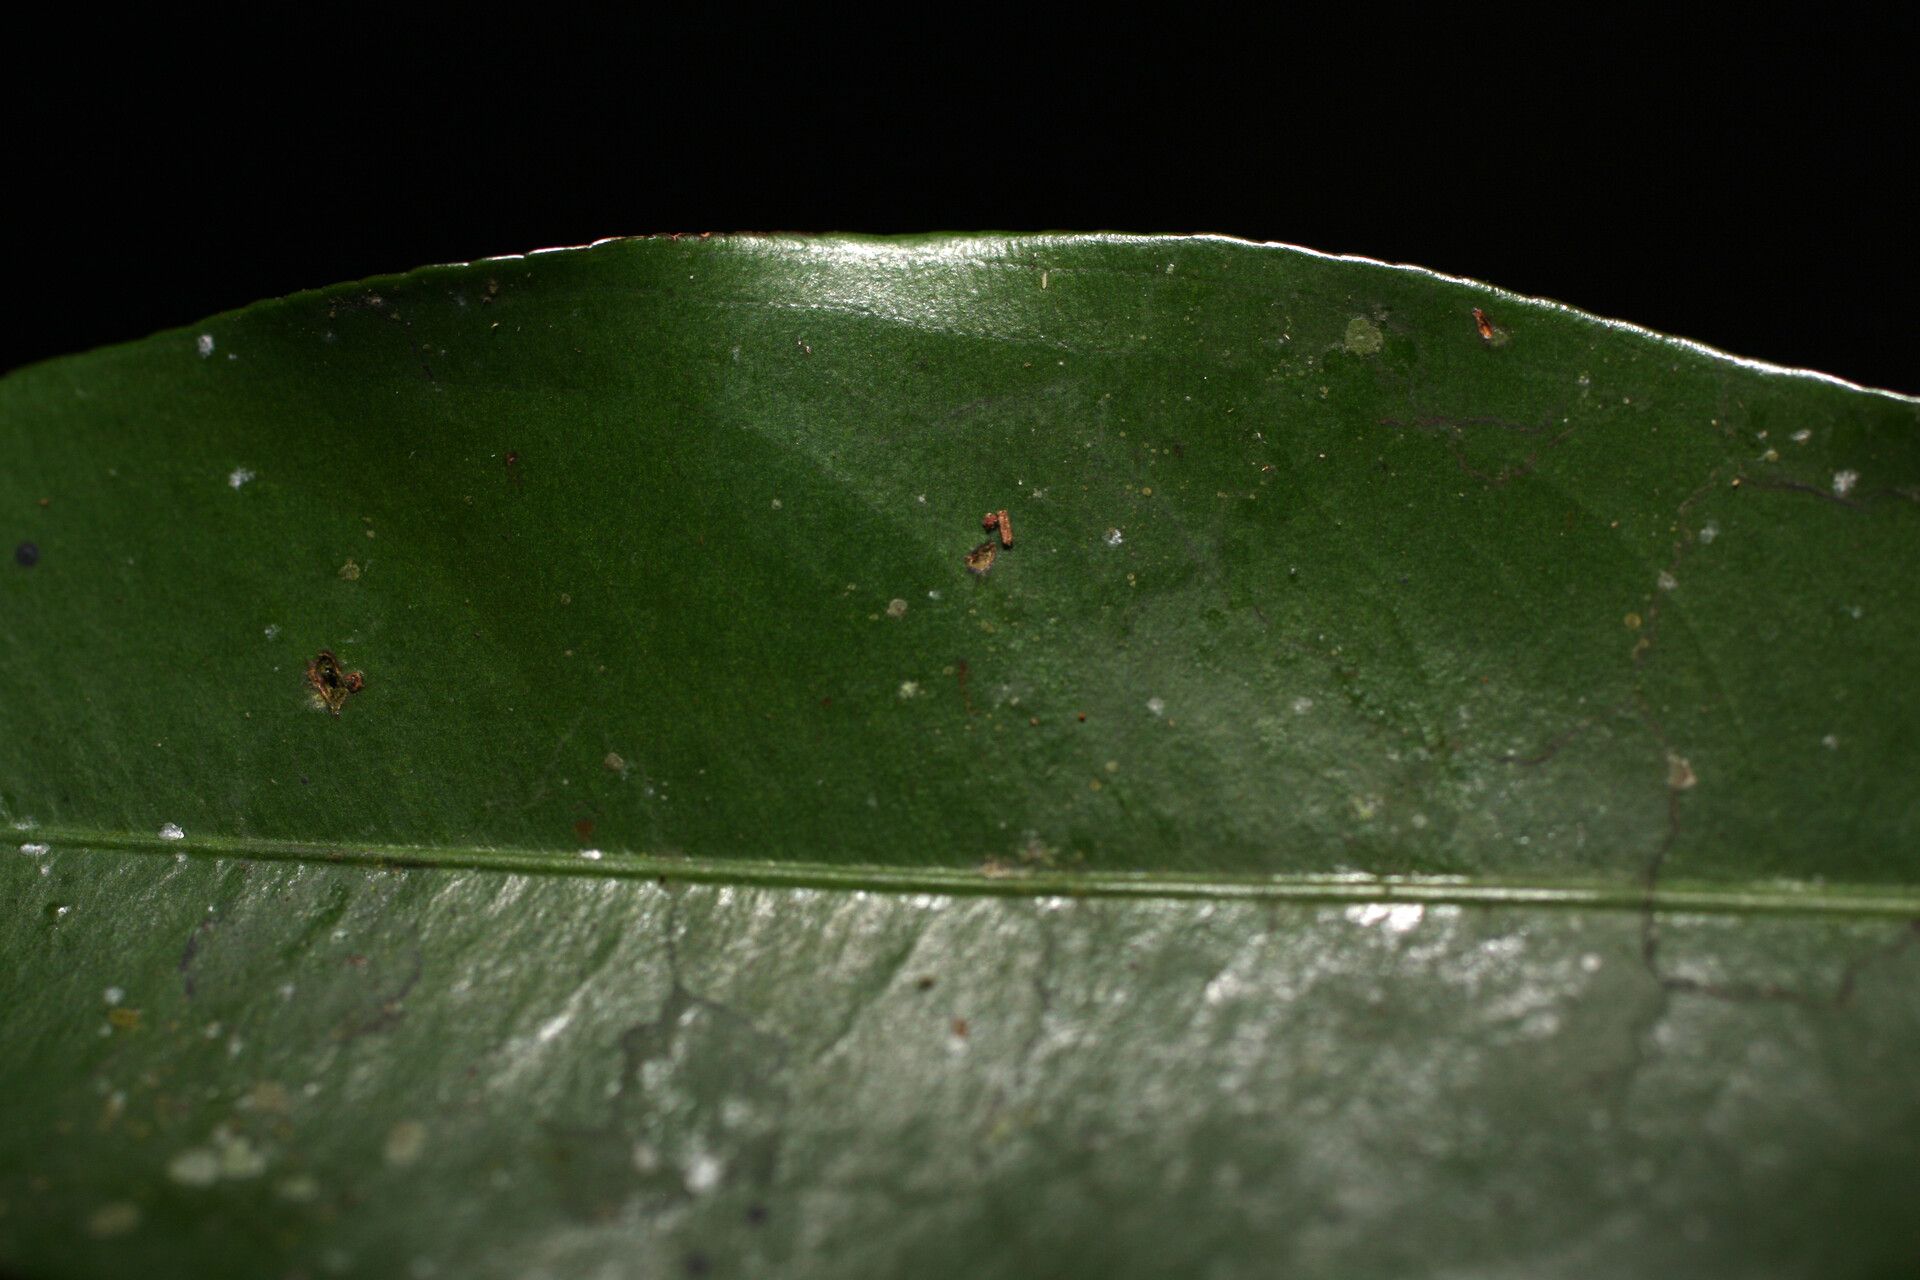
Ouratea scottii is a gem, isn’t it? Its glossy, leathery leaves offer a touch of evergreen elegance, and the delicate, often yellow flowers are simply delightful. It’s a fantastic way to add a splash of subtle color and texture to your home or garden. While some plants can be a bit finicky to propagate, I find Ouratea scottii to be quite rewarding. It’s not the absolute easiest for a complete beginner, but with a little guidance, you’ll be successful!
When to Get Started
The best time to propagate Ouratea scottii is usually during its active growing season. For most of us, this means spring and early summer. You’re looking for healthy, new growth – not the old, woody stems. Think of it as taking a cutting from a branch that’s just really excited about putting out new leaves.
Your Propagation Toolkit
Here’s what you’ll want to have on hand:
- Sharp, clean pruning shears or a sharp knife: A clean cut is crucial for preventing diseases.
- Rooting hormone powder or gel: This isn’t strictly necessary, but it really gives your cuttings a boost.
- Well-draining potting mix: I like to use a blend of equal parts peat moss or coco coir and perlite. This ensures good aeration and prevents waterlogged soil.
- Small pots or trays: Clean pots are a must!
- Plastic bags or a propagation dome: This helps maintain humidity.
- Watering can or mister: Gentle watering is key.
Let’s Get Propagating! Stem Cuttings, My Favorite
Stem cuttings are my go-to method for Ouratea scottii. They’re straightforward and yield great results.
- Select Your Cuttings: Look for healthy, non-flowering stems that are about 4-6 inches long. You want a stem that has a bit of flexibility, not something stiff and old. Make your cut just below a leaf node (where a leaf attaches to the stem).
- Prepare the Cuttings: Gently remove the lower leaves from your cutting, leaving only a few at the top. This prevents them from rotting in the soil. If the leaves are very large, you can even cut them in half horizontally to reduce water loss.
- Dip in Rooting Hormone: Dip the cut end of the stem into your rooting hormone, tapping off any excess.
- Plant Your Cuttings: Fill your small pots or trays with your prepared potting mix. Make a small hole with your finger or a pencil, and insert the cutting. Gently firm the soil around the base.
- Water Gently: Water the soil lightly until it’s moist but not soggy.
- Create a Humid Environment: Cover the pots with a plastic bag or a propagation dome. You want to create a mini greenhouse effect to keep the humidity high. Make sure the leaves aren’t touching the plastic if possible. Place them in bright, indirect light.
The “Secret Sauce” from My Garden Notebook
Here are a few little tricks that have made a big difference for me:
- Bottom Heat is Your Friend: If you can, place your pots on a gentle heat mat. This little bit of warmth from below encourages root development and significantly increases your success rate, especially if your home is on the cooler side.
- Mist Regularly, But Not Too Much: During the first few weeks, mist the cuttings daily. You want to keep that surface layer of soil moist and the air humid, but avoid creating a swamp. You’ll get a feel for it!
- Patience, Patience, Patience: This is the biggest one. Ouratea scottii can be a little leisurely with its root development. Don’t be tempted to pull them up too early to check for roots! Give them at least 4-8 weeks.
Aftercare and What to Watch For
Once you start to see new leaf growth, that’s a great sign! It means roots are forming.
- Gradually Acclimate: Slowly start to remove the plastic bag or ventilation holes in your dome over a few days. This helps the new plant adjust to a less humid environment.
- Water as Needed: Continue to keep the soil consistently moist, but never waterlogged. Let the top inch of soil dry out slightly between waterings.
- Troubleshooting – What If? The most common problem is rot. If your cutting turns black and mushy, it’s usually a sign of too much moisture. If this happens, unfortunately, you’ll likely have to discard it and try again. Ensure your soil is draining well and that you aren’t overwatering. Yellowing leaves that aren’t new growth can sometimes indicate overwatering, too, or not enough light.
Go Forth and Grow!
Propagating Ouratea scottii is such a rewarding experience. It takes a little patience and a gentle touch, but the payoff of having more of these beautiful plants to share (or keep all to yourself!) is absolutely worth it. Don’t be discouraged if your first attempt isn’t perfect. Every gardener learns by doing, and every plant you nurture is a victory. Happy growing!
Resource:
https://identify.plantnet.org/k-world-flora/species/Ouratea%20scottii%20Sastre/data