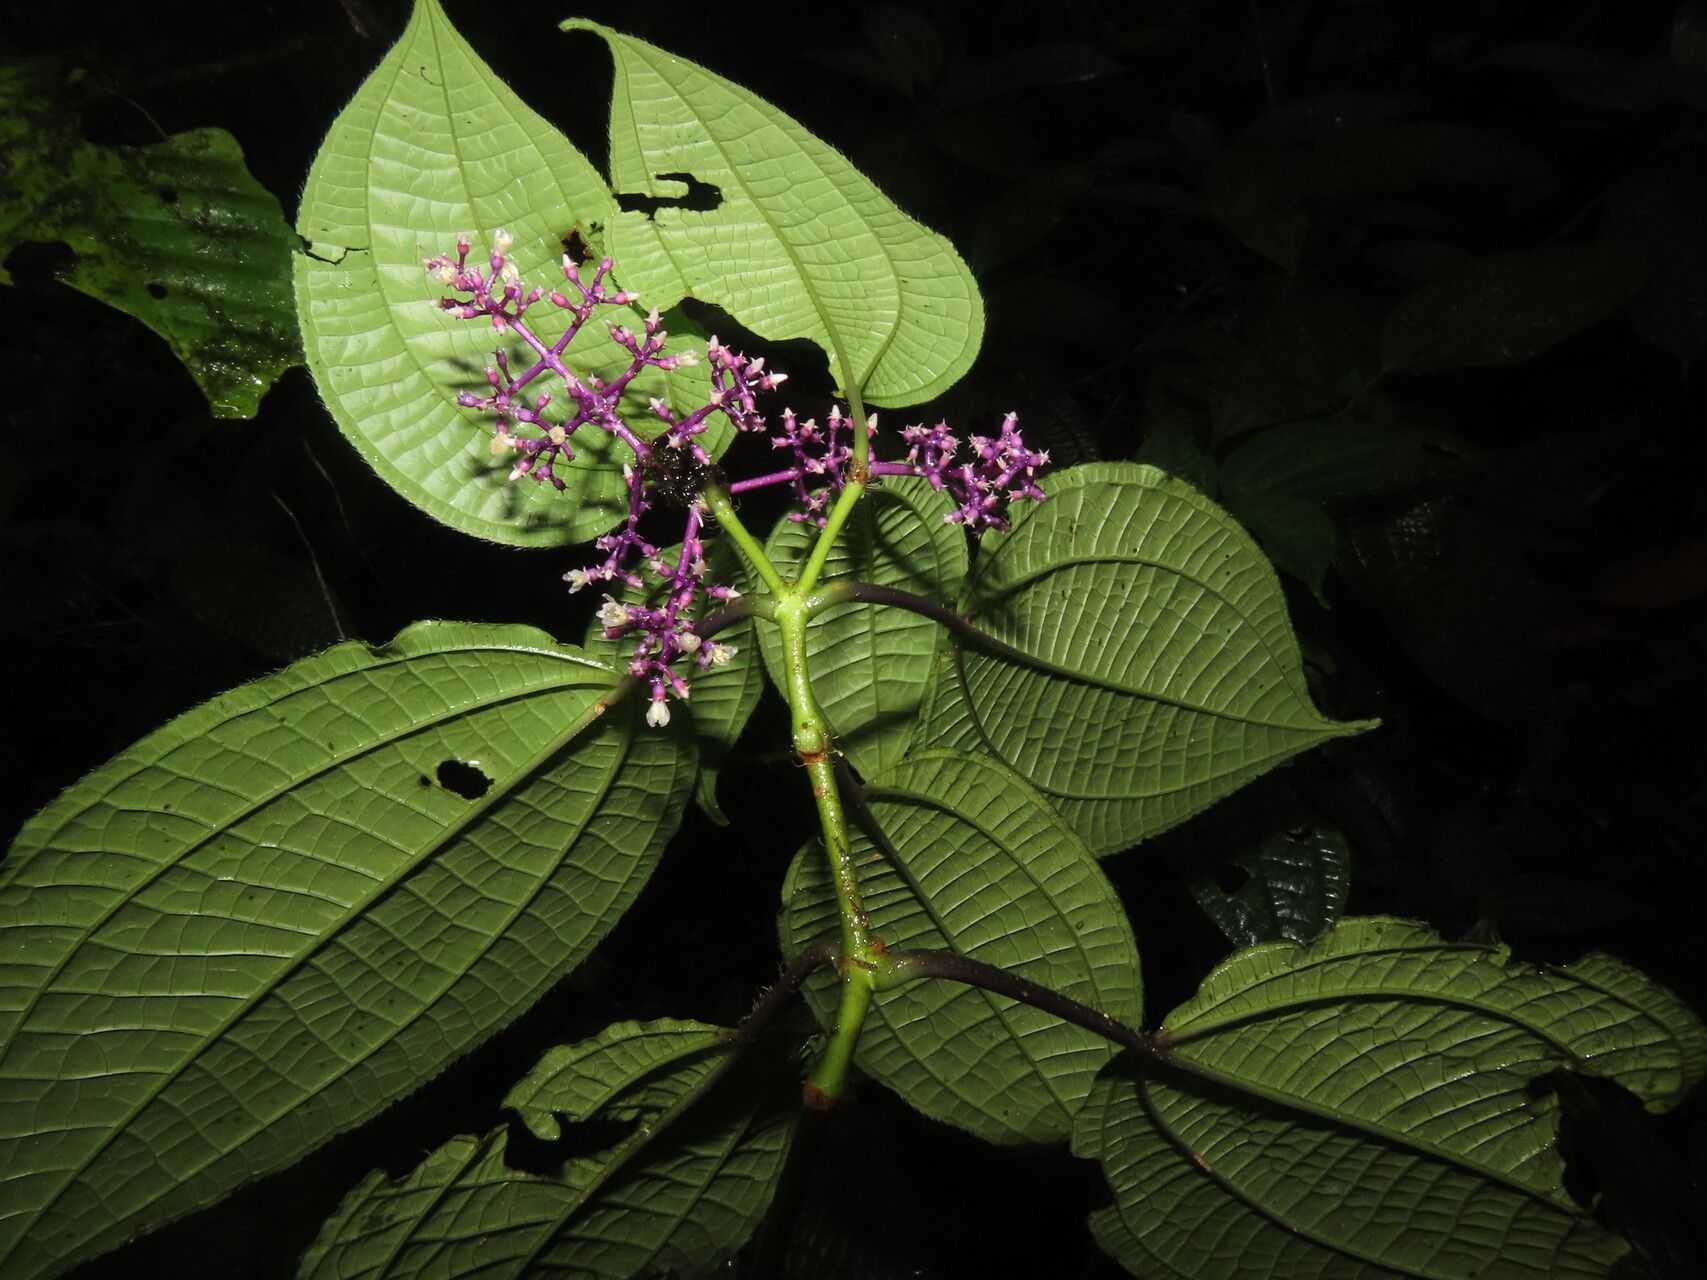
Oh, Miconia centrodesma! What a showstopper. If you’ve ever admired those stunning, velvety leaves with their dramatic veining, you know exactly why I’m so excited to talk about propagating this beauty. It’s like capturing a little piece of that botanical magic to share throughout your garden or with fellow plant lovers.
For many gardeners, Miconia centrodesma can be a bit of a rewarding challenge. It’s not as straightforward as, say, a Pothos, but with a little patience and the right techniques, I promise you’ll be celebrating your own Miconia babies. It’s one of those projects that makes me feel like I’ve truly earned my green thumb!
The Best Time to Start
My experience tells me that spring and early summer are your absolute sweet spots for Miconia propagation. The plant is naturally bursting with new growth then, meaning it’s full of vigor and ready to put that energy into making roots. Aim to take cuttings when the stems are semi-hardwood – they’re no longer brand new and floppy but not yet old and woody. This gives them the best chance to root successfully.
Supplies You’ll Need
Here’s what I always have on hand when I’m propagating Miconia:
- Sharp, clean pruning shears or a sharp knife: Essential for making clean cuts that heal well.
- Rooting hormone powder or gel: This isn’t strictly necessary for every plant, but for Miconia, it really gives your cuttings a boost.
- Well-draining potting mix: I like a blend of peat moss, perlite, and a little compost. You can also find mixes specifically for cuttings.
- Small pots or propagation trays: Clean, with drainage holes, of course!
- Clear plastic bags or a propagation dome: To maintain humidity around your cuttings.
- A watering can or spray bottle: For keeping things moist.
- Optional: A heat mat: This can really speed things up, but it’s not a must-have.
Propagation Methods
Let’s get our hands dirty! Miconia centrodesma strikes beautifully from stem cuttings. It’s my go-to method for this plant.
- Select Your Cutting: Look for a healthy, vigorous stem that’s about 6-8 inches long and has at least two sets of leaves. Make a clean cut just below a leaf node (where a leaf attaches to the stem). This is where the roots will emerge.
- Prepare the Cutting: Gently remove the lower leaves, leaving just a couple of sets at the top. If the remaining leaves are very large, I’ll often cut them in half horizontally. This reduces water loss through transpiration without signaling the cutting to abort the mission for lack of energy to support all that foliage.
- Apply Rooting Hormone: Dip the cut end of the stem into your rooting hormone, tapping off any excess.
- Plant Your Cutting: Fill your small pots with your well-draining mix. Make a hole in the center with your finger or a pencil, and insert the cutting, ensuring the node where you removed the lower leaves is buried. Gently firm the soil around the stem.
- Water and Cover: Water the potting mix gently until it’s evenly moist but not waterlogged. Then, place the pot inside a plastic bag, sealing it loosely, or cover it with a propagation dome. This creates a humid little greenhouse for your cutting.
The “Secret Sauce” (Pro Tips)
Here are a few little tricks I’ve learned over the years that really make a difference with Miconia propagation:
- Bottom Heat is Your Friend: Miconia, like many tropical plants, loves a warm soil temperature. Placing your pots on a gentle heat mat can significantly speed up root development. It mimics the warm soil of their native environment.
- Don’t Let Those Leaves Touch the Water: If you’re tempted to try water propagation (which can work, though I find soil offers more stability for Miconia cuttings), be absolutely sure that any leaves left on the cutting are well above the water line. Any submerged foliage will quickly rot and can spoil the whole situation.
- Patience is a Virtue (and Sanitation is Key!): Miconia can be a bit slow to show true progress. Don’t be discouraged if you don’t see roots for several weeks. And always use clean tools and pots. Fungus and bacteria are the enemies of new cuttings, and a clean start helps prevent a lot of heartache.
Aftercare & Troubleshooting
Once you see signs of new growth – tiny leaves emerging or the cutting resisting a gentle tug (a good sign of roots!) – it’s time to slowly acclimate your new Miconia to regular conditions. Gradually reduce the humidity by opening the plastic bag a little more each day, or lifting the dome.
Water regularly, but always let the top inch of soil dry out between waterings. Overwatering is the most common culprit for failure. You might see yellowing leaves or a mushy stem base; that’s usually rot setting in. If you spot it, try to salvage any healthy parts of the stem and start again. It happens to the best of us!
A Encouraging Closing
So there you have it! Propagating Miconia centrodesma might take a little extra effort, but the reward of nurturing a new plant from a tiny cutting is incredibly satisfying. Be patient, observe your cuttings, and most importantly, enjoy the journey. Happy growing!
Resource:
https://identify.plantnet.org/k-world-flora/species/Miconia%20centrodesma%20Naudin/data