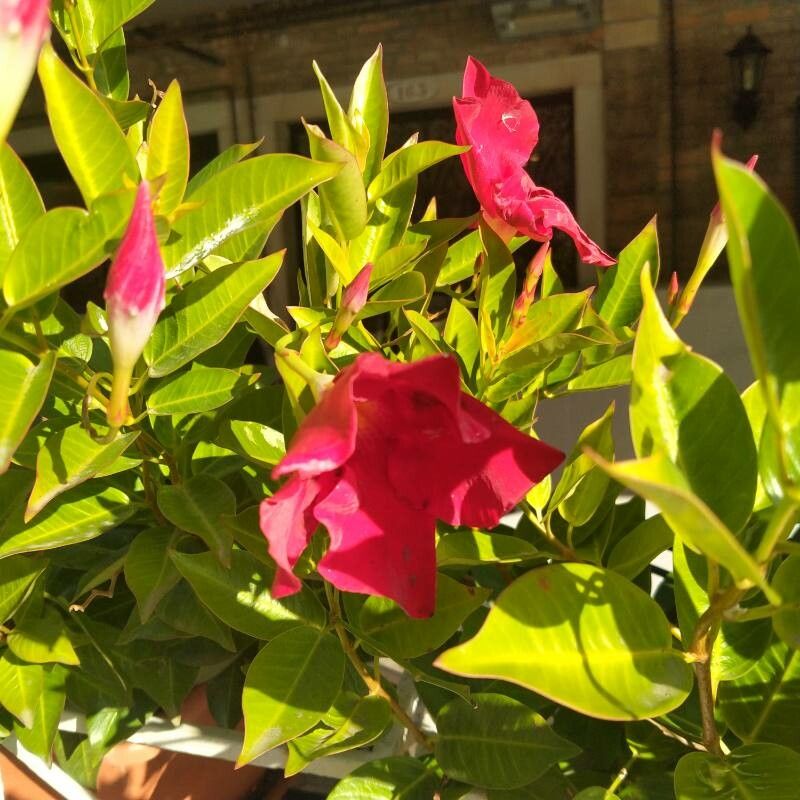
Hey there, fellow garden lovers! If you’ve ever gazed upon a Mandevilla splendens, with its vibrant trumpet-shaped blooms cascading over a trellis or spilling from a hanging basket, you know the sheer joy it brings. That splash of color, that lush tropical feel – it’s pure garden magic. And the best part? You can actually create more of this beauty yourself!
Propagating these gorgeous vines is something I’ve done for years, and it’s incredibly rewarding. While some plants can be a bit fussy, Mandevillas are surprisingly forgiving, making them a wonderful choice for those new to the propagation game. With a little patience and know-how, you’ll be sharing your own Mandevilla starts with friends in no time.
The Best Time to Start
When it comes to getting your Mandevilla cuttings to root, spring and early summer are your golden ticket. This is when the plant is actively growing, meaning it has more energy to put into developing new roots. Aim for healthy, new growth that’s just starting to firm up – think of it as “semi-hardwood.” Avoid trying to propagate from very soft, brand-new growth or old, woody stems.
Supplies You’ll Need
Here’s what I always have on hand for my Mandevilla propagation projects:
- Sharp Pruning Shears or a Clean Knife: For making clean cuts is crucial for preventing disease.
- Rooting Hormone: This is a powdery or gel substance that encourages root development. I find the powdered kind works just fine for Mandevillas.
- Potting Mix: A well-draining mix is essential. I often use a blend of equal parts perlite and peat moss, or a good quality seed starting mix.
- Small Pots or Seedling Trays: Clean containers are a must!
- Plastic Bags or a Propagator Lid: To create a humid environment around your cuttings.
- Watering Can with a Fine Rose: For gentle watering.
- Optional but Recommended: Heat Mat: For providing gentle bottom heat.
Propagation Methods
I’ve found stem cuttings to be the most reliable and straightforward method for Mandevilla. It’s straightforward and yields great results with a bit of care.
Stem Cuttings: Your Best Bet
- Take Your Cuttings: On a healthy, actively growing Mandevilla, look for stems that are about 4-6 inches long. Make a clean cut just below a leaf node (where a leaf attaches to the stem).
- Prepare the Cuttings: Gently remove the lower leaves from the cutting, leaving just 2-3 leaves at the top. This reduces water loss. If the remaining leaves are very large, you can cut them in half horizontally to further reduce transpiration.
- Apply Rooting Hormone: Dip the cut end of each stem into your rooting hormone powder, tapping off any excess. This step seems small, but it can really boost your success rate.
- Plant Your Cuttings: Fill your small pots or seedling trays with your prepared potting mix, and moisten it thoroughly. Make a small hole in the center of each pot or cell with your finger or a pencil. Insert the treated end of your cutting into the hole, ensuring the leaves are not buried. Gently firm the soil around the stem.
- Create a Humid Environment: Water the soil gently again. Then, cover the pots with a plastic bag (making sure the bag doesn’t touch the leaves) or place them inside a propagator with the lid on. This traps humidity, which is vital for cutting survival.
- Provide Warmth and Light: Place your pots in a warm spot that receives bright, indirect light. Avoid direct sun, which can scorch the young cuttings. If you have a heat mat, place the pots on it. This gentle warmth from below is a game-changer for encouraging root formation.
The “Secret Sauce” (Pro Tips)
Now, for a couple of little tricks that I’ve picked up over the years that make a real difference:
- “Clean Cuts, Happy Roots”: I can’t stress this enough – always use sterilized tools. Even a tiny bit of sap from a previous cut can introduce diseases that will doom your precious cuttings. Give your pruners a wipe with rubbing alcohol between cuts.
- Never Let ‘Em Dangle!: When you’re preparing your cuttings and dipping them in rooting hormone, make sure the hormone is dry before you plant. If you dip a wet cutting into the powder, it’ll clump up and won’t adhere properly. And when you water, be gentle! You don’t want to dislodge those tender cuttings.
Aftercare & Troubleshooting
Once your cuttings are planted, the waiting game begins! Keep the soil consistently moist but not soggy. Check the moisture level by gently poking your finger into the soil – it should feel like a wrung-out sponge.
Signs of Success: Within a few weeks to a couple of months, you should start to see new leaf growth on your cuttings. You can also give them a very gentle tug; if there’s resistance, you know roots have formed.
Common Pitfalls:
- Rotting: This is often caused by overwatering and poor drainage. The stems will turn mushy and black. If you see this, you’ll likely need to discard the affected cutting. Ensure your potting mix is airy and that you’re not drowning them.
- Wilting Even with Moisture: This can happen if the cutting is too dry before you potted it, or if it’s not getting enough humidity. Ensure that humidity cover is in place and the soil stays appropriately moist.
A Little Patience Goes a Long Way
Don’t get discouraged if not every single cutting takes. Propagation is a bit of an art and a science, and even experienced gardeners have losses. The key is to be patient, keep a close eye on your cuttings, and celebrate the successes! There’s nothing quite like seeing that first tiny, new leaf emerge. Happy propagating, and enjoy your expanding collection of these magnificent blooms!
Resource: