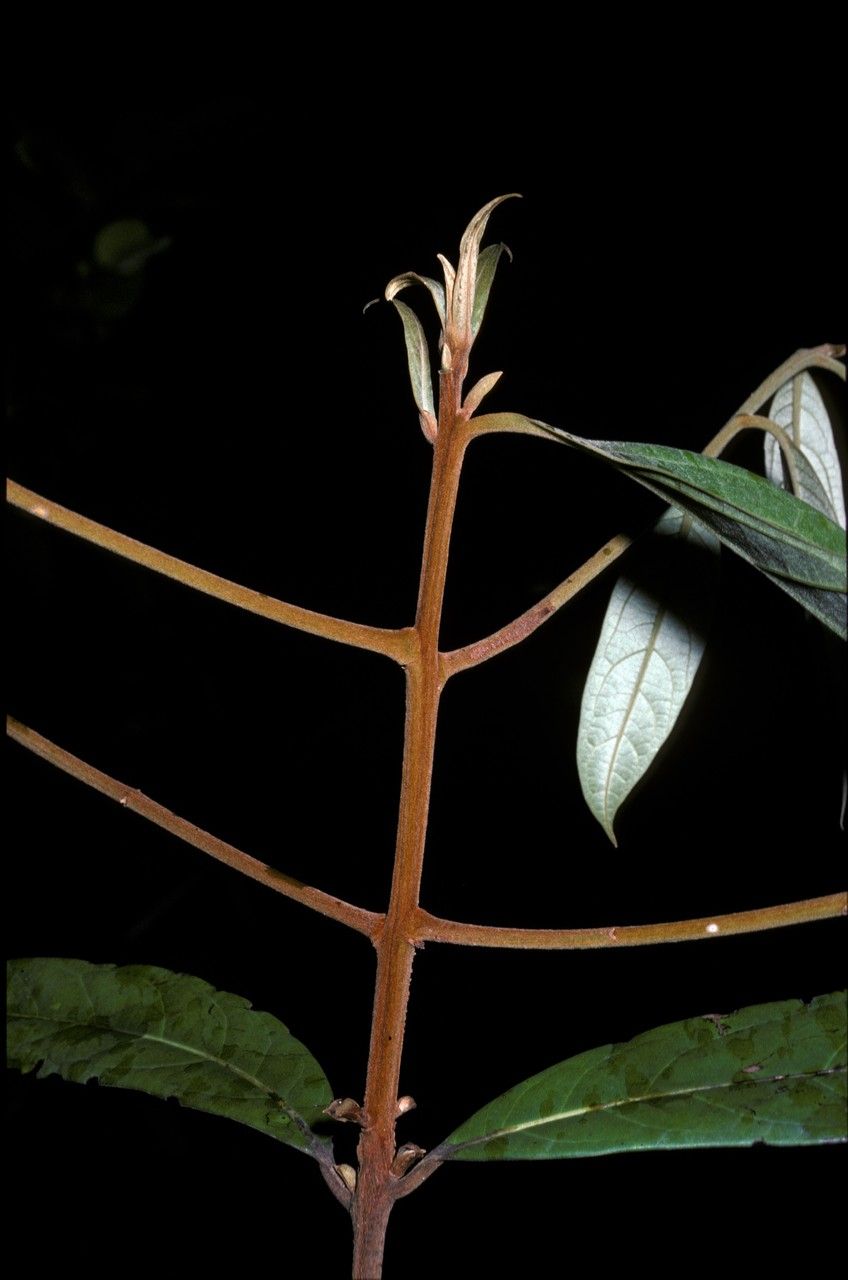
Hello, fellow plant lovers! Today, we’re diving into the delightful world of Licaria chrysophylla. If you’re drawn to plants with a bit of shimmer and a sweet fragrance, you’re in for a treat. This beautiful shrub, often called the “Golden Licaria” or “Cinnamon Web,” boasts glossy, coppery-gold new growth that’s simply stunning. Plus, its delicate, spicy-sweet scent in bloom really brightens up any garden space. Propagating your own Licaria is a wonderful way to share its beauty or simply expand your own collection without a big expense. While it’s not an everyday propagation project, I find it’s quite accessible once you understand its preferences.
The Best Time to Start
For Licaria chrysophylla, the sweet spot for successful propagation is generally late spring to early summer. This is when the plant is actively growing, producing new, tender shoots that are ideal for taking cuttings. You want to capture that vibrant energy. Avoid trying to take cuttings from old, woody stems.
Supplies You’ll Need
Gathering your tools beforehand makes the whole process smoother. Here’s what I always have on hand:
- Clean, sharp pruning shears or a craft knife: For making clean cuts.
- Rooting hormone powder or gel: This really gives your cuttings a boost.
- Small pots (2-4 inches): Clean and with drainage holes, of course!
- A well-draining potting mix: I like a blend of equal parts peat moss, perlite, and vermiculite. You can also find specialized houseplant or propagation mixes.
- A clear plastic bag or a propagator lid: To create a humid environment.
- Watering can or spray bottle: For gentle watering.
Propagation Methods
I’ve found that stem cuttings are the most reliable method for Licaria chrysophylla. Here’s how I do it:
- Select Your Cuttings: Look for healthy, vigorous stems that have leafed out but aren’t flowering or fruiting. You want to find stems that are slightly soft and bendy, not stiff and woody. Aim for cuttings that are about 4-6 inches long.
- Make the Cut: Using your clean pruning shears or craft knife, make a clean, angled cut just below a leaf node (the point where a leaf attaches to the stem). This is where roots are most likely to form.
- Prepare the Cutting: Gently remove the lower leaves from the bottom half of the cutting. This prevents them from rotting when buried in the soil. You can leave 2-3 sets of leaves at the top.
- Apply Rooting Hormone: Dip the cut end of the stem into your rooting hormone. Tap off any excess. This step isn’t strictly mandatory, but it does significantly increase your chances of success.
- Plant the Cuttings: Make a small hole in your potting mix with a pencil or your finger. Insert the prepared cutting into the hole, ensuring the leaf nodes are covered by the soil. Gently firm the soil around the base of the cutting.
- Create Humidity: Water the soil lightly until it’s evenly moist. Then, cover the pot with a clear plastic bag, making sure the leaves don’t touch the inside of the bag too much, or place it inside a propagator. This traps moisture and creates the humid environment the cuttings need to root.
The “Secret Sauce” (Pro Tips)
Over the years, I’ve learned a few tricks that make a real difference:
- Bottom Heat is Your Friend: If you can, place your pots on a gentle heat mat. This warmed soil encourages root development from below, which is incredibly beneficial for cuttings. Even an extra-warm windowsill can help.
- Don’t Overwater (or Underwater!): The goal is consistently moist, but never soggy, soil. If the soil feels dry to the touch, give it a light watering. If it’s constantly wet, you risk rot. The humidity from the plastic bag will help keep moisture levels stable, so you won’t need to water too often.
- Be Patient and Watch for the Signs: Licaria can be a bit of a slow grower when it comes to rooting. Don’t get discouraged if you don’t see progress immediately. Keep an eye out for new leaf growth at the tip of the cutting – that’s usually a strong indicator that roots have formed!
Aftercare & Troubleshooting
Once you see signs of rooting (new growth is your best clue!), it’s time to ease your new plant into its new life.
- Acclimatize Gradually: Over a week or two, gradually increase ventilation by opening the plastic bag or propagator for longer periods each day. This helps your baby plant adjust to the drier air outside the humid environment.
- Continue Consistent Care: Keep the soil lightly moist and provide bright, indirect light. Avoid direct sun, which can scorch young leaves.
- Watch for Rot: The most common problem is stem rot, which looks like a mushy, dark base on your cutting. This is usually a sign of too much moisture and poor air circulation. If you spot it, sadly, that cutting is likely lost. It’s a good reminder to always err on the side of slightly drier soil.
- Rootbound Early: If your plant starts to look a bit cramped in its small pot, with roots even showing at the drainage holes, it’s time to pot up into a slightly larger container.
A Encouraging Closing
Propagating plants is a journey, and with Licaria chrysophylla, it’s a rewarding one. Don’t be afraid to experiment and learn as you go. The joy of nurturing a new plant from a tiny cutting is truly special. Be patient, offer consistent care, and enjoy watching your golden beauty unfurl its magic, one new leaf at a time. Happy gardening!
Resource: