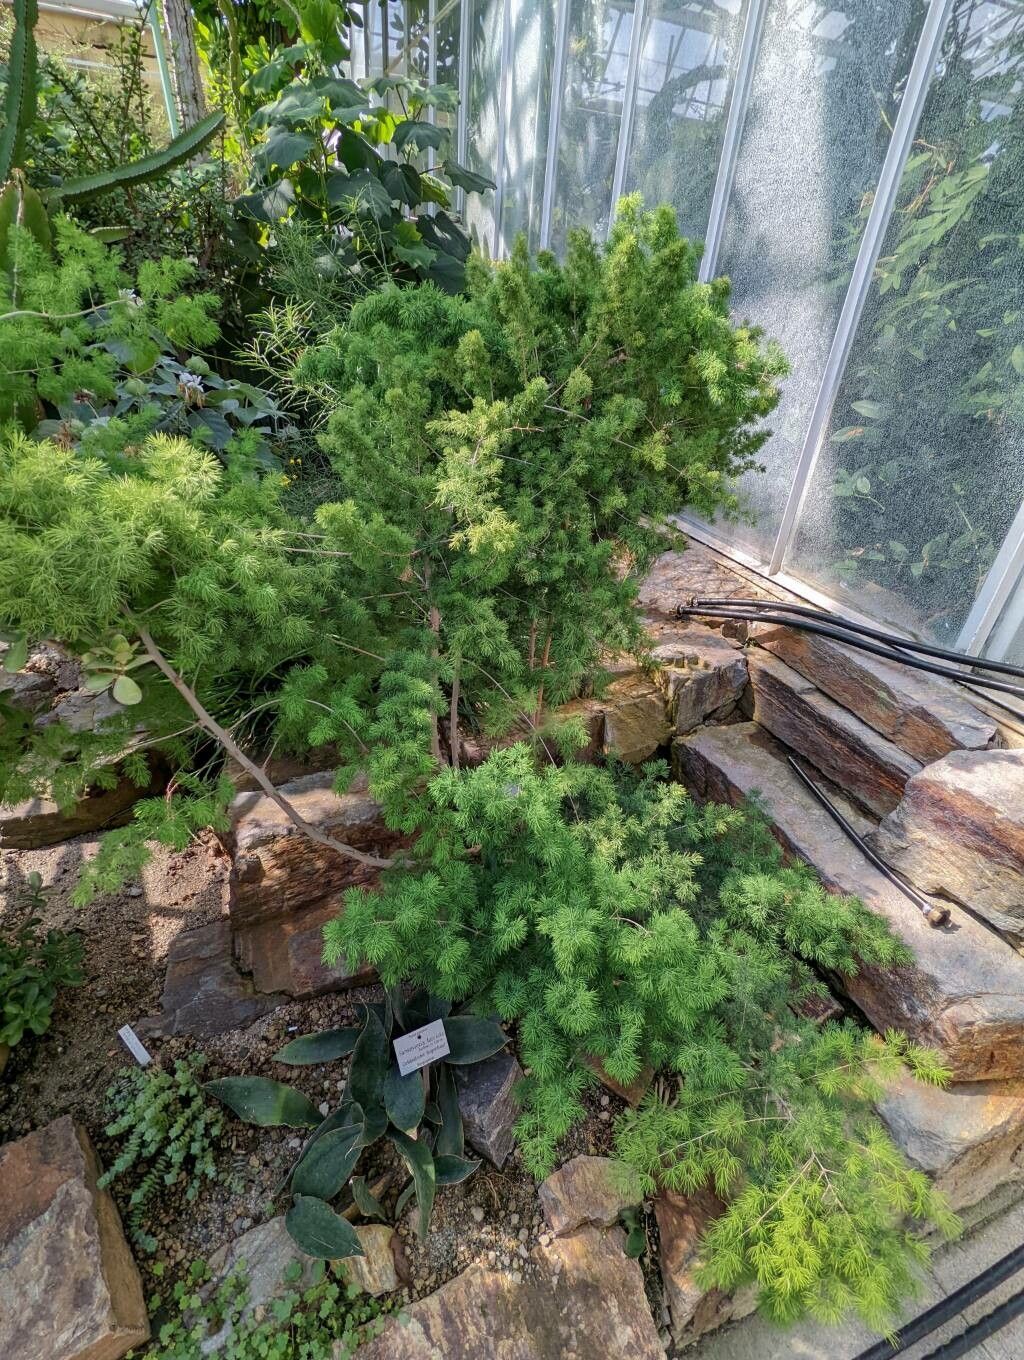
Oh, hello there! Come on in, grab a mug. Let’s chat about something truly special: Asparagus retrofractus, or as I like to call it, the “plume asparagus” or “foxtail asparagus.” If you’re looking for a plant that brings a touch of whimsical texture and airy elegance to your home or garden, this is it. Its delicate, cascading stems covered in tiny, needle-like leaves are just captivating. And the best part? Turning one plant into many is an incredibly rewarding endeavor. Is it a cakewalk for absolute beginners? Honestly, it’s a gentle nudge into propagation rather than a full-blown challenge – definitely achievable with a little care and attention.
The Best Time to Start
For the highest chance of success, I always recommend starting your Asparagus retrofractus propagation in the late spring or early summer. This is when the plant is actively growing, full of vigor, and has plenty of energy to put into developing new roots. Think of it as giving your little cuttings the best possible head start.
Supplies You’ll Need
Gathering your tools beforehand makes the whole process so much smoother. Here’s what I like to have on hand:
- Sharp, clean pruning shears or a knife: For making clean cuts.
- Small pots or seed trays: With drainage holes, of course!
- A well-draining potting mix: I usually go for a 50/50 blend of perlite and a good quality potting soil, or you can find specific cactus and succulent mixes that work wonderfully.
- Rooting hormone (optional but helpful): A powder or gel can give your cuttings a bit of encouragement.
- A mister or spray bottle: For keeping things humid.
- Plastic bags or a propagator: To create a mini-greenhouse effect.
- A small trowel or dibber: For making holes in the soil.
Propagation Methods
Asparagus retrofractus is quite accommodating and can be propagated from stem cuttings. It’s my go-to method because it’s efficient and works beautifully.
Stem Cuttings
- Select Your Cuttings: Look for healthy, non-flowering stems that are at least 4-6 inches long. Gently bend a stem until it snaps cleanly – this often tells you if it’s the right maturity. If not, use your sharp pruning shears to make a clean cut just below a leaf node (where a leaf emerges from the stem).
- Prepare the Cuttings: Carefully strip off the lower leaves. You want to expose the nodes, as this is where roots will form. If you get ambitious and take longer cuttings, you can even cut them in half horizontally, leaving a couple of nodes on each section.
- Apply Rooting Hormone (Optional): If you’re using rooting hormone, dip the cut end of the stem into the powder or gel, tapping off any excess.
- Plant Your Cuttings: Fill your small pots with the prepared potting mix. Use your trowel or dibber to create a hole in the center of the soil. Gently insert the cut end of the stem into the hole. Firm the soil gently around the base of the cutting to ensure good contact.
- Water Gently: Water the soil lightly. You want it to be moist, but not soggy.
- Create a Humid Environment: Place the potted cuttings into a plastic bag or a propagator. This helps retain humidity, which is crucial for cuttings to root. Make sure the leaves aren’t pressed directly against the plastic. You can use stakes to keep the bag open if needed.
The “Secret Sauce” (Pro Tips)
Here are a few little tricks I’ve learned over the years that really make a difference when propagating Asparagus retrofractus:
- Don’t Overwater Before Rooting: This is probably the most common mistake. While humidity is key, letting the soil become waterlogged before roots develop is a fast track to rot. Keep the soil consistently moist but never soggy. If you see water pooling, tip the pot slightly to let it drain.
- Bottom Heat is Your Friend: If you have a heating mat designed for propagation, using it can significantly speed up root development. Bottom heat stimulates the plant to send out energy to form roots more quickly. It’s like giving them a cozy warm blanket in the soil.
- Be Patient with Air Roots: Sometimes, Asparagus retrofractus will start developing little aerial rootlets on the stems even before they’re fully rooted in the soil. This is a good sign! It means the cutting is happy and getting ready to establish itself. Don’t be tempted to poke around too much.
Aftercare & Troubleshooting
Once your cuttings have developed a good network of roots – you’ll often see them peeking out of the drainage holes or feel a gentle resistance when you tug lightly on the stem – it’s time to move them to their own little homes. You can gradually acclimate them to lower humidity by opening the propagator or bag a little more each day. Continue to water them as you would a young plant, ensuring the soil dries out slightly between waterings.
The most common issue you might encounter is rot. If a cutting turns black and mushy, it’s usually a sign of too much moisture or not enough airflow. If you catch rot early, you might be able to salvage a healthy section and try again. Other signs of failure include wilting that doesn’t perk up after watering, or simply no signs of growth after several weeks. Don’t get discouraged; propagation is a learning process!
A Encouraging Closing
Bringing new life into the world through cuttings is one of my greatest joys in gardening. It’s a testament to nature’s resilience and a wonderful way to multiply your beloved plants. So, take a deep breath, grab your tools, and give it a try. Be patient with your little cuttings, trust the process, and enjoy the delightful journey of watching them grow. Happy propagating!
Resource:
https://identify.plantnet.org/k-world-flora/species/Asparagus%20retrofractus%20L./data