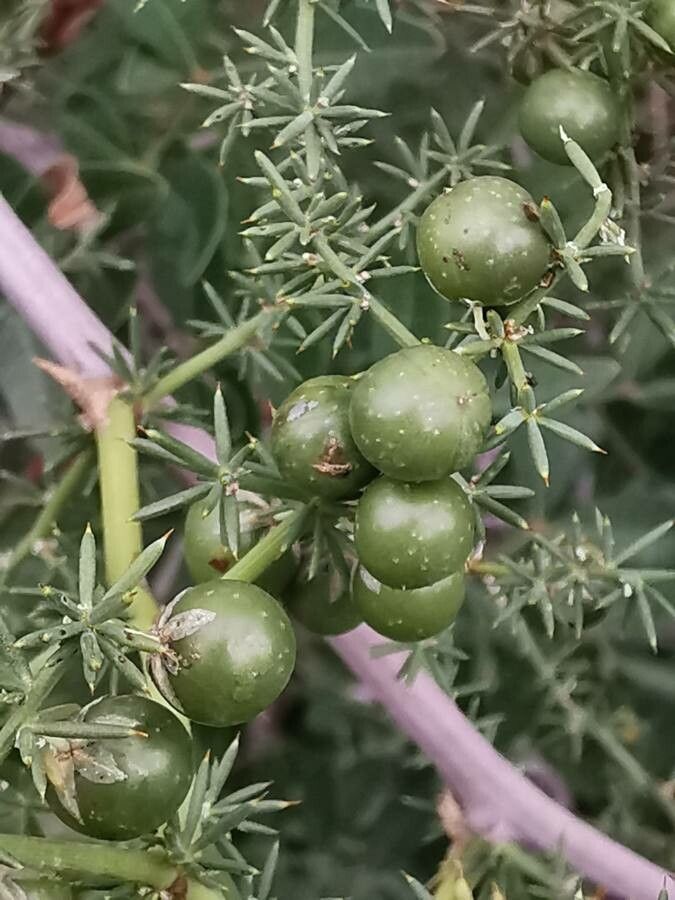
Hello there, fellow plant lovers! I’m so happy you’re here to talk about Asparagus aphyllus. I’ve been fussing over this particular plant for a good chunk of my 20 years in the garden, and I can tell you, it’s got a unique charm. With its delicate, wispy foliage that looks almost like green lace, it brings a touch of airy elegance to any space. And the best part? Bringing more of these beauties into your life by propagating them is incredibly satisfying. It’s a fantastic way to fill your home with little pieces of your current plant, or even to share the joy with friends and family. For beginners, I’d say Asparagus aphyllus is a moderate challenge. It’s not as fuss-free as some common houseplants, but with a little attention, you’ll absolutely get the hang of it.
The Best Time to Start
For the highest success rate with propagating Asparagus aphyllus, I’ve found that spring is your absolute best friend. This is when the plant is naturally geared up for growth after its rest period. You’ll want to wait until you see signs of new, vigorous shoots emerging. Trying to propagate when the plant is dormant, or when it’s struggling, just won’t give you the results you’re hoping for. Think of it as starting your new plants when they have the most energy to put into rooting.
Supplies You’ll Need
Before we get our hands dirty, let’s gather our trusty tools:
- Sharp pruning shears or a clean knife: For making clean cuts.
- Well-draining potting mix: A good blend of perlite, peat moss, and a bit of sand works wonders. You can also find specific succulent or cactus mixes that are excellent.
- Small pots or propagation trays: Cleanliness is key here!
- Rooting hormone (optional but helpful): This isn’t strictly necessary for Asparagus aphyllus, but it can give your cuttings a little extra boost.
- Spray bottle: For misting.
Propagation Methods
While Asparagus aphyllus can be a bit finicky, propagation is typically done through division. It’s the most straightforward and reliable method for this particular plant.
Division:
This method involves separating a mature plant into smaller, independent sections, each with its own roots and foliage.
- Gently remove the plant from its pot. Tip it on its side and ease it out. If it’s stuck, a gentle wiggle or tapping the sides of the pot should help.
- Inspect the root ball. You’re looking for natural divisions where the plant seems to be splitting. You might see where one clump of stems clearly originates from a separate root system.
- Carefully tease the roots apart. You can use your fingers to gently separate the root ball. If the roots are tangled, you might need to use a clean knife or even a sterilized trowel to make the separation. The goal is to get each section with a good portion of roots.
- Repot the divisions. Plant each division into its own small pot filled with your well-draining potting mix. Ensure the top of the roots is just below the soil surface.
- Water lightly. Give them a gentle watering to settle the soil.
The “Secret Sauce” (Pro Tips)
Now, for a couple of things I’ve learned over the years that can really make a difference:
- Don’t overwater the newly divided plants. This is the most common mistake! They’ve been shocked by the division, and excess moisture can lead to root rot very quickly. Water only when the top inch or so of soil feels dry.
- Provide a little humidity without making things soggy. A good misting with your spray bottle now and then can help them adjust. Just avoid letting leaves sit in water for extended periods, as this can promote fungal issues.
- Consider warmth. While not essential, a little gentle warmth from below (like a heat mat kept on a low setting) can encourage root development.
Aftercare & Troubleshooting
Once your divisions are happily repotted, give them some time to settle in. Keep them in bright, indirect light. Avoid direct sun, as those delicate new roots are sensitive. Continue with its light watering schedule.
The main thing to watch out for is rot. If you see stems turning mushy or yellowing rapidly, it’s often a sign of too much moisture. If this happens, pull the plant out, check the roots (if you suspect rot, you may need to trim away any black, mushy bits and let it dry out for a day or two before repotting in fresh, dry soil).
A Encouraging Closing
Propagating plants, especially something as lovely as Asparagus aphyllus, is a journey of patience. Don’t be discouraged if your first attempt isn’t perfect. Each plant is an individual, and there’s a unique kind of joy in nurturing a new life from an established one. Enjoy the process, observe your little green babies closely, and soon you’ll have more of these delightful plants to admire and share. Happy growing!
Resource:
https://identify.plantnet.org/k-world-flora/species/Asparagus%20aphyllus%20L./data