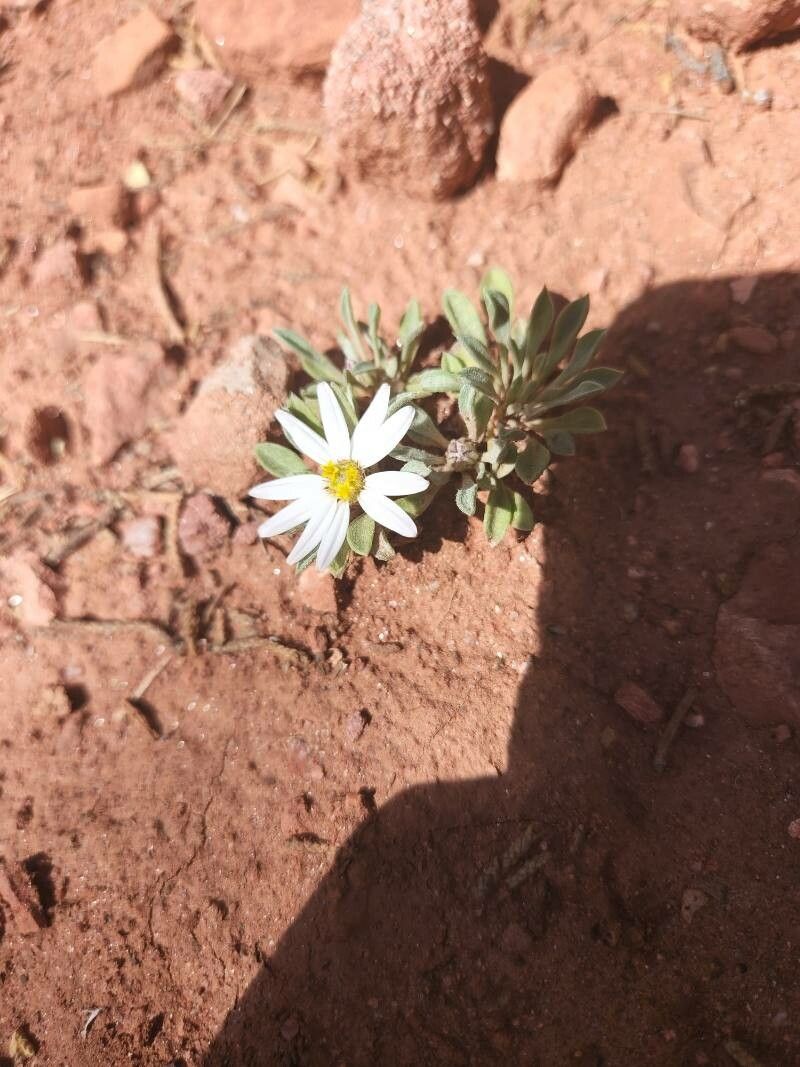
Oh, hello there! It’s so lovely to have you join me today. I’m absolutely delighted to talk about one of my favorite wildflowers: Townsendia incana, sometimes called Easter Daisy. If you’ve ever seen these delightful little plants dotting a meadow, you know their charm. They’re not just pretty with their soft, silvery foliage and delicate, daisy-like white or pale pink flowers. There’s something incredibly satisfying about coaxing new life from an existing plant. And the good news? While they have their quirks, propagating Townsendia incana is quite achievable, even for those who are just starting their gardening journey. It’s a wonderful way to multiply that beauty.
The Best Time to Start
When it comes to Townsendia incana, timing is key for best results. I find that late spring to early summer is absolutely ideal. This is when the plant is in its active growth phase, and the stems are nice and vigorous. You want to work with healthy, new material – those are the ones most eager to root. Trying to propagate when the plant is stressed or dormant just makes things harder on everyone, including yourself!
Supplies You’ll Need
Before we dive in, let’s gather our tools. Having everything ready makes the process so much smoother.
- Sharp pruning shears or a clean knife: For making clean cuts.
- A well-draining potting mix: I like a blend of equal parts perlite, coarse sand, and peat moss or coco coir. You can also buy specialized cactus/succulent mixes, which work beautifully.
- Small pots or trays: With drainage holes, of course! Yogurt cups with a few poked holes work in a pinch.
- Rooting hormone (optional but recommended): A powder or gel can give cuttings that extra boost.
- Spray bottle: For misting.
- Clear plastic bags or domes: To create a humid environment.
- Labels: So you don’t forget what you planted where!
Propagation Methods
Townsendia incana is best propagated by stem cuttings or, if you have a mature clump, by division. Let’s tackle stem cuttings first, as they are generally the most rewarding for multiplying your plants.
Stem Cuttings
- Select your source: Find a healthy, non-flowering stem on your established plant. Look for a section that is about 3-4 inches long.
- Make the cut: Using your clean shears or knife, make a clean cut just below a leaf node (that’s where a leaf attaches to the stem).
- Prepare the cutting: Gently remove the lower leaves, leaving just the top two or three. This prevents them from rotting when you insert the cutting.
- Apply rooting hormone (if using): Dip the cut end into the rooting hormone, tapping off any excess.
- Plant your cuttings: Fill your small pots with your prepared potting mix. Make a small hole with your finger or a pencil and insert the cutting, ensuring the leaf nodes are buried. Gently firm the soil around the stem.
- Water lightly: Give them a gentle watering with your spray bottle.
- Create humidity: Cover the pot with a clear plastic bag or a propagation dome. Make sure the leaves aren’t touching the plastic.
Division
If you have a nice, established clump of Townsendia incana, division is a quicker way to get more plants.
- Dig it up: Gently dig up the entire plant in late spring or early summer. Try to get as much of the root ball as possible.
- Separate the clumps: Carefully tease apart the root ball into smaller sections. You’re looking for pieces that have both roots and some leafy growth. You can use your fingers or a clean trowel.
- Replant: Plant the divisions into their own pots filled with well-draining soil, just as you would a potted plant. Water them in well.
The “Secret Sauce” (Pro Tips)
Here are a few little tricks that have made all the difference for me over the years:
- Bottom Heat is Your Friend: Townsendias, like many succulents, absolutely love a bit of warmth from below. If you have a seedling heat mat, placing your pots on one can significantly speed up root development. It encourages those roots to get busy!
- Don’t Drown Them: While they need humidity, they absolutely detest soggy feet. Ensure your potting mix is lean and drains exceptionally well. Overwatering is the quickest way to lose cuttings to rot. Let the potting mix dry out slightly between waterings.
- Patience with the “Bare” End: Sometimes, even with good care, a cutting might look a bit sad and bare for a while. Resist the urge to disturb it too much! Roots can take their sweet time developing. If it’s still firm and not mushy, give it more time. I’ve had cuttings that took weeks to show any sign of life, only to flourish later.
Aftercare & Troubleshooting
Once you see signs of new growth peeking out from the soil or the top of the cutting, that’s a fantastic indicator that roots have formed!
- Acclimate them: Slowly remove the plastic cover over a few days to let the new plants get used to normal humidity.
- Move to brighter light: Gradually introduce them to brighter, indirect sunlight. Avoid harsh, direct sun at first.
- Fertilize gently: Once they are well-established, you can begin a very diluted feeding with a balanced liquid fertilizer.
Now, what if things go wrong? The most common issue is rot. If your cuttings turn mushy or black, it’s a sign of too much moisture and not enough air circulation. Discard any affected cuttings. If your divisions look wilted, ensure they have good soil contact and are being watered appropriately. Again, always err on the side of less water for these guys.
A Encouraging Closing
Propagating plants is a journey, my friends. It’s a wonderful experiment and a fantastic way to connect with the growth cycle of your garden. Don’t be discouraged if your first attempt isn’t a roaring success. Every gardener has lost a cutting or two. Just keep observing, adjust your approach, and most importantly, enjoy the process. Those tiny new Townsendia plants will be well worth the effort! Happy gardening!
Resource:
https://identify.plantnet.org/k-world-flora/species/Townsendia%20incana%20Nutt./data