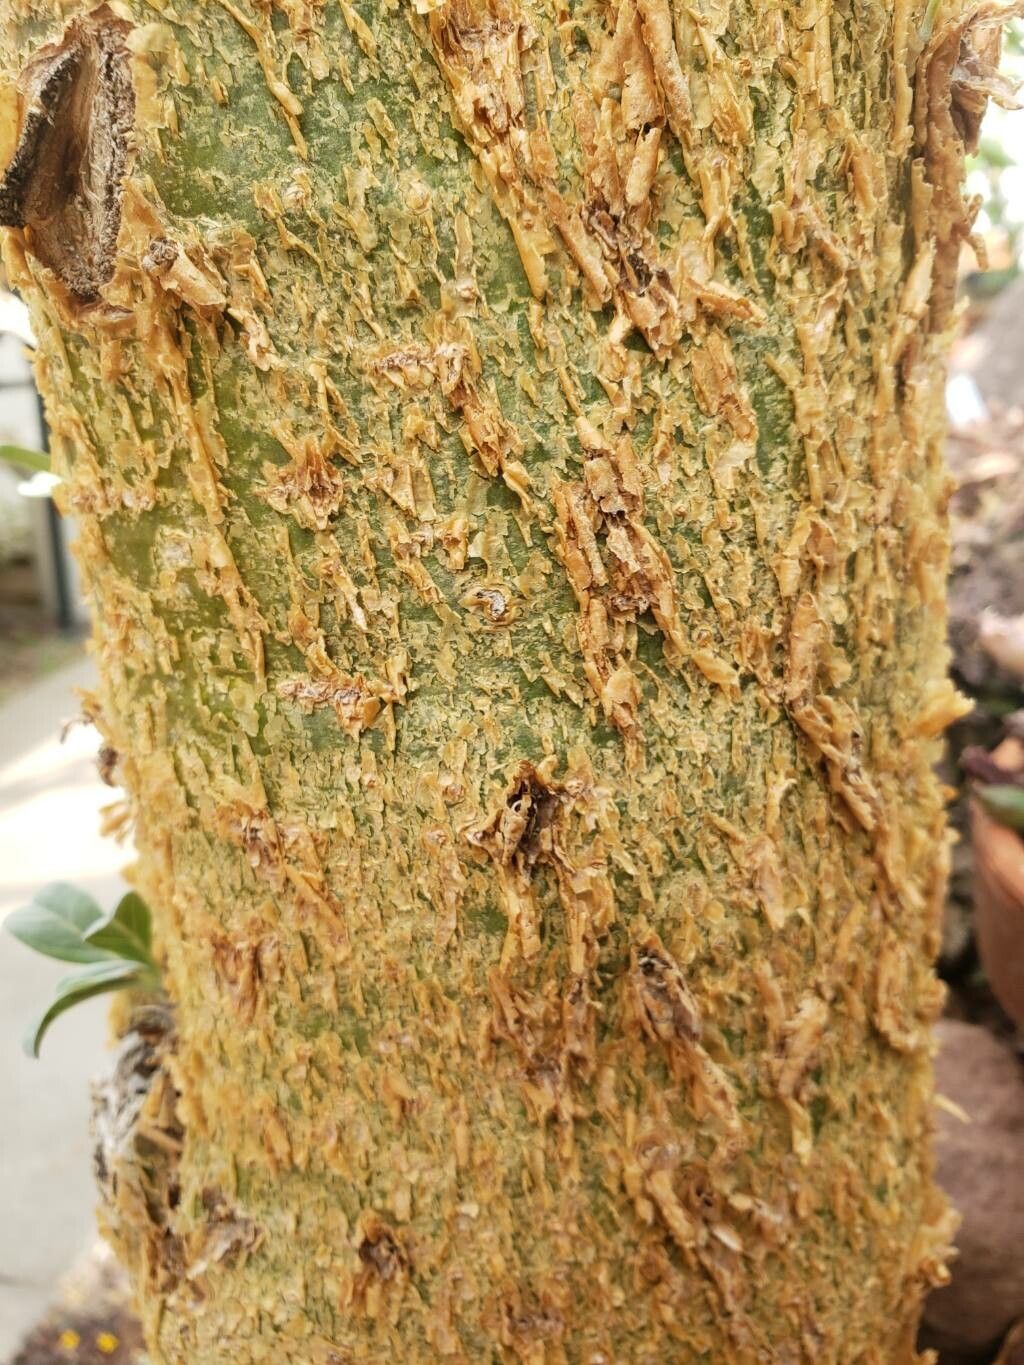
Hello, fellow plant enthusiasts! I’m so excited to chat with you today about a truly special plant: Sesamothamnus lugardii. You might know it as the Bushman’s pipe, and honestly, it’s a gem for any garden. Its unique, almost sculptural form and beautiful blooms are just captivating. And there’s something incredibly satisfying about coaxing a new life from a tiny piece of your beloved plant. Now, for the good news: propagating Sesamothamnus lugardii is a journey that’s entirely achievable, even for those of you just starting out on your green-thumb adventure.
The Best Time to Start
For the best results with Sesamothamnus lugardii, I always recommend working with semi-hardwood cuttings. The sweet spot is usually in late spring to early summer, after the plant has finished its main flush of growth but before it gets too hot and dry. This is when the stems have a bit of firmness to them—not too soft and floppy, but not impossibly woody either. Think of it as that perfect stage of a young tree branch, ready to take root.
Supplies You’ll Need
Gathering your tools before you begin makes the whole process much smoother. Here’s what I typically have on hand:
- Sharp clean pruning shears or a craft knife: Cleanliness is key to preventing disease.
- Rooting hormone powder: While not always strictly necessary, it gives your cuttings a significant boost. I prefer a powder for ease of use.
- Well-draining potting mix: A blend of coarse sand, perlite, and a bit of peat moss works wonderfully. A cactus or succulent mix is also a good starting point.
- Small pots or seed trays: Clean pots are essential!
- Plastic bags or a propagation dome: To create a humid environment.
- Watering can with a fine rose: For gentle watering.
- Labels: Don’t forget to label your cuttings with the date!
Propagation Methods: Taking Stem Cuttings
Stem cuttings are my go-to method for Sesamothamnus lugardii. It’s straightforward and usually yields great success.
- Select Your Cuttings: Look for healthy, disease-free stems. Choose pieces that are about 4-6 inches long and have at least two or three leaf nodes. Gently snap or cut a piece from the main plant.
- Prepare the Cuttings: Remove the lower leaves from the bottom half of the cutting. This is crucial! If leaves are left submerged in soil or water, they’ll rot, and that’s the quickest way to lose your cutting.
- Apply Rooting Hormone: Dip the cut end of the stem into your rooting hormone powder, tapping off any excess. This really encourages root development.
- Plant Your Cuttings: Fill your pots with your prepared well-draining mix. Make a small hole with a pencil or your finger and gently insert the cutting. Firm the soil around it, making sure the nodes where you removed leaves are buried.
- Water Gently: Water the soil thoroughly but gently. You want it moist, not waterlogged.
- Create Humidity: Cover the pots with a clear plastic bag or a propagation dome. This creates a mini-greenhouse effect, keeping the humidity high, which is essential while the cuttings try to root. Place the pots in a bright location but out of direct, harsh sunlight.
The “Secret Sauce” (Pro Tips)
Here are a few things I’ve learned over the years that really make a difference:
- The Art of the Clean Cut: Don’t just rip stems off. A clean, angled cut with sharp shears or a knife helps the cutting take up water and reduces the surface area for pathogens.
- Bottom Heat is Your Friend: If you have a heating mat designed for propagation, using it can significantly speed up root formation. Sesamothamnus lugardii loves a bit of warmth from below.
- Don’t Be Afraid to Let Them Dry Slightly: While we want to maintain humidity, letting the very top layer of soil dry out a tiny bit between waterings can discourage rot. It’s a balance, but vital!
Aftercare & Troubleshooting
Once your cuttings are happily ensconced in their humid environment, keep an eye on them. You’ll know they’re rooting when you see new growth emerging. This can take anywhere from a few weeks to a couple of months.
When roots have formed (you might see them peeking from the drainage holes, or you can gently tug to feel resistance), it’s time to gradually introduce them to more normal conditions. Start by opening the plastic bag a little wider each day.
The most common issue you might encounter is rot. If you notice mushy, black stems, that’s a sign of too much moisture or a lack of air circulation. Don’t despair! It happens to the best of us. You can try to rescue healthy portions of the stem if any remain, but it’s often best to discard affected cuttings and learn from the experience. Ensure your soil is always free-draining and avoid overwatering.
A Encouraging Closing
Propagating Sesamothamnus lugardii is a wonderful way to connect with nature and expand your plant collection. Be patient with your little cuttings; they’re working hard to grow. Enjoy the process of nurturing them, and celebrate every new leaf and root. Happy propagating!
Resource: