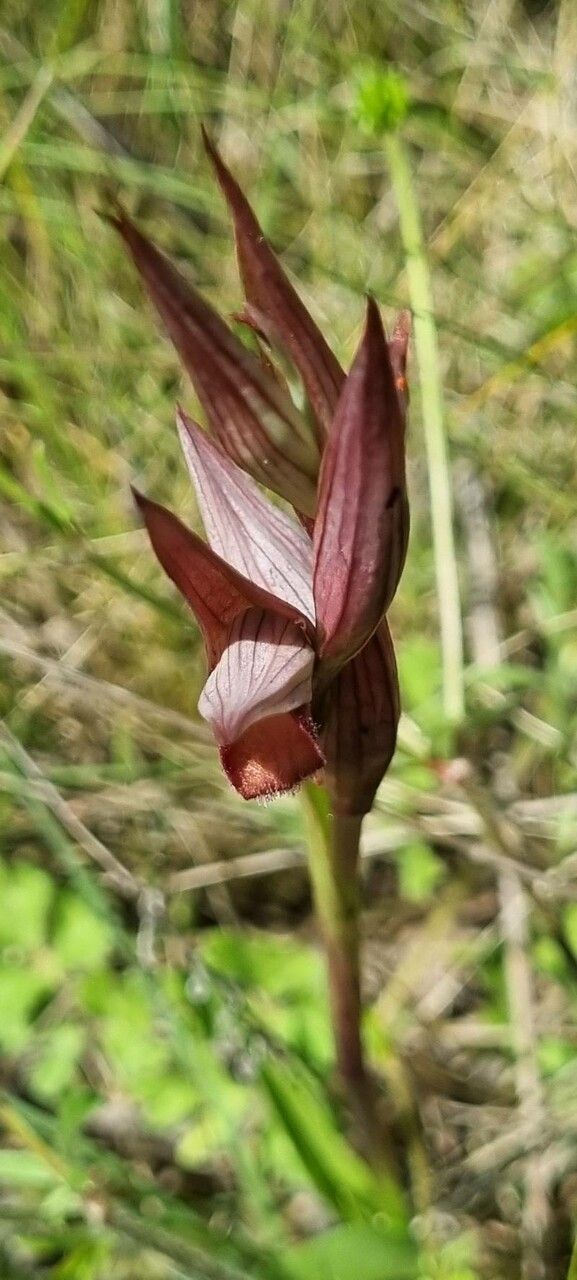
Hello, fellow plant lovers! Today, we’re diving into the wonderful world of propagating Serapias strictiflora. If you’ve ever been captivated by its graceful, elegant blooms, you’re in for a treat. Sharing this beauty by creating new plants is incredibly rewarding, and honestly, it’s where the real gardening magic happens for me. Now, is Serapias strictiflora a walk in the park for absolute beginners? Not exactly. It requires a bit of attention and understanding, but with a little guidance, you’ll be well on your way. Think of it as a special project that promises an even more special reward.
The Best Time to Start
For Serapias strictiflora, the sweet spot for propagation is late spring to early summer. This is when the plant is actively growing after its flowering period, and the energy reserves are high, giving your cuttings or divisions the best chance to establish. You’re essentially tapping into that vibrant growth phase.
Supplies You’ll Need
To get started, you’ll want to have these on hand:
- Sharp pruning shears or a clean knife: Sterilize them first with rubbing alcohol to prevent disease.
- Well-draining potting mix: A good blend is 50% perlite and 50% peat moss or coco coir. For orchids like this, some growers prefer a bark-based mix for better aeration.
- Small pots or trays: Choose ones with drainage holes.
- Rooting hormone (optional, but helpful): Look for one formulated for stem cuttings.
- Watering can with a fine rose: Gentle watering is key.
- Clear plastic bags or propagation domes: To create a humid environment.
Propagation Methods
Serapias strictiflora is best propagated through division, similar to many orchids.
Division: The Tried and True Method
- Gently remove the parent plant from its pot. If it’s stuck, a little tap around the sides often loosens it.
- Carefully inspect the root system. You’re looking for distinct pseudobulbs or segments that have their own healthy root growth.
- Using your sterilized pruning shears or knife, carefully separate the divisions. Make sure each division has at least one or two healthy pseudobulbs and a good amount of roots. If you need to cut through a thick rhizome, do so cleanly.
- Allow the cut surfaces to dry for a few hours to a day. This helps prevent rot. You can dust the cut with a fungicide if you’re concerned.
- Pot each division into its own container filled with your well-draining potting mix. Plant them at the same depth they were growing before.
- Water lightly to settle the mix.
The “Secret Sauce” (Pro Tips)
Here are a couple of little tricks I’ve learned over the years that really make a difference:
- Don’t overwater newly divided plants. They are more susceptible to rot when they don’t have a robust root system yet. Mist the surface lightly or water very sparingly until you see signs of new growth.
- Provide a humid microclimate. After potting, placing the pots in a plastic bag or under a propagation dome helps keep the humidity high, which is crucial for encouraging new root development without drying out. Just make sure to open the bag or dome for a few minutes each day to allow for air circulation and prevent fungal issues.
Aftercare & Troubleshooting
Once your divisions are potted, place them in a bright location with indirect sunlight. Avoid direct sun, which can scorch new growth. Keep the potting mix consistently moist but not soggy.
The most common issue you might encounter is rot. If you see a division turning mushy or black, it’s likely due to too much moisture. In this case, try to remove the affected part immediately and let the remaining healthy bits dry out more thoroughly before repotting in fresh, dry mix. It’s a tough lesson, but learning to recognize and respond to rot is part of the journey. Be patient; new root growth can take several weeks.
So there you have it! Propagating Serapias strictiflora is a delightful endeavor. Don’t be discouraged if your first attempt isn’t perfect. Gardening is all about learning and adapting. Enjoy the process of nurturing these new plants – it’s immensely satisfying to watch them grow and eventually bloom. Happy propagating!
Resource: