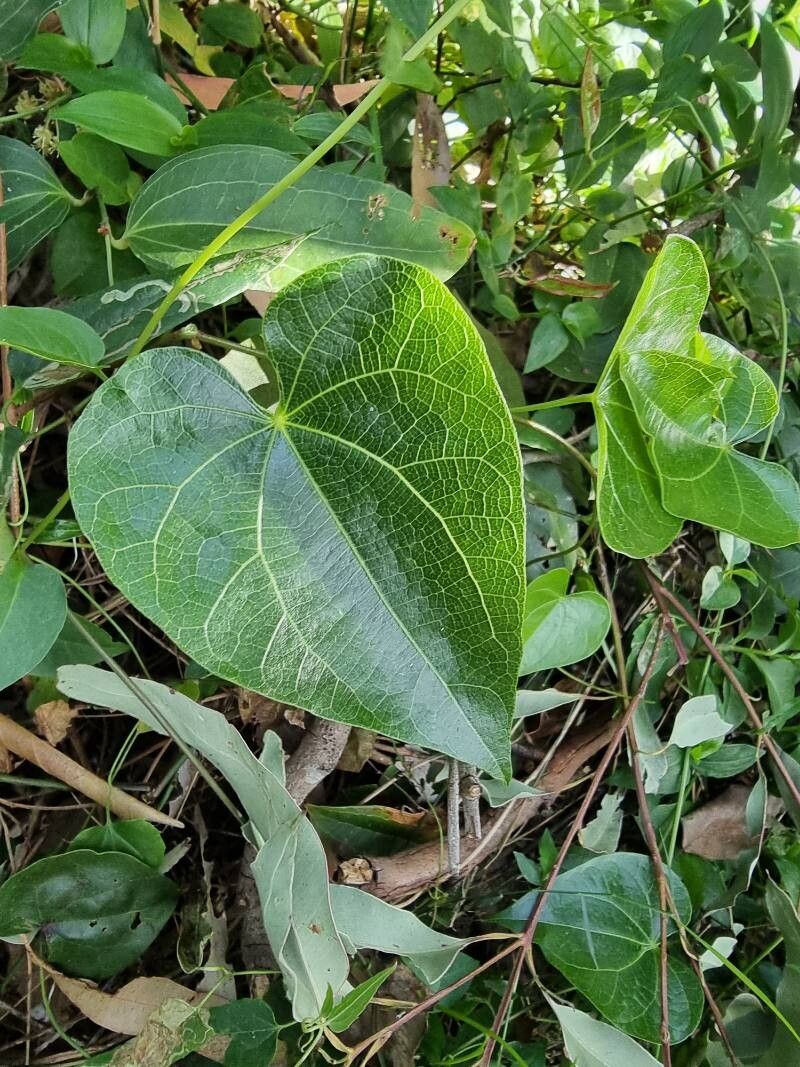
Oh, hello there, fellow plant enthusiast! I’m so delighted you’ve stopped by. Today, we’re going to talk about a truly captivating plant: Sarcopetalum harveyanum. If you’re looking for a plant that brings a touch of the exotic with its delicate, trailing cascades of foliage, you’ve found it. I’ve spent years admiring its graceful habit, and let me tell you, propagating it yourself just feels incredibly rewarding. It’s not the absolute easiest plant to start from scratch, but with a little bit of guidance, you’ll find yourself with plenty of new specimens to share or lovingly arrange around your home.
The Best Time to Start
When it comes to giving your Sarcopetalum harveyanum the best chance at success, spring and early summer are your golden ticket. This is when the plant is in its most active growth phase. New, vigorous shoots are forming, and they have all the energy they need to push out roots and establish themselves quickly. Trying to propagate when the plant is dormant will likely yield slower results, and you might find yourself feeling a little frustrated.
Supplies You’ll Need
Before we dive in, let’s get our tools ready. A little preparation goes a long way to making this process smooth sailing:
- Sterile potting mix: I like a blend of equal parts peat moss or coco coir, perlite, and a good quality potting soil. This provides drainage and aeration.
- Sharp, clean pruning shears or a razor blade: Crucial for making clean cuts. Disinfect them with rubbing alcohol between each cut to prevent disease spread.
- Small pots or seed trays: Choose something with drainage holes, of course!
- Rooting hormone (optional but recommended): A powder or gel can significantly speed up root development.
- Plastic bags or humidity domes: To create a humid environment for your cuttings.
- Watering can with a fine rose: For gentle watering.
- Labels and a waterproof pen: To keep track of what you’ve planted and when.
Propagation Methods
Sarcopetalum harveyanum is quite amenable to a couple of propagation techniques, but my favorite for this particular plant is stem cuttings. It’s straightforward and effective.
Stem Cuttings:
- Select your cutting: Look for a healthy, non-flowering stem that is at least 4-6 inches long. You want wood that is firm but not woody. Stems that are still a bit soft and flexible are ideal.
- Make the cut: Using your sterilized shears or razor blade, make a clean cut just below a leaf node (where a leaf attaches to the stem). This node is where the magic happens – it’s rich in growth hormones.
- Prepare the cutting: Gently remove the lower leaves from the cutting, leaving just a few at the top. If the top leaves are very large, you can even snip them in half to reduce water loss.
- Apply rooting hormone (optional): Dip the cut end of the stem into your rooting hormone, tapping off any excess.
- Plant your cutting: Insert the cut end into your prepared potting mix. Make sure at least one leaf node is buried beneath the surface. Gently firm the soil around the stem.
- Water and cover: Water the potting mix thoroughly but gently. Then, cover the pot with a clear plastic bag or a humidity dome. This is vital to keep the moisture levels high around your cuttings.
The “Secret Sauce” (Pro Tips)
Now, for a couple of little tricks I’ve learned over the years that can really give your propagation efforts a boost:
- Bottom Heat is Your Friend: If you have a propagation mat or can place your pots near a gently warming surface (like the top of a refrigerator), it makes a world of difference. This gentle warmth encourages root development from below, mimicking ideal soil temperatures.
- Don’t Let the Leaves Touch the Water (if water propagating): While I primarily recommend soil propagation for Sarcopetalum harveyanum, if you do decide to try water propagation, it’s essential that no leaves are submerged. Any submerged foliage will quickly rot and can doom your cutting before it even has a chance to root.
Aftercare & Troubleshooting
Once your cuttings have been planted and are snug in their humid little homes, patience is key!
- Light: Place your pots in a bright spot with indirect light. Avoid direct sunlight, as it can scorch the young cuttings.
- Water: Keep the potting mix consistently moist but not soggy. Check the moisture level by lightly pressing the soil. If it feels dry, give it a gentle watering.
- Rooting Time: It can take anywhere from 3-6 weeks, sometimes longer, for your cuttings to develop roots. You’ll know they’re ready when you see new growth emerging from the top. You can also gently tug on the cutting; if there’s resistance, roots have formed.
- Troubleshooting: The most common issue you’ll face is rot. This usually happens if the cuttings are kept too wet or if the humidity is too high without enough air circulation. If you notice stem bases turning mushy or black, sadly, that cutting is likely lost. Remove it immediately to prevent it from affecting others. Another sign of trouble is wilting leaves that don’t perk up after watering – this often indicates a lack of roots.
A Warm Encouragement
There you have it! Propagating Sarcopetalum harveyanum is a journey, and like all good things in the garden, it requires a little faith and a lot of patience. Don’t be discouraged if your first few attempts aren’t perfect. Every cutting is a learning experience. So grab your tools, get your hands in the soil, and enjoy the satisfaction of nurturing new life. You’ve got this!
Resource:
https://identify.plantnet.org/k-world-flora/species/Sarcopetalum%20harveyanum%20F.Muell./data