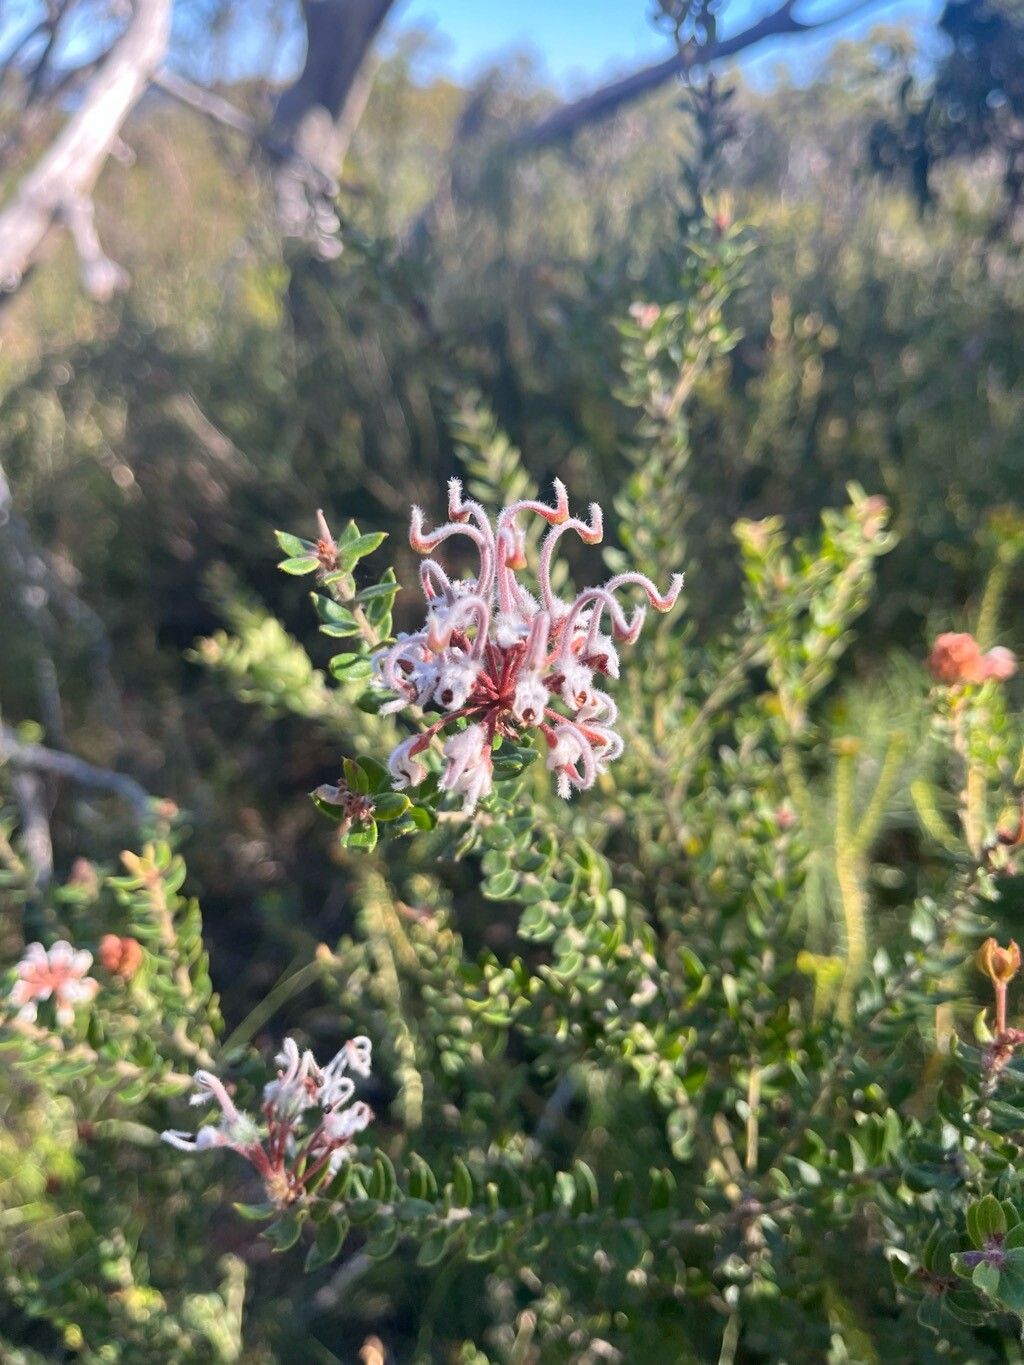
Hello there, fellow plant lovers! Today, we’re diving into the wonderful world of propagating Grevillea buxifolia, also known as the Box-leaf Grevillea. If you’re drawn to its tough, evergreen foliage and those charming, fuzzy pinkish-red flowers that pop up almost year-round, you’re in for a treat. Growing more of these beauties from cuttings is incredibly satisfying, and I find it’s a really accessible plant for those just dipping their toes into propagation. It’s not overly fussy, which is always a plus in my book!
When to Get Your Hands Dirty
The sweet spot for taking cuttings of Grevillea buxifolia is usually during its active growing season. For most of us, this means late spring through summer. You’re looking for new, but not overly soft, growth. Think of it as trying to catch the plant when it’s full of youthful energy but has just started to firm up a bit. This is when the cuttings have the best chance of rooting.
What You’ll Need
Gathering your supplies beforehand makes the whole process smoother. Here’s what I usually have on hand:
- Sharp pruning shears or secateurs: Cleanliness is key!
- Rooting hormone powder or gel: This gives your cuttings a good head start.
- Small pots or trays: With drainage holes, of course.
- A well-draining potting mix: I often use a mix of perlite, coarse sand, and a little peat moss or coir. Specialty native plant potting mixes are also excellent.
- A clear plastic bag or propagator lid: To create a humid environment.
- Labels or plant tags: To keep track of what’s what!
- Watering can with a fine rose: For gentle watering.
Let’s Get Propagating: Stem Cuttings
This is my go-to method for Grevillea buxifolia. It’s reliable and gives you a good number of new plants.
- Select Your Cuttings: Find those nice, semi-hardwood shoots. You’re aiming for pieces that are about 10-15 cm (4-6 inches) long. They should be firm but still have a bit of bend to them. Avoid anything too soft and bendy, or completely woody and stiff.
- Take the Cuttings: Using your sharp, clean secateurs, make a clean cut just below a leaf node (where a leaf attaches to the stem). This is where the plant is most likely to produce roots.
- Prepare the Cuttings: Gently remove the lower leaves from the cutting, leaving only the top few. This prevents them from rotting when buried in the soil. You can also strip a thin layer of bark from one side of the base of the stem, about an inch long. This exposes more tissue for root formation.
- Apply Rooting Hormone: Dip the cut end of each stem into your rooting hormone, tapping off any excess. This step is really helpful for encouraging root development, though some plants can root without it.
- Pot Them Up: Fill your pots with your prepared, moistened potting mix. Make a small hole in the center of the mix with a pencil or your finger.
- Insert the Cuttings: Carefully place the treated end of each cutting into the hole, ensuring the leaf nodes are below the soil surface. Firm the soil gently around the base of the cutting to ensure good contact.
- Create a Humid Environment: Water them in gently. Then, place the potted cuttings inside a clear plastic bag, securing it loosely around the pot, or cover them with a propagator lid. This traps humidity, which is crucial for cuttings that can’t yet absorb water through roots.
- Find a Good Spot: Place your propagator in a bright, warm location out of direct sunlight. Too much sun will scorch the delicate cuttings.
The “Secret Sauce” – My Insider Tips
After years of getting my hands dirty, I’ve learned a few tricks that can make all the difference.
- Don’t Let Leaves Touch Water: If you’re tempted to try water propagation (which, by the way, is tricky for Grevilleas and often leads to rot), make absolutely sure no leaves are submerged. Only the stem should be in the water, as any leaf tissue below the water line is a prime spot for funk to develop. This applies to soil too – keep those lower leaves up and out of the perlite!
- Bottom Heat is Your Friend: For stubborn cuttings, a gentle warmth from underneath can be a game-changer. A heated propagator mat or even placing the pots on top of a warm fridge (if it’s not vibrating too much!) can significantly speed up root formation. It’s like giving your cuttings a cozy little spa day.
Aftercare and When Things Go Wrong
Once your cuttings have been in their mini-greenhouses for a few weeks, you might start to see signs of life. You can gently tug on a cutting to feel for resistance – that’s a good sign of root development! Once they feel firmly rooted, it’s time to introduce them to fresh air. Gradually remove the plastic bag or propagator lid over a few days to acclimate them.
The most common issue you’ll encounter is rot. If your cuttings start to turn mushy, black, or fall over, it’s usually a sign of too much moisture, poor drainage, or insufficient air circulation. This is why that free-draining mix and avoiding overwatering are so important. If you see a cutting looking sad, it’s often best to remove it to prevent any potential spread of disease. Try not to get discouraged; it’s part of the learning process!
Happy Propagating!
And there you have it! Propagating Grevillea buxifolia is a rewarding journey that allows you to expand your garden and share the beauty of these resilient plants. Be patient, keep those little cuttings happy and humid, and before you know it, you’ll have a whole bunch of new Grevilleas to admire. Happy gardening, everyone!
Resource:
https://identify.plantnet.org/k-world-flora/species/Grevillea%20buxifolia%20(Sm.)%20R.Br./data