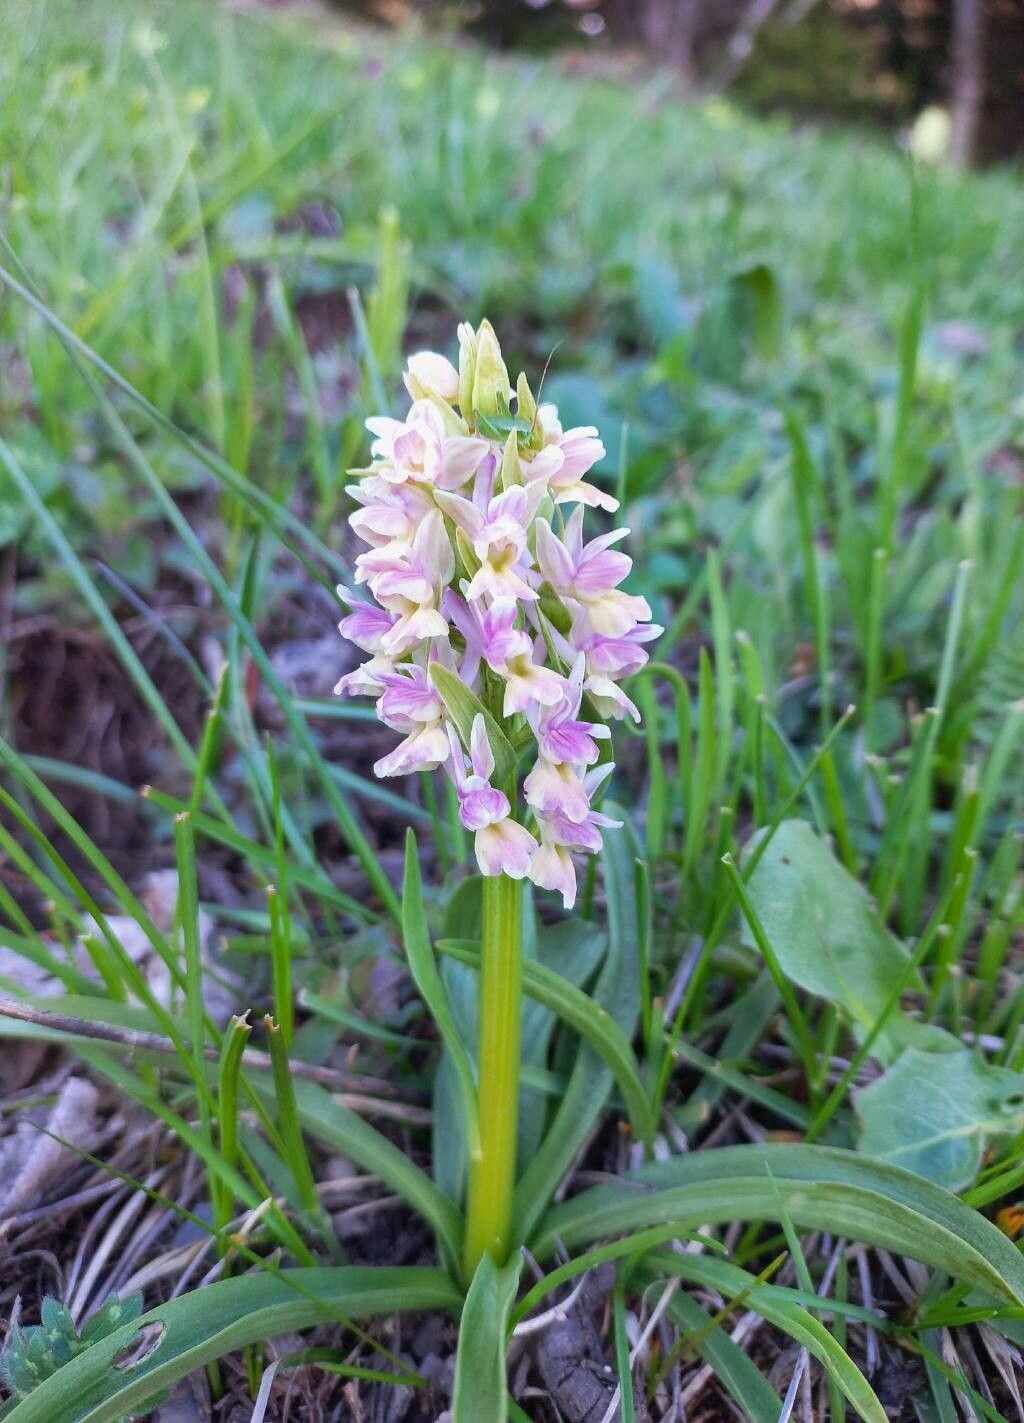
Hello fellow garden explorers! I’m so delighted to talk about a truly special orchid today: Dactylorhiza romana, often called the Roman orchid. Its striking spikes of vibrant pink or white flowers, often with beautiful markings, are a sight to behold. Propagating these beauties can feel a bit intimidating at first, and I’ll be honest, they aren’t the absolute easiest for a complete beginner. But with a little care and attention, the reward of nurturing a new orchid from a piece of an established plant is immense. It’s a way to share that garden magic and feel deeply connected to the plant world.
The Best Time to Start
Timing is everything, isn’t it? For Dactylorhiza romana, the ideal window for propagation is generally in late winter or very early spring, just as the plant is beginning to stir from its dormancy. You’ll see new growth starting to emerge from the tubers. This is when the plant has stored up plenty of energy and is ready to get to work creating new shoots. Waiting until after the flowering period can also work, but you might have a slightly lower success rate.
Supplies You’ll Need
Gathering your tools beforehand makes the whole process smoother. Here’s what I recommend:
- Sharp, sterilized pruning shears or a clean knife. Sterilizing is key to preventing disease. A quick wipe with rubbing alcohol does the trick.
- Well-draining potting mix. I like a blend that includes perlite or grit for aeration. For orchids, a specific orchid mix is often best, but a good general mix with plenty of drainage will work.
- Small pots or containers. Clean ones, of course!
- A small watering can or spray bottle with a fine mist setting.
- Optional: Rooting hormone. While not always strictly necessary for orchids, it can give a little boost.
- Optional: A clear plastic bag or propagator. This helps create a humid environment.
- Labels. Trust me, you’ll thank yourself later!
Propagation Methods
While Dactylorhiza romana can be grown from seed (a much more advanced and time-consuming process that often requires mycorrhizal fungi), the most practical and rewarding method for us home gardeners is division.
Here’s how we’ll do it:
- Gently excavate: Carefully unpot your Dactylorhiza romana. You want to disturb the root ball as little as possible. Gently shake off excess soil so you can clearly see the tubers.
- Identify the divisions: Look for where new shoots or tubers have naturally formed. You’re essentially looking for sections of the plant that have their own sets of roots and at least one growth bud. They often look like little fingers branching off the main tuber.
- Make the cut: Using your sterilized pruning shears or knife, carefully separate the divisions. You want to ensure each piece has a good portion of root attached and at least one, ideally two, healthy-looking buds. If a division has very little or no root, don’t despair, but it will take longer to establish.
- Allow to callus (optional but recommended): Some growers recommend letting the cut surfaces dry and callus over for a day or two in a cool, dry place before repotting. This helps prevent rot.
- Potting up: Plant each division into its own small pot filled with your well-draining orchid mix. The top of the tuber should be just at or slightly below the soil surface.
- Initial watering: Water gently after potting. You don’t want to wash away the soil from the delicate roots.
The “Secret Sauce” (Pro Tips)
Here are a couple of little tricks I’ve picked up over the years that can make a big difference:
- Don’t overwater, ever: This is probably the most critical step with orchids. Too much moisture is the quickest way to invite rot, especially for new propagations. It’s better to be slightly too dry than too wet. Think of it as giving them a good drink, then letting them mostly dry out before the next.
- Embrace humidity without sogginess: New divisions love a bit of a humid environment to encourage root growth. After potting, you can cover the pots loosely with a clear plastic bag, creating a mini-greenhouse. Poke a few small holes in the bag to allow for some air circulation. This prevents the leaves from drying out while still letting air in.
- Bottom warmth can be a game-changer: If you have an old heating mat for seedlings, placing your potted divisions on it (on a low setting) can really speed up root development. It mimics the warmth of spring soil.
Aftercare & Troubleshooting
Once your divisions are potted, place them in a bright spot, but out of direct sunlight. Water sparingly – only when the top inch of the soil feels dry. You’ll start to see new growth emerging from the buds. This is a sign that roots are forming!
The most common issue you’ll face is rot. If a new shoot turns mushy and black, or you see signs of fungus on the tuber, it’s likely due to too much moisture. Unfortunately, once rot sets in, it’s very difficult to save. Act quickly: remove the affected division and try to improve air circulation and reduce watering for the remaining ones. If you notice wilting that isn’t due to dryness, it could also be a sign of root rot.
A Encouraging Closing
Be patient with your new Dactylorhiza romana babies. They are living things, and sometimes they take their sweet time. Watching that first new leaf unfurl or a tiny root emerge is incredibly satisfying. Celebrate the small victories, learn from any setbacks, and most importantly, enjoy the process of growing these gorgeous orchids. Happy gardening!
Resource:
https://identify.plantnet.org/k-world-flora/species/Dactylorhiza%20romana%20(Sebast.)%20Soó/data