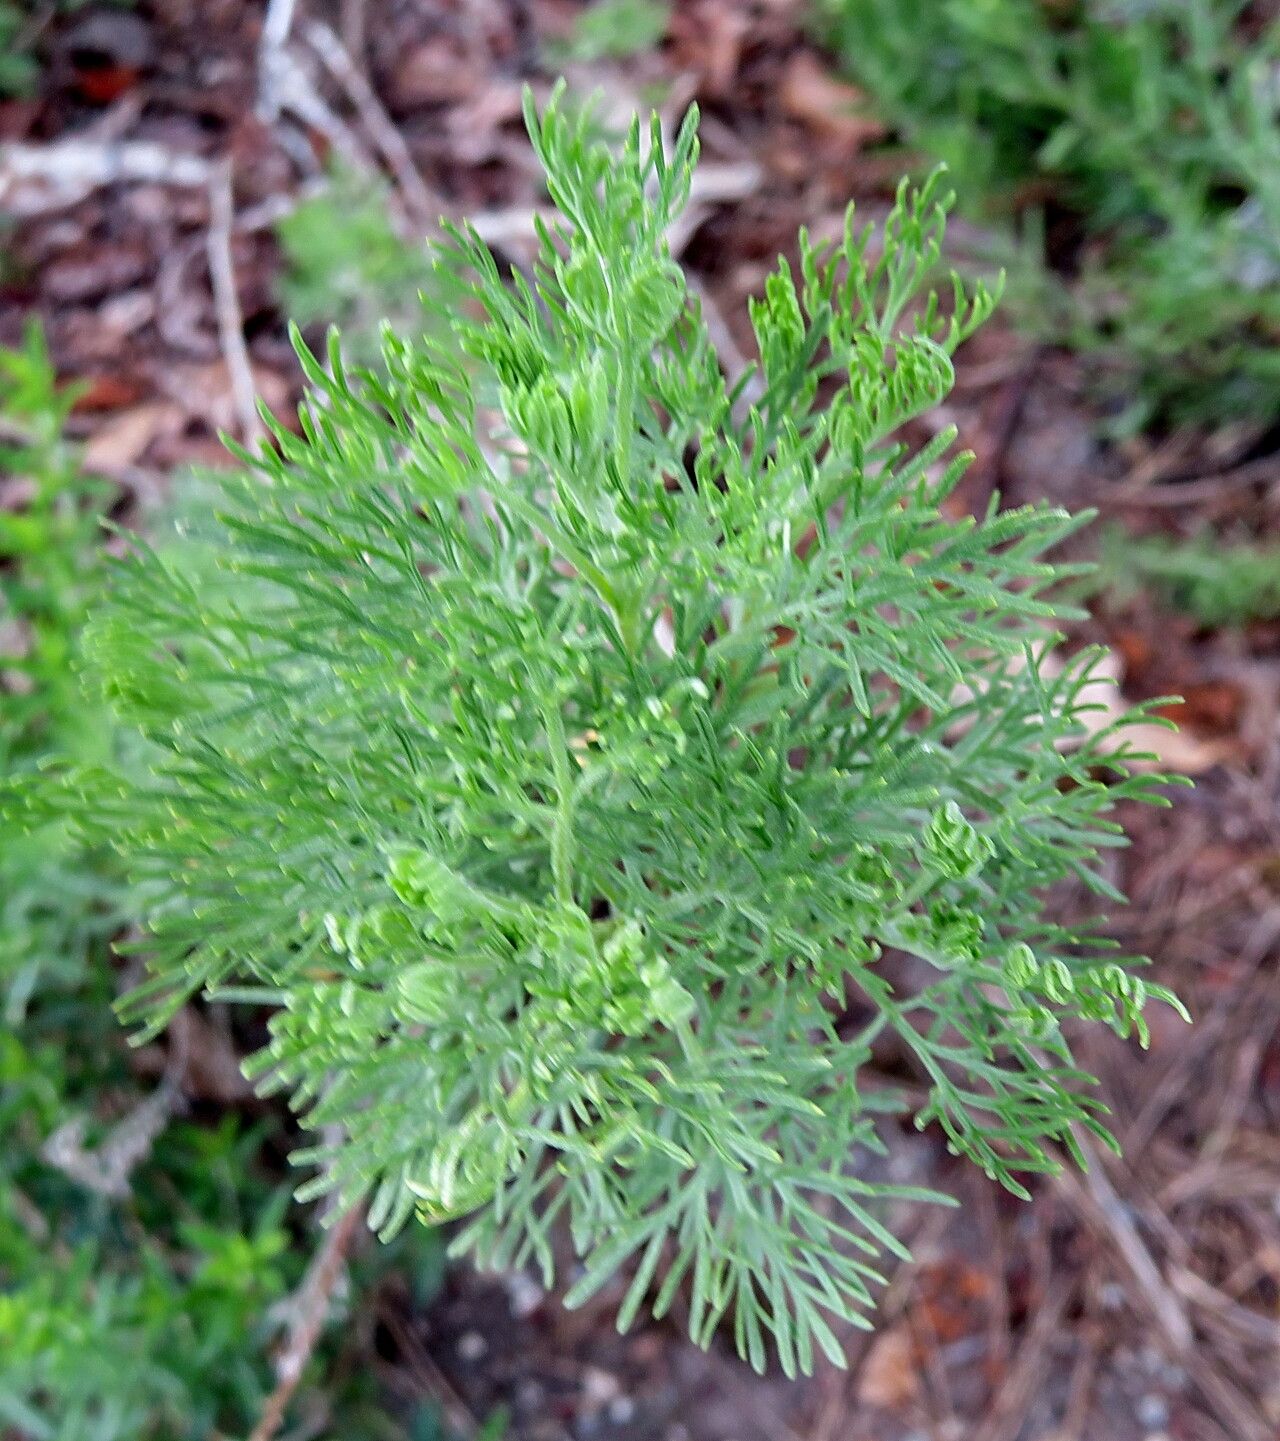
Hello, fellow plant lovers! Today, we’re diving into the wonderful world of propagating Artemisia alba, or as some of you might know it, white mugwort. I’ve spent two decades with my hands in the soil, and I can tell you, there’s a special kind of joy in watching a tiny cutting transform into a thriving plant. Artemisia alba is a beauty, with its silvery, aromatic foliage that adds such a lovely texture and scent to the garden. It’s also surprisingly straightforward to propagate, making it a fantastic option for beginners who want to expand their collection or share their green thumb with friends.
The Best Time to Start
For the absolute best success rate with Artemisia alba, I always reach for my pruning shears in late spring or early summer. This is when the plant is actively growing, and the new, soft, non-woody stems have plenty of energy to put into developing roots. You can also try in early autumn, taking cuttings from slightly more mature growth, but spring is generally my go-to for a vigorous start.
Supplies You’ll Need
Before we get our hands dirty, let’s gather our toolkit. Here’s what you’ll want to have on hand:
- Sharp Pruning Shears or a Knife: Cleanliness is key here to prevent disease.
- Rooting Hormone (Optional but Recommended): A little dip can make a big difference.
- Well-Draining Potting Mix: A blend of peat moss or coir, perlite, and a bit of compost works wonderfully. I often use a standard, good-quality potting mix and add extra perlite for better drainage.
- Small Pots or Trays: Terracotta pots are great as they breathe, but plastic will do too.
- Labels: To remember what you’ve planted and when!
- Watering Can or Spray Bottle: For gentle watering.
- A Clear Plastic Bag or Humidity Dome: To create a mini-greenhouse effect.
Propagation Methods
Artemisia alba is a trooper, and really, you’ve got a couple of excellent options for getting more plants.
Stem Cuttings: My Favorite Approach
This is my tried-and-true method. It’s efficient and gives you healthy, strong new plants.
- Take Your Cuttings: In late spring or early summer, select healthy, non-flowering shoots from your Artemisia alba. You want stems that are about 4-6 inches long. Look for stems that are flexible but not woody. Using your clean shears, make a cut just below a leaf node (where a leaf attaches to the stem).
- Prepare the Cuttings: Gently remove the lower leaves, leaving just the top few at the very tip. This prevents them from rotting once they’re in the soil. If you’re using rooting hormone, dip the cut end into the powder, tapping off any excess.
- Plant Them Up: Fill your small pots with your well-draining potting mix. Make a small hole in the center with your finger or a pencil.
- Insert the Cuttings: Carefully place the prepared cutting into the hole, ensuring the leaf nodes that were below the soil line are now covered. Gently firm the soil around the base of the cutting.
- Water and Cover: Water them thoroughly but gently. Then, cover the pots with a clear plastic bag or a humidity dome. This is crucial to keep the humidity high, which helps the cuttings stay turgid while they develop roots.
Division: For Established Plants
If you have a larger, more established clump of Artemisia alba, division is a great way to multiply your plants and give the parent plant a good refresh.
- Dig Up the Plant: In early spring, before new growth really takes off, carefully dig up the entire Artemisia alba clump.
- Divide the Roots: Gently shake off some of the excess soil. You should be able to see where the plant naturally wants to break apart. Use your hands or a clean spade to gently pull or cut the clump into smaller sections. Each section should have a good amount of roots and at least one or two healthy shoots.
- Replant Immediately: Replant these divisions back into well-prepared soil in your garden or into pots. Water them in well.
The “Secret Sauce” (Pro Tips)
Here are a couple of tricks I’ve learned over the years that can really boost your success:
- Bottom Heat is Your Friend: For stem cuttings, if you can provide a little gentle warmth from below, it encourages root development wonderfully. A heat mat designed for seedlings is perfect. Just place your pots on top of it.
- Air Circulation is Key: While you want high humidity under that plastic bag, you don’t want stagnant air. Every day or two, lift the bag for a few minutes to allow for some fresh air exchange. This helps prevent fungal issues.
Aftercare & Troubleshooting
Once your cuttings have started to root (you’ll know this when you see new growth or feel a gentle resistance when you tug lightly on the stem), it’s time to adjust their care.
- Gradual Acclimation: Slowly begin to remove the plastic bag or humidity dome over a week or so. This allows the new plants to acclimate to normal humidity levels.
- Consistent Moisture: Keep the soil consistently moist but not waterlogged. They’re still babies and need steady hydration.
- Light: Place your newly rooted plants in a bright spot with indirect sunlight. Direct sun can scorch their tender leaves.
- Troubleshooting: The most common issue you’ll encounter is rot. This usually happens from overwatering or insufficient drainage. If a cutting turns mushy, black, or falls over, unfortunately, it’s usually a lost cause. The best prevention is good drainage and not letting the leaves sit in water. If you see leaves yellowing, it could be a sign of too much water or not enough light. Don’t be discouraged; nature has a way of working things out, and sometimes it just takes a few tries.
See? Not so daunting, is it? Take your time, have fun with it, and remember that every gardener, no matter how experienced, has lost a cutting or two. The most important thing is the process. Enjoy watching those little bits of green transform into new life. Happy propagating!
Resource:
https://identify.plantnet.org/k-world-flora/species/Artemisia%20alba%20Turra/data