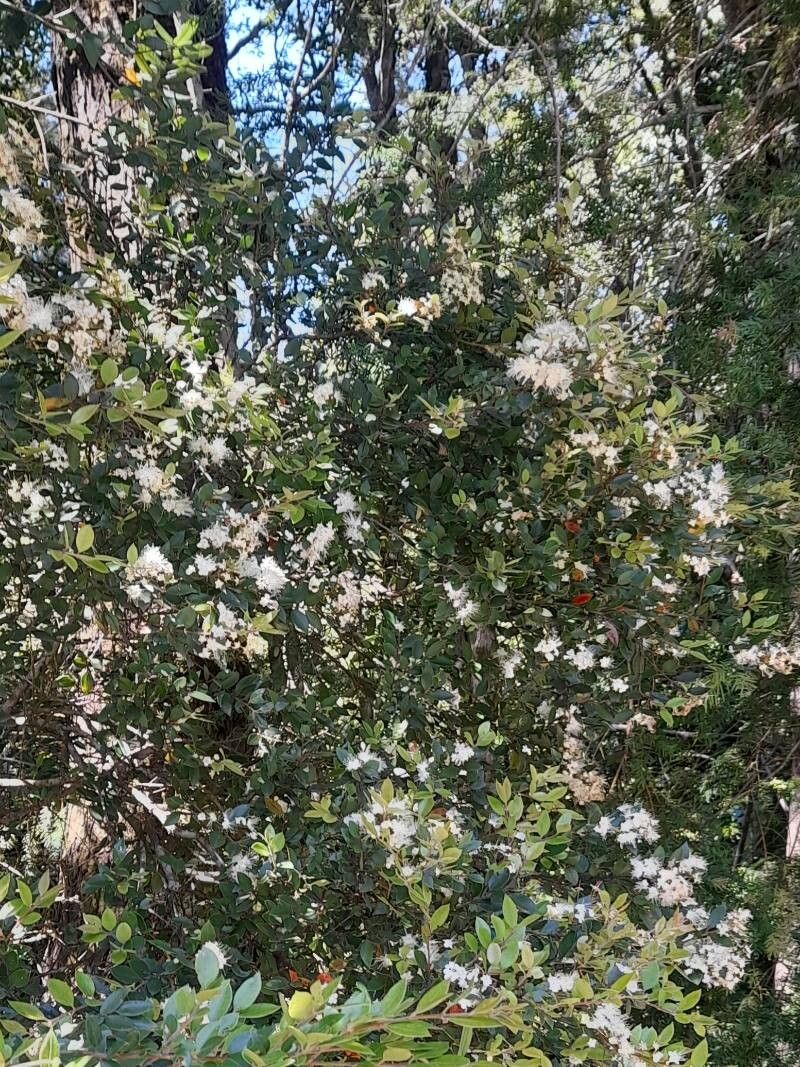
Hello there, fellow garden enthusiasts! Today, I want to chat about a truly charming plant that I’ve come to adore: the Amomyrtus luma. If you’re looking for a touch of South American elegance in your garden, this is it. Its delicate, star-shaped flowers are a real showstopper in late summer, followed by lovely berries. Plus, its glossy evergreen foliage provides year-round interest.
For those of you dipping your toes into propagation, I’ll be honest – Amomyrtus luma can be a little bit of a trickster. It’s not the absolute easiest plant to start from scratch, but with a bit of patience and the right approach, it’s absolutely achievable. The reward of nurturing a brand new plant from a tiny cutting is just immeasurable, isn’t it?
The Best Time to Start
When it comes to getting our Amomyrtus luma babies going, late spring to early summer is generally your sweet spot. This is when the plant is actively growing and has plenty of energy. We’re looking for new growth that’s still a bit soft and flexible – what we horticulturists call semi-ripe cuttings. Avoid woody material from last year or the very tips of new, floppy shoots.
Supplies You’ll Need
Here’s what you’ll want to gather before you get started:
- Sharp, clean pruning shears or a sharp knife. Hygiene is key to preventing disease!
- A well-draining potting mix. I like to use a blend of equal parts peat moss, perlite, and coarse sand. For woody plants, you can often find specific cuttings compost that works wonders.
- A rooting hormone powder or gel. This isn’t strictly mandatory, but it can give your cuttings a significant boost.
- Small pots or propagation trays with drainage holes.
- A clear plastic bag or a propagator lid. This helps to keep humidity high around your cuttings.
- A spray bottle filled with clean water.
- A heat mat (optional, but highly recommended for Amomyrtus luma).
Propagation Methods: Let’s Get Our Hands Dirty!
For Amomyrtus luma, stem cuttings are my go-to method. It’s reliable, and with a little care, you’ll be amazed at how many new plants you can create.
- Take Your Cuttings: Early in the morning, when the plant is plump with moisture, select healthy stems. Cut a piece about 4-6 inches long. Make sure your cut is clean, just below a leaf node (where a leaf attaches to the stem).
- Prepare the Cuttings: Gently remove the lower leaves from your cuttings. This is crucial! You want to expose enough of the stem so it can callus and root. Leave just a few leaves at the top to keep the plant photosynthesizing. If the remaining leaves are very large, you can even snip them in half to reduce water loss.
- Apply Rooting Hormone: Dip the cut end of each stem into your rooting hormone. Tap off any excess. This stuff is a bit sticky, so get it on there and then give it a gentle shake.
- Potting Up: Fill your small pots or trays with your prepared potting mix. Make a hole in the center with a pencil or a stick. Carefully insert the base of your cutting into the hole, ensuring the leaf nodes you took leaves from are below the soil surface. Gently firm the soil around the stem.
- Watering In: Water the pots thoroughly until water drains from the bottom. This settles the soil around the cuttings and removes air pockets.
- Create a Humid Environment: Place your pots into a clear plastic bag, sealing it loosely. Alternatively, use a propagator lid. This creates a mini-greenhouse effect, preventing your cuttings from drying out. Never let the leaves touch the plastic – mist them off if they do.
The “Secret Sauce” (Pro Tips)
Here are a few little tricks I’ve learned over the years that can make all the difference for trickier propagators like Amomyrtus luma:
- Bottom Heat is Your Friend: Amomyrtus luma really benefits from a bit of warmth coming from below. Placing your pots on a heated propagator mat encourages root development much more effectively. It’s like giving your cuttings a warm bath for their roots!
- Patience with Leaf Drop: If your cuttings start to lose their leaves, don’t panic immediately. It’s often a sign they’re conserving energy, working on roots. However, if the stem also starts to shrivel or turn mushy, that’s a different story (more on that in troubleshooting!).
- Don’t Overwater: While humidity is important, soggy soil is the enemy. Ensure excellent drainage and water only when the top inch of the soil feels dry to the touch.
Aftercare & Troubleshooting
Once you start to see signs of rooting – usually after 6-8 weeks, sometimes longer – it’s time to transition.
- Acclimatization: Gradually remove the plastic bag or propagator lid over a week or so. This allows your new plants to adjust to normal room humidity.
- Light: Place your young plants in a bright spot but out of direct, harsh sunlight. Dappled shade is perfect.
- Watering: Continue to water them as needed, keeping the soil consistently moist but not waterlogged.
- Transplanting: Once your new plants have a good root system and are producing new growth, you can pot them up into slightly larger individual pots.
Now, what if things go wrong? The most common culprit is rot. If your cuttings turn black and mushy at the base, it’s usually a sign of too much moisture and not enough air circulation. Unfortunately, these are usually lost. Another sign is when the stem turns papery and dry – this indicates it’s dried out too much. In this case, even with a humid environment, if the soil becomes bone dry, the cutting won’t make it.
The beautiful thing about gardening is that it’s a constant learning process. Don’t be discouraged if your first attempts aren’t perfect. Keep trying, observe your plants, and celebrate the successes. Before you know it, you’ll have a lovely little collection of your own homegrown Amomyrtus luma. Happy propagating!
Resource: