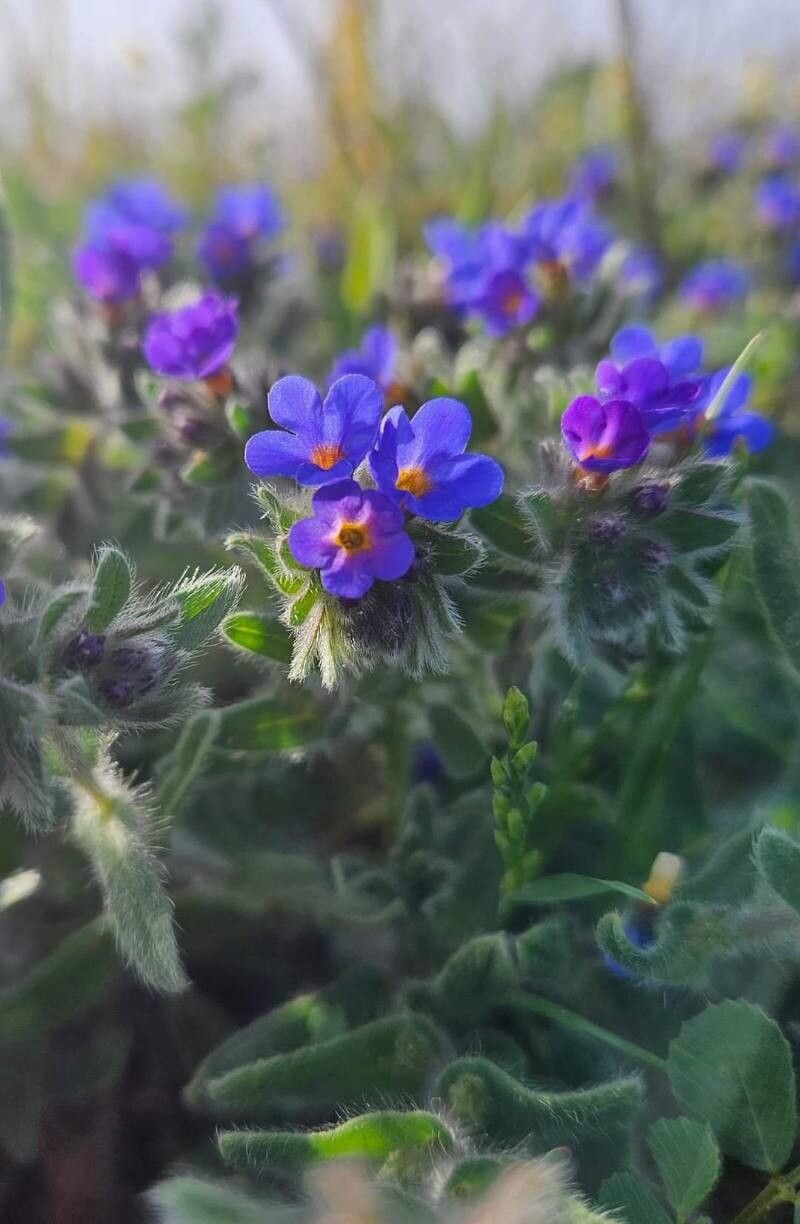
Hello, fellow garden enthusiasts! It’s so good to have you here. Today, we’re diving into the delightful world of Alkanna tinctoria, also known as Dyer’s Bugloss. If you’re drawn to plants with a bit of history and a really lovely, soft blue flower, then this one’s for you. Its roots, with a bit of care, can yield a gorgeous crimson dye, making it a unique addition to any garden. Propagating this beauty is a truly rewarding process, and I’m happy to report that it’s quite beginner-friendly! You’ll be surprised at how easy it can be to share this plant with friends or expand your own collection.
When’s the Best Time to Start?
For the highest success rate with Alkanna tinctoria, spring is your best bet. Look for new growth that is firm but not yet woody. This is usually after the last frost. You can also try propagating in early summer, but make sure to keep new cuttings well-watered and out of harsh afternoon sun. Success rates tend to dip a bit later in the season, so starting early gives your new plants a good long growing period.
What You’ll Need
Gathering your supplies is half the fun, isn’t it? Here’s a handy list to get you started:
- Sharp Pruning Shears or a Clean Knife: For making clean cuts.
- Well-Draining Potting Mix: A mix designed for cacti and succulents, or a blend of regular potting soil with perlite or coarse sand works beautifully.
- Small Pots or Seed Trays: With drainage holes, of course!
- (Optional) Rooting Hormone: While Alkanna tinctoria often roots readily without it, a little can give you an extra boost.
- A Spray Bottle: For misting.
- Labels: To keep track of what you’ve planted and when.
Let’s Get Propagating!
There are a couple of wonderful ways to get more Alkanna tinctoria. I find stem cuttings to be the most reliable and straightforward method.
Stem Cuttings
- Select Your Cuttings: Gently examine a healthy, established Alkanna tinctoria plant. Look for stems that are about 4-6 inches long and have at least a few sets of leaves. You want something that feels firm, not floppy.
- Make the Cut: Using your sharp shears or knife, make a clean cut just below a leaf node (where the leaf attaches to the stem). Remove the lower leaves from the cutting, leaving just two or three at the top.
- Dip in Hormone (Optional): If you’re using rooting hormone, dip the cut end into it. Tap off any excess.
- Plant Your Cuttings: Fill your small pots with your well-draining potting mix. Make a small hole in the center of the soil with your finger or a pencil. Insert the cut end of the stem into the hole, ensuring the leaf nodes that you removed are buried in the soil. Gently firm the soil around the cutting.
- Water Gently: Water the soil lightly to settle it around the cutting. You want it moist, but not waterlogged.
The “Secret Sauce” – My Top Tips!
Over the years, I’ve learned a few little tricks that really make propagation smoother.
- Don’t Overcrowd: Give your cuttings a little breathing room in their pots. Too many in one container can lead to fungal issues. I like to plant about 2-3 cuttings per 3-inch pot.
- Mimic Humidity: New cuttings don’t have roots to absorb water, so a bit of humidity is essential. You can achieve this by placing the pot inside a clear plastic bag or a propagation dome. Make sure the bag or dome doesn’t touch the leaves – poke it up with a few skewers if needed. This creates a mini-greenhouse effect.
- Patience is Key: I know, it’s tempting to peek every day! However, try to leave your cuttings undisturbed for at least 3-4 weeks. Resist the urge to pull them up to check for roots. You’ll usually see signs of new growth when they’re ready.
Aftercare and What to Watch For
Once your cuttings have successfully rooted, you’ll start to see new leaf growth. This is a wonderful sign!
- Gradual Acclimation: If you covered your pots, it’s time to gradually introduce your new plants to normal humidity. Start by opening the bag or dome for a few hours each day, and slowly increase this time over a week.
- Watering: Continue to water when the top inch of soil feels dry. It’s important not to let them dry out completely, but also avoid soggy soil, which can lead to root rot.
- Troubleshooting: The most common issue you might encounter is rot. If your cutting turns mushy or black and limp, it’s likely rot. This is usually caused by too much moisture and poor air circulation. Unfortunately, a rotted cutting can’t be saved, but don’t despair! Just start again with fresh cuttings and be mindful of the humidity and watering levels. Another sign of struggle might be wilting without signs of new growth. Make sure they are getting bright, but indirect light.
And there you have it! Propagating Alkanna tinctoria is a really lovely way to connect with your plants and enjoy their beauty year after year. Don’t be discouraged if your first few attempts aren’t perfect – gardening is all about learning and experimenting. Just take your time, enjoy the process, and before you know it, you’ll have a whole garden full of these delightful blue charmers. Happy growing!
Resource:
https://identify.plantnet.org/k-world-flora/species/Alkanna%20tinctoria%20Tausch/data