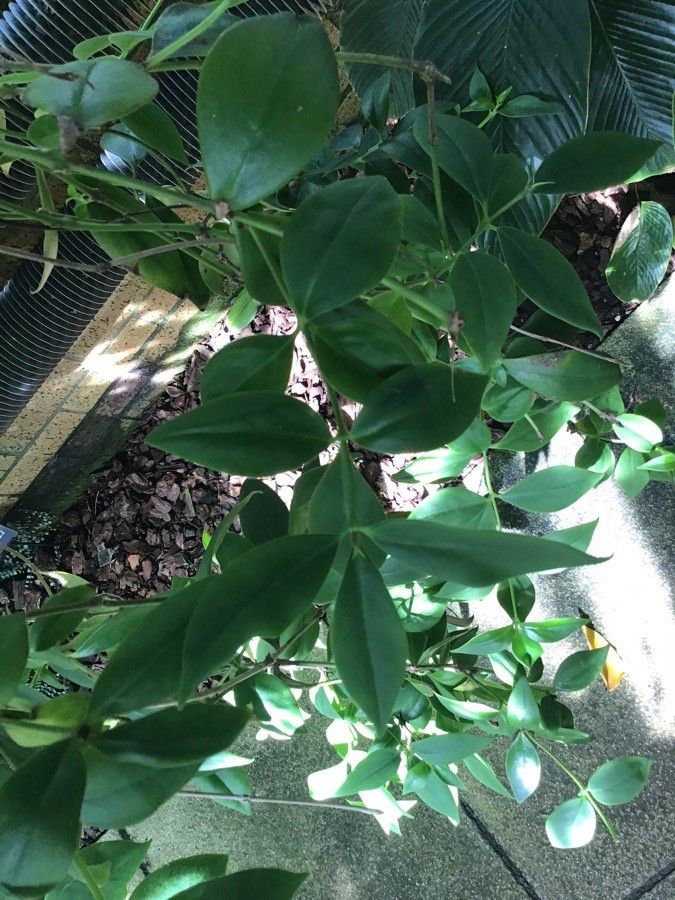
Oh, hello there! Come on in, grab a cup of something warm. Today, we’re diving into the delightful world of propagating Aeschynanthus pseudohybridus, also known affectionately as the “Kissing Philodendron.” Now, I know that might sound a bit fancy, but trust me, it’s a beauty for any home gardener. Its cascading vines and vibrant, trumpet-shaped flowers bring such a cheerful splash of color, especially when most other houseplants are taking a winter nap. And the best part? It’s surprisingly straightforward to multiply these beauties. Even if you’re just dipping your toes into the propagation pond, you can absolutely master this.
The Best Time to Start
For the happiest, most successful cuttings, I always reach for my pruning shears in late spring or early summer. This is when the plant is in its most active growth phase, usually after its main flowering period. New growth is full of vigor, making it primed and ready to root. Think of it like giving a teenager a project – they have the energy and enthusiasm to get it done!
Supplies You’ll Need
To get our Aeschynanthus pseudohybridus babies started, you’ll want to gather a few bits and bobs:
- Sharp Pruning Shears or a Knife: Cleanliness is key here to prevent disease.
- Rooting Hormone (Optional but Recommended): A little boost can speed things up. I like to use a powder or gel.
- A Well-Draining Potting Mix: A good blend of peat moss, perlite, and a little bit of regular potting soil works wonders. It gives the roots something to hold onto while still allowing for plenty of air.
- Small Pots or a Propagation Tray: Whatever you have available! Clean yogurt cups with drainage holes are perfectly fine.
- Clear Plastic Bag or Dome: To create a humid environment while the cuttings root.
- Water: For rinsing your tools and, of course, for water propagation!
Propagation Methods
We’re going to tackle this with a couple of tried-and-true methods that work beautifully for Aeschynanthus pseudohybridus.
Stem Cuttings: This is my go-to. It’s efficient and gives you a good chance of success.
- First, find a healthy stem on your mother plant. Look for one that’s not too woody and has at least two to three sets of leaves.
- Using your clean shears, make a cut just below a leaf node. This is where the magic happens – new roots will emerge from these nodes. Aim for cuttings that are about 4 to 6 inches long.
- Gently remove the lower leaves from the cutting. You want to expose the nodes so they can easily access moisture and grow roots.
- If you’re using rooting hormone, dip the cut end into the powder or gel. Tap off any excess.
- Now, prepare your pot. Fill it with your well-draining potting mix. Make a small hole in the center with your finger or a pencil.
- Insert the cutting into the hole, making sure at least one leaf node is buried in the soil. Gently firm the soil around it.
- Water lightly to settle the soil.
- Cover the pot with a clear plastic bag or a propagation dome to keep the humidity high. You can prop it up with a couple of stakes so the leaves don’t touch the plastic.
Water Propagation: Another lovely method, especially if you like to see the roots developing!
- Take your stem cutting and remove the lower leaves as described above.
- Find a clean glass jar or vase. Fill it with fresh, room-temperature water.
- Place the cutting in the water, ensuring that the leaf nodes you exposed are submerged. Crucially, make sure no leaves are sitting in the water. They’ll just rot.
- Find a bright spot with indirect light for your jar.
- Change the water every few days to keep it fresh and oxygenated.
The “Secret Sauce” (Pro Tips)
Now, for a few little tricks that have helped me over the years:
- Bottom Heat is Your Friend: If you’re using the soil method, placing your pots on a heat mat can dramatically speed up root development. It mimics the warmth of spring and truly encourages those roots to get going.
- Don’t Drown Your Dreams: When watering your soil cuttings, err on the side of slightly drier. Soggy soil is the quickest way to invite rot. The humidity from the cover will keep things moist. You want it damp, not a swamp.
- Patience, Young Grasshopper: I know it’s tempting to poke and prod, but resist the urge to pull your cuttings to check for roots too often. You can usually tell when they’re ready by giving a very gentle tug. If there’s resistance, you’ve got roots!
Aftercare & Troubleshooting
Once you see new leaf growth on your cuttings (or a good network of roots for water propagation), it’s time for their next step.
For soil cuttings, gradually acclimate them to normal room humidity by slowly opening the plastic bag or dome over a week or so. Once they feel stable, you can remove the cover entirely. Keep the soil consistently moist but not waterlogged. They’re still babies and need a gentle hand.
For water-propagated cuttings, when they have roots at least an inch or two long, you can carefully transplant them into a small pot filled with your well-draining potting mix. Water them in gently and then treat them as you would a newly potted plant.
Now, what if things go wrong? The most common culprit is rot. If you see your stem turning mushy and black, or the leaves wilting dramatically, it’s usually a sign of too much moisture. If you catch it early, you might be able to save it by taking a clean cutting from an unaffected part of the stem. Don’t be discouraged if a few don’t make it – it’s all part of the learning process!
Happy Propagating!
So there you have it! Propagating Aeschynanthus pseudohybridus is a wonderfully rewarding way to expand your plant family and share the joy with friends. Be patient with your little green babies, give them the right conditions, and before you know it, you’ll have a whole cascade of these beauties to admire. Happy growing!
Resource:
https://identify.plantnet.org/k-world-flora/species/Aeschynanthus%20pseudohybridus%20Mendum/data