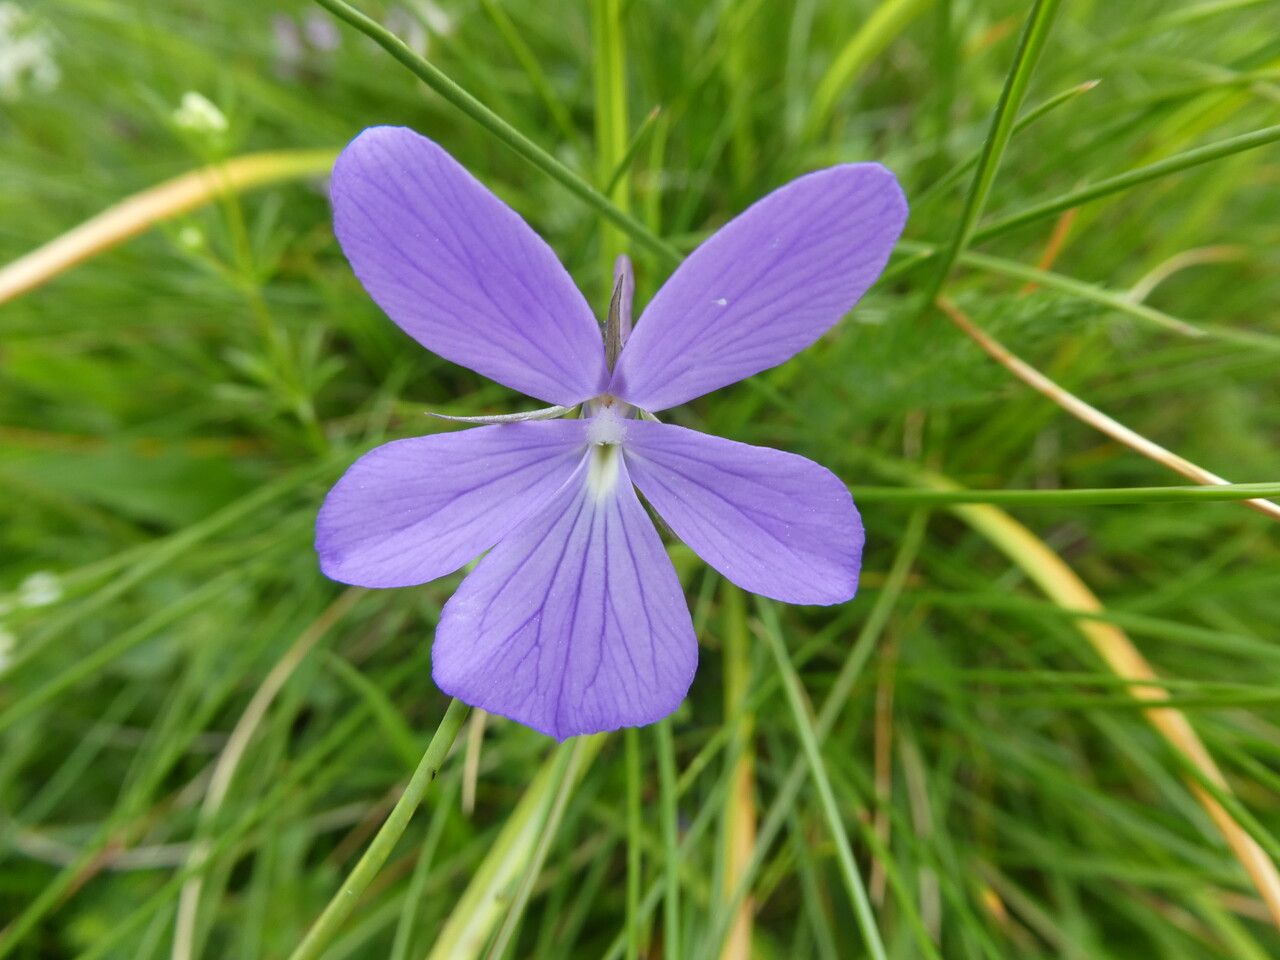
Oh, Viola cornuta! If you’re looking for a cheerful little bloomer to add a splash of color to your garden beds or containers, you really can’t go wrong with Violas. They’re like little bursts of sunshine, with those sweet, innocent faces gracing us with their blooms for so long. And the best part? They’re surprisingly easy to propagate! Sharing new plants with friends or simply expanding your own collection of these delightful little troopers is one of the most rewarding gardening joys. For beginners? Absolutely, I’d say Violas are a fantastic plant to start with for propagation.
The Best Time to Start
When it comes to getting the most bang for your buck, I find the sweet spot for propagating Viola cornuta is late spring into early summer. This is when the plants are actively growing and have plenty of healthy new shoots to work with. You can also have success with cuttings in early autumn, but the growth will be slower, and they might not establish as strongly before winter.
Supplies You’ll Need
Before we dive in, let’s gather our tools. Having everything ready makes the whole process so much smoother:
- Sharp pruning shears or a clean craft knife: For making clean cuts.
- Well-draining potting mix: A good quality seed starting mix or a blend of peat moss and perlite works wonderfully.
- Small pots or seed trays: Make sure they have drainage holes!
- Rooting hormone (optional but recommended): Especially for impatient gardeners like me.
- Plastic bags or a propagation dome: To create a humid environment.
- Watering can with a fine rose: For gentle watering.
- A small trowel or dibber: For making planting holes.
Propagation Methods
Viola cornuta is quite obliging, and you have a couple of excellent ways to multiply your plants.
Stem Cuttings: My Go-To Method
This is my favorite way to propagate Violas. It’s quick, efficient, and usually yields a high success rate.
- Take your cuttings: Look for healthy, non-flowering shoots. Using your sharp shears or knife, make a clean cut just below a leaf node. You’re aiming for cuttings that are 3-4 inches long. Remove any lower leaves, leaving just the top 2-3 sets.
- Prepare for rooting: If you’re using rooting hormone, dip the cut end into it, tapping off any excess.
- Plant your cuttings: Fill your small pots or trays with your prepared potting mix. Make a little hole with your trowel or dibber and gently insert the cutting, firming the soil around it.
- Create humidity: Water gently, then cover the pots with a plastic bag or propagation dome. Secure it loosely to allow for some air circulation.
- Find a good spot: Place the pots in a bright location but out of direct sunlight. A warm windowsill is perfect.
Water Propagation: The Visible Reward
If you like seeing those roots emerge, this method is for you!
- Select your cuttings: Similar to stem cuttings, choose healthy shoots that are 3-4 inches long. Remove the lower leaves.
- Place in water: Pop your cuttings into a small jar or glass of clean water. Make sure no leaves are submerged – they’ll rot.
- Change the water: Change the water every 2-3 days to keep it fresh and prevent bacterial growth.
- Watch for roots: Place the jar in a bright spot, out of direct sun. You should start to see little white roots appearing in a couple of weeks.
- Plant them up: Once the roots are about an inch long, carefully transfer them to pots filled with your well-draining potting mix. Water them in gently.
The “Secret Sauce” (Pro Tips)
Over the years, I’ve picked up a few tricks that seem to give my Viola cuttings a little extra nudge:
- Don’t let the leaves touch the water: Seriously, this is paramount for water propagation. Submerged leaves are a fast track to rot. Keep them high and dry!
- Bottom heat makes a difference: If you have a heat mat designed for propagation, use it! A little warmth from below can absolutely speed up rooting, especially if your house is on the cooler side. Just set it to a gentle, warm temperature.
- Mist, don’t drown: When using the humidity tent method for stem cuttings, I like to give the cuttings and the inside of the plastic a light misting when I first set them up. Afterwards, I only mist if the leaves start to look a bit limp, but I avoid making the soil soggy.
Aftercare & Troubleshooting
Once you spot those first roots – hooray! Time to treat them with a little extra care.
- Gradually acclimatize: If you’ve used a humidity dome, slowly start to remove it over a few days. This helps your new babies adjust to normal air.
- Gentle watering: Continue to water gently, allowing the top of the soil to dry out slightly between waterings. Don’t let them sit in soggy soil – that’s a recipe for root rot, which is often signaled by wilting and a blackening at the base of the stem. If you see this, it’s usually too late, sadly.
- Watch for pests: Keep an eye out for tiny pests like aphids. A gentle spray of soapy water can usually take care of them.
A Little Encouragement
Propagating plants is a bit of an art and a bit of a science. Don’t be discouraged if every single cutting doesn’t make it. Gardening is about learning and observing. Enjoy the process, celebrate your successes, and keep those Viola blooms coming! Happy planting!
Resource:
https://identify.plantnet.org/k-world-flora/species/Viola%20cornuta%20L./data