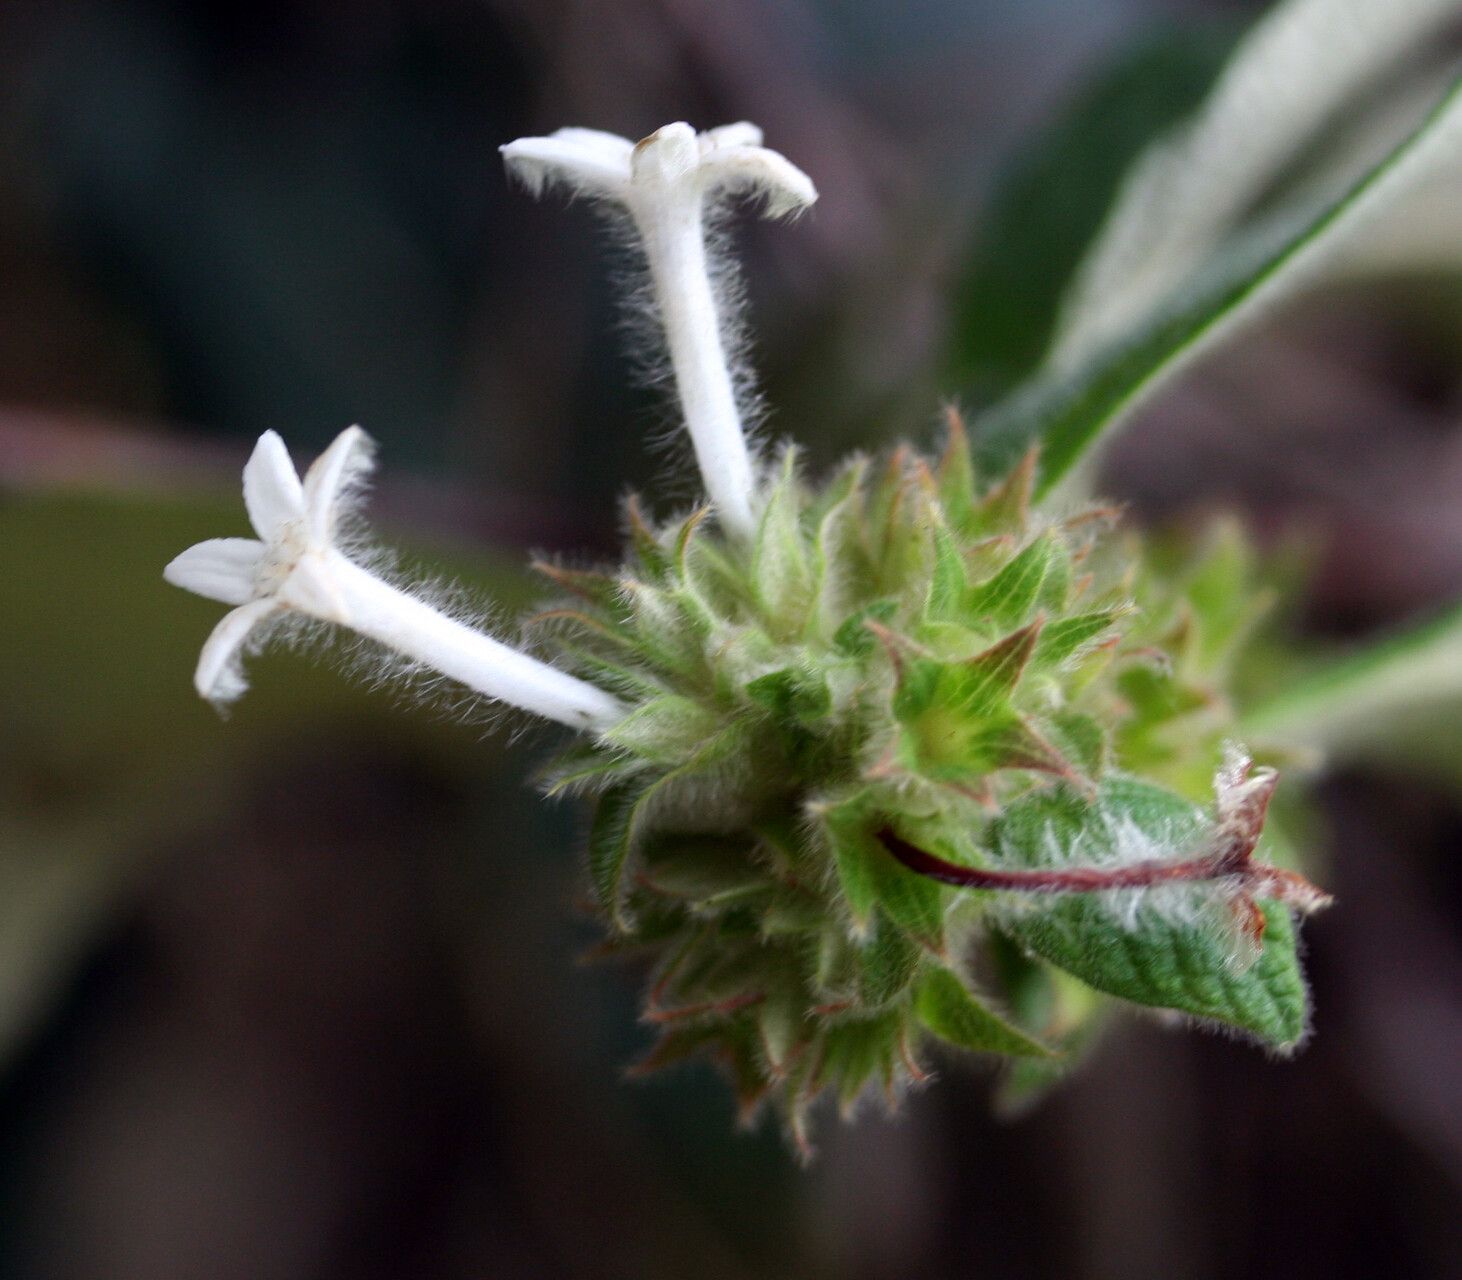
Oh, hello there! It’s so lovely to have you join me. Today, we’re going to dive into the wonderful world of propagating Sabicea velutina. This plant, with its delightfully velvety leaves and beautiful, often fragrant, blooms, is a real treasure. Bringing another one of these beauties into existence from a piece of your existing plant is such a satisfying feeling – it’s like sharing a tiny bit of your garden’s magic.
For you folks just starting out with propagating, I’ll be honest, Sabicea velutina can be a tad particular. It’s not the absolute easiest plant to root, but with a little patience and the right approach, you’ll absolutely be rewarded. Think of it as a gentle challenge, a way to hone those green thumb skills.
The Best Time to Start
When it comes to boosting your chances of success, spring and early summer are your golden ticket for propagating Sabicea velutina. This is when the plant is actively growing and has the most energy to put into developing new roots. Look for healthy, vigorous new growth, often referred to as “softwood” cuttings. Avoid any stems that are already woody or flowering heavily.
Supplies You’ll Need
Gathering your tools beforehand makes the whole process run so much smoother. Here’s what I always have on hand:
- Sharp Pruning Shears or a Clean Knife: For making clean cuts.
- Rooting Hormone (Optional but Recommended): A powder or gel to encourage root development.
- A Well-Draining Potting Mix: I like a blend of peat moss, perlite, and a little bit of coarse sand for excellent aeration. You can also find good pre-made cactus and succulent mixes that work well.
- Small Pots or Propagation Trays: Clean and with drainage holes!
- Plastic Bags or a Clear Dome Lid: To create a humid environment.
- Watering Can with a Fine Rose: For gentle watering.
- Marker and Labels: To keep track of what you’ve planted.
Propagation Methods
While Sabicea velutina can be propagated in a few ways, stem cuttings are generally the most reliable and the method I’ll focus on for you.
Stem Cuttings: My Go-To Method
- Take Your Cuttings: Using your sharp shears or knife, take cuttings that are about 4-6 inches long. Look for healthy, non-flowering stems that have at least two sets of leaves. Make your cut just below a leaf node (where a leaf attaches to the stem).
- Prepare the Cuttings: Gently remove the lower leaves, leaving just a couple of leaves at the very top. This prevents them from rotting in the soil. If your cuttings are quite large, you can even trim the remaining leaves in half to reduce water loss.
- Apply Rooting Hormone: If you’re using rooting hormone, dip the cut end of each stem into the powder or gel. Tap off any excess.
- Plant Your Cuttings: Fill your small pots or propagation tray with your prepared, moistened potting mix. Make a small hole with your finger or a pencil. Carefully insert the cut end of each cutting into the hole, ensuring that a leaf node is below the soil surface. Gently firm the soil around the base of the cutting.
- Create a Humid Environment: Water the soil gently. Then, cover the pots with a clear plastic bag or a propagation dome to maintain high humidity. You can use stakes to keep the plastic from touching the leaves.
The “Secret Sauce” (Pro Tips)
Okay, now for a few little tricks I’ve picked up over the years that can really make a difference:
- Bottom Heat is Your Friend: If you have them, placing your pots on a seedling heat mat can significantly speed up rooting. This gentle warmth mimics spring soil temperatures and encourages those roots to get going. Sabicea velutina loves a bit of warmth from below.
- Don’t Drown Them: While humidity is crucial, avoid soggy soil. The most common mistake is overwatering, which leads to rot. Let the very surface of the soil dry out slightly between waterings. You want it consistently moist, not waterlogged.
- Indirect Light Only: Place your cuttings in a bright spot, but out of direct sunlight. Too much sun will scorch those precious baby leaves and dry out the cuttings too quickly. Think of a bright windowsill that doesn’t get harsh afternoon rays.
Aftercare & Troubleshooting
Once you’ve got your cuttings potted up, the waiting begins!
- Check for Roots: In about 4-8 weeks, gently tug on a cutting. If you feel resistance, it means roots have started to form. You might also see new leaf growth appearing.
- Gradual Acclimatization: Once roots are established, begin to gradually remove the plastic cover or dome over a few days. This helps the new plant get used to normal humidity levels before you remove it entirely.
- Transplanting: When the new plant has a good root system and is actively growing, you can pot it up into a slightly larger container with fresh potting mix.
- Troubleshooting: The biggest challenge you’ll face is rot. If you see your cuttings turning mushy and black, it’s usually a sign of too much moisture and not enough air circulation. Ensure your soil is well-draining and try to avoid overwatering. If a cutting looks like it’s wilting and dry, check the moisture level and ensure it’s getting enough humidity.
A Discouraging Closing
So there you have it! Propagating Sabicea velutina is a journey, not a race. Be patient with your new little plants, and don’t be discouraged if a few don’t make it. Every attempt is a learning experience, and the joy of successfully growing a new plant all on your own is truly immense. Happy propagating, and may your new Sabicea velutina thrive!
Resource:
https://identify.plantnet.org/k-world-flora/species/Sabicea%20velutina%20Benth./data