Oh, hello there! Come on in, pull up a chair. Let’s chat about one of my all-time favorites: Lathyrus saxatilis.
Why Grow Lathyrus saxatilis?
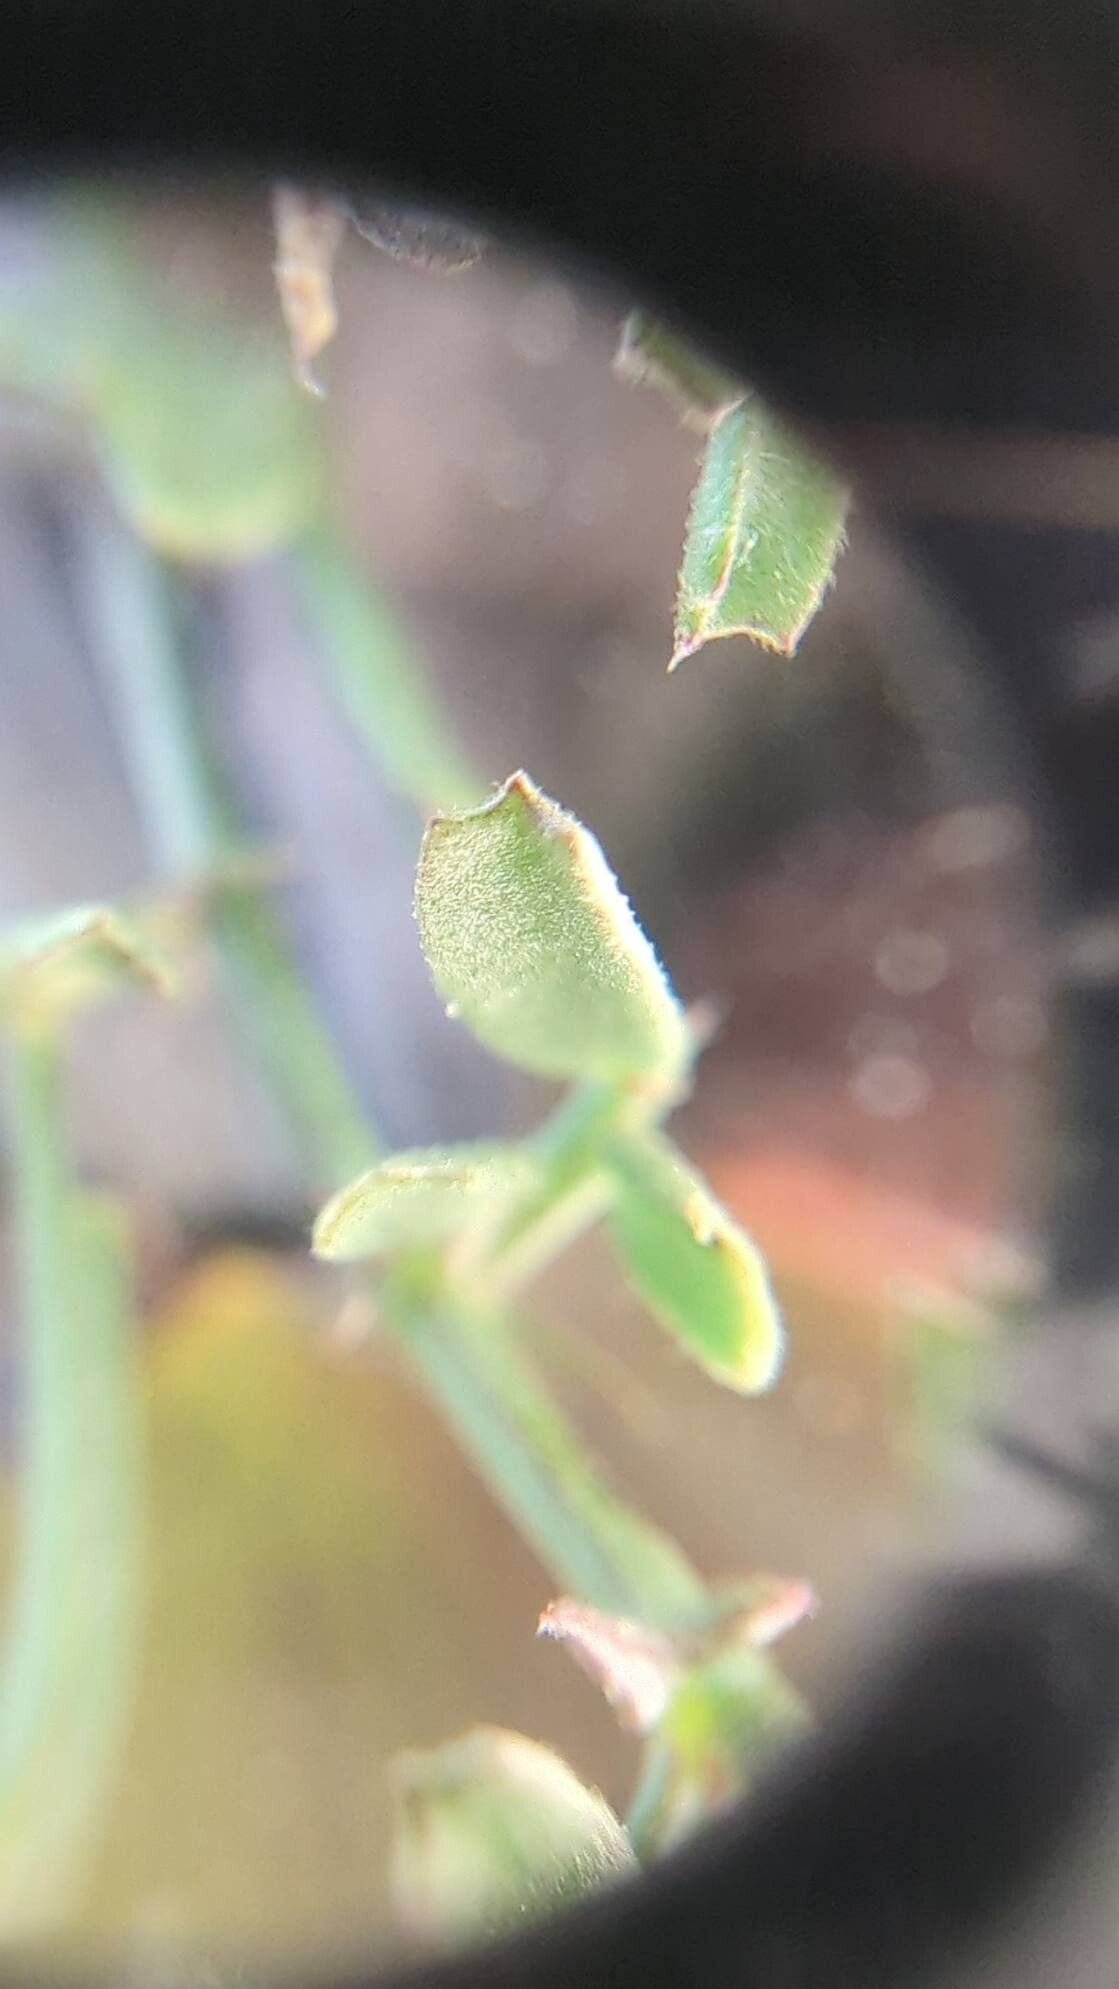
If you haven’t met Lathyrus saxatilis yet, you’re in for a treat. It’s a delightful little wild sweet pea, often found clinging to rocky outcrops, hence its name. Its charm lies in its delicate, often vibrant, pea-like flowers and its tenacious, rambling habit. While not as flamboyant as some of its cultivated cousins, it possesses a quiet beauty that really speaks to me. Propagating it is a wonderful way to share this unique beauty, and honestly, watching a tiny cutting unfurl new leaves feels like a small miracle every time. Now, is it easy for beginners? I’d say it’s moderately easy, but with a few pointers, you’ll be successful in no time.
The Best Time to Start
For Lathyrus saxatilis, I find that late spring to early summer is your golden window. This is when the plant has broken dormancy and is actively growing, making it more receptive to propagation efforts. You’re looking for young, vigorous shoots that haven’t yet flowered. These have the most energy to put into root development.
Supplies You’ll Need
Gathering your supplies beforehand makes the whole process so much smoother. Here’s what I usually have on hand:
- Sharp, clean pruning shears or a sharp knife: Essential for making clean cuts.
- Rooting hormone (powder or gel): This gives cuttings a helpful boost.
- A well-draining potting mix: I often use a blend of equal parts peat moss or coco coir, perlite, and coarse sand.
- Small pots or seed trays: Clean pots are a must to prevent disease.
- A small watering can or spray bottle: For gentle watering.
- Clear plastic bags or a propagator: To create a humid environment for cuttings.
- Labels: Don’t forget to label your cuttings!
Propagation Methods
Lathyrus saxatilis is best propagated through stem cuttings. It’s a reliable method that I’ve used countless times.
Stem Cuttings:
- Take Your Cuttings: With your clean shears, select healthy, non-flowering shoots. Aim for cuttings that are about 4-6 inches long. Make a clean cut just below a leaf node (where a leaf attaches to the stem).
- Prepare the Cuttings: Remove the lower leaves, leaving just a few at the top. This prevents them from rotting in the soil.
- Apply Rooting Hormone: Dip the cut end of each cutting into your rooting hormone, tapping off any excess.
- Plant Your Cuttings: Fill your small pots with the prepared potting mix. Make a small hole with a pencil or your finger. Gently insert the cuttings into the holes, ensuring the leaf nodes are below the soil surface. Press the soil gently around the base of each cutting.
- Water Gently: Water the soil thoroughly but gently. A misting spray is often best to avoid disturbing the cuttings.
- Create Humidity: Place each pot inside a clear plastic bag, sealing it loosely with a twist tie or rubber band, or place them in a propagator. This creates a mini-greenhouse effect, keeping the humidity high.
The “Secret Sauce” (Pro Tips)
Here are a couple of things I’ve learned over the years that make a difference:
- Don’t let those top leaves touch the water (if you were to try water propagation, which I generally avoid for this species). In soil, this translates to ensuring no leaves are buried. Rot can set in so quickly, and we want all that energy going into roots!
- Consider bottom heat. If you have a heat mat you use for seedlings, placing your pots on it can significantly speed up root formation. It mimics the warmer soil conditions the plant loves. It’s not strictly necessary, but it’s a real game-changer.
Aftercare & Troubleshooting
Once your cuttings are planted and humidified, the real waiting game begins.
- Placement: Keep your pots in a bright location, but out of direct, scorching sunlight. A north-facing window or a spot with dappled shade is ideal.
- Watering: Check the soil moisture regularly. You want it to be consistently moist, but never waterlogged. If the soil feels dry to the touch, water gently.
- Checking for Roots: After a few weeks, you can gently tug on a cutting. If you feel resistance, it’s a good sign roots are forming! You can also look for new growth at the tip.
- Signs of Failure: The most common issue is rot, which will look like a black, mushy stem. This usually happens from overwatering or poor drainage. If you see this, sadly, that cutting is likely lost. Yellowing leaves that aren’t shed can also indicate stress.
Keep Growing!
Propagating Lathyrus saxatilis is a truly rewarding experience. Be patient, my friend. Nature operates on its own timeline, and sometimes the most beautiful things are worth waiting for. Enjoy the process, learn from each attempt, and soon you’ll have a whole patch of these charming wildflowers to admire. Happy gardening!
Resource:
https://identify.plantnet.org/k-world-flora/species/Lathyrus%20saxatilis%20(Vent.)%20Vis./data