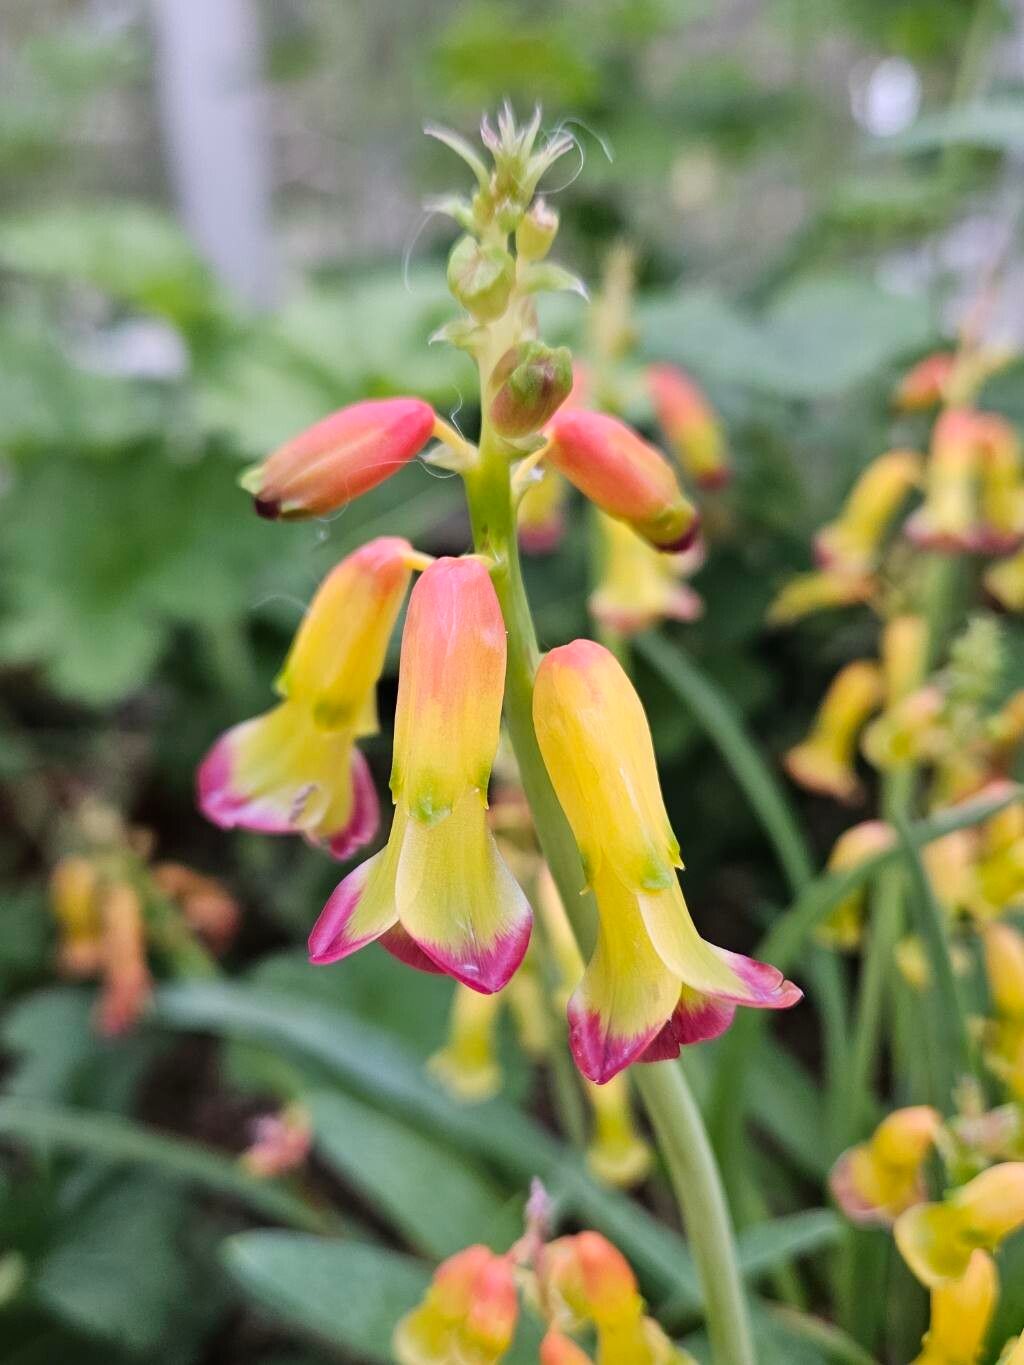
Oh, Lachenalias! Aren’t they just the most cheerful little things to grace a garden or a windowsill? With their bell-shaped flowers in vibrant hues, they bring a burst of South African sunshine right to our doors. If you’ve fallen in love with their charm, you’ll be delighted to know that propagating them can be incredibly rewarding. It’s not quite as simple as sticking a begonia leaf in water, but with a little patience and know-how, you’ll be well on your way to a whole medley of these beauties.
The Best Time to Start
For Lachenalias, the really sweet spot for propagation is typically in late winter or early spring. This is when the current growth cycle is winding down, and the plant is getting ready to enter its dormant phase. You’ll often see the flowers fading, and the leaves starting to yellow. This is the perfect moment to gently disturb things and encourage new life.
Supplies You’ll Need
Here’s what you’ll want to have on hand to make your Lachenalia propagation journey smooth sailing:
- Sharp pruning shears or a clean knife: For making precise cuts.
- Well-draining potting mix: A cactus and succulent mix is ideal, or you can create your own by adding extra perlite or coarse sand to a regular potting mix. Lachenalias absolutely hate soggy feet!
- Small pots or trays: With good drainage holes, of course.
- Rooting hormone (optional but helpful): For cuttings, this can give them a little extra boost.
- Small watering can or spray bottle: For gentle watering.
- Trowel or dibber: For making planting holes.
- Labels and a marker: So you don’t forget what you’ve planted where!
Propagation Methods
Lachenalias are primarily propagated by offsets and, less commonly for beginners, by seed. I’ll focus on the most accessible method for us home gardeners: division of offsets.
Division of Offsets:
This is the most straightforward and successful way to propagate Lachenalias. As your mature plant grows, it will naturally produce little baby bulbs, called offsets, around its base.
- Gently Unpot: When your Lachenalia has finished flowering and the foliage is starting to die back (remember, late winter/early spring!), it’s time to carefully remove the plant from its pot.
- Clean Away Old Soil: Gently brush off as much of the old soil as you can from the root ball. You want to clearly see the offsets.
- Identify and Separate Offsets: Look for smaller bulbs attached to the main bulb. Using clean fingers or a small, sharp knife, carefully twist or cut these offsets away from the parent bulb. Try to ensure each offset has at least one small root attached if possible. Don’t worry if they look a bit small; they have the potential!
- Allow to Dry (for a few hours): It’s a good idea to let the freshly separated offsets air dry for a few hours in a cool, dry place. This helps any cut surfaces callus over, reducing the risk of rot.
- Pot Them Up: Fill your small pots with your well-draining mix. Make a hole in the center with your finger or a dibber, large enough for the offset’s base.
- Plant the Offsets: Place the offset in the hole, ensuring the top of the bulb is just at or slightly below the soil surface. Don’t plant them too deep! Gently firm the soil around them.
- Water Lightly: Water them just enough to settle the soil. You don’t want them sitting in water.
The “Secret Sauce” (Pro Tips)
Here are a few little tricks I’ve learned over the years that can make a big difference:
- Don’t Overwater Dormant Bulbs: This is a big one! While the bulbs are dormant, they need very little water. Think barely damp soil. Overwatering at this stage is the quickest way to invite rot.
- Provide a Little Warmth for Rooting: Once you’ve potted your offsets, placing them in a spot with gentle warmth, like on top of a refrigerator or near a gentle heat mat (if you have one), can encourage faster root development. Just don’t bake them!
- Patience with Parent Bulbs: If you’re dividing offsets from a very mature plant, don’t be afraid to leave a few smaller offsets attached. Sometimes, these can grow into a stronger plant sooner than a newly separated tiny one.
Aftercare & Troubleshooting
Once your offsets are in their new homes and you’ve watered them lightly, the next phase is all about waiting and watching.
- Watering: Water inconsistently at first. Let the soil dry out between waterings. You’ll be looking for signs of new growth, like a tiny shoot emerging from the soil, which usually indicates roots have formed.
- Light: Once you see new growth, move them to a bright location but avoid direct, harsh sunlight, especially as they are still establishing.
- Troubleshooting: The most common problem you’ll encounter is rot. If you notice a bulb turning mushy, black, or emitting an unpleasant smell, it’s likely rotted. Sadly, there’s not much you can do once this happens, so the best approach is prevention by ensuring excellent drainage and careful watering. If you see mold on the soil surface, try to remove it and let the soil dry out a bit more.
A Encouraging Closing
Propagating Lachenalias is a journey of observation and gentle care. It might take a season or two before you see a full-blown bloom from your new babies, but trust me, the satisfaction of nurturing a new plant from a tiny offset is immense. Be patient, enjoy the process, and before you know it, you’ll have a collection of these delightful flowers to brighten your world. Happy propagating!
Resource:
https://identify.plantnet.org/k-world-flora/species/Lachenalia%20aloides%20(L.f.)%20Engl./data