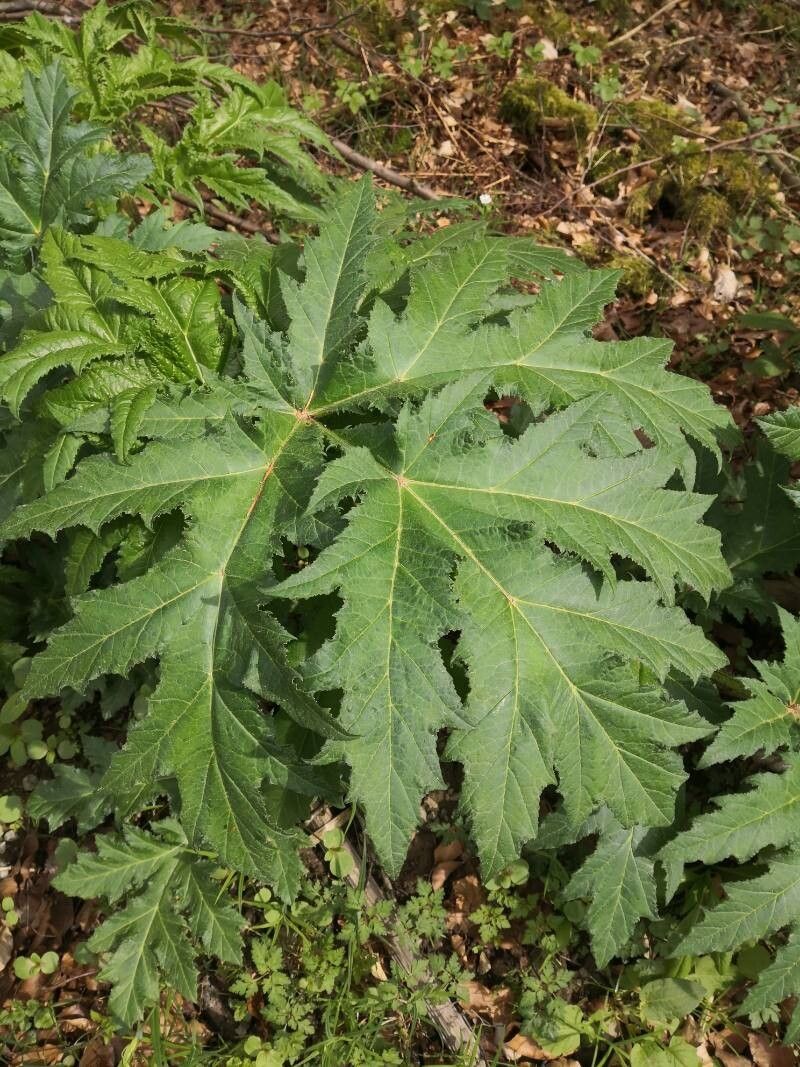
Well hello there, fellow garden enthusiasts! It’s so lovely to have you join me. Today, we’re diving into the wonderful world of propagating Heracleum persicum, also known as Persian Hogweed. If you’ve ever seen this magnificent plant gracing a garden – with its towering stature and those bold, architectural flower heads – you’ll understand why it’s so captivating. I’ve spent years marveling at its presence, and trust me, bringing more of this beauty into your own space is incredibly rewarding. Now, for the good news: Heracleum persicum can be a bit of a drama queen, but with a few pointers, propagating it is absolutely achievable, even if you’re just starting out on your plant parent journey.
The Best Time to Start
Timing is everything in the garden, isn’t it? For Heracleum persicum, the sweet spot for propagation is usually early spring, just as the plant is waking up from its winter slumber. You’re looking for new, vigorous growth. Alternatively, if you’re working with divisions, late summer or early autumn, after the flowering has finished and the plant is starting to think about slowing down, is also a good bet. We want to give our new propagations plenty of time to establish before the extreme weather hits.
Supplies You’ll Need
Gathering your tools beforehand makes the whole process so much smoother. Here’s what I usually have on hand:
- Sharp pruning shears or a clean, sharp knife: For making clean cuts.
- Well-draining potting mix: A good blend of peat moss, perlite, and a bit of compost works wonders.
- Small pots or trays: Enough for your cuttings or divisions.
- Rooting hormone (optional but helpful): Especially for stem cuttings.
- Watering can with a fine rose: For gentle watering.
- Plastic bags or propagation domes: To create a humid environment.
- Labels: To keep track of what you’ve planted where!
Propagation Methods
Heracleum persicum is best propagated through division or seed, but for a more hands-on approach, let’s talk about taking cuttings, which can be successful with care.
1. Division (My Personal Favorite!)
This is generally the most straightforward method for Heracleum persicum.
- Dig carefully around the main root ball of a mature plant, preferably in early spring or late summer. You want to lift the entire plant.
- Gently shake off any excess soil. You should be able to see where the plant naturally divides into smaller sections, each with its own healthy roots and at least one bud or shoot.
- Using your hands or a clean spade, separate the plant into smaller divisions. If they are stubborn, a sharp knife can help, but try to keep as much of the root system intact as possible.
- Replant your divisions immediately into prepared beds or pots filled with your well-draining soil.
- Water them well and keep the soil consistently moist but not waterlogged.
2. Stem Cuttings
This method requires a bit more attention, but it’s incredibly satisfying when it works!
- In early spring, select a healthy, non-flowering stem from a vigorous plant. Look for stems that are about 4-6 inches long.
- Using your sharp shears, make a clean cut just below a leaf node (where a leaf attaches to the stem).
- Remove the lower leaves from the cutting, leaving only a couple of leaves at the top. This reduces water loss.
- If you’re using it, dip the cut end into rooting hormone, tapping off any excess.
- Plant the cutting about an inch deep into a pot filled with your potting mix. Gently firm the soil around it.
- Water gently.
- Cover the pot with a plastic bag or place it under a propagation dome to create a humid microclimate. Ensure the leaves don’t touch the inside of the bag.
- Place the pot in a bright spot but out of direct, harsh sunlight.
The “Secret Sauce” (Pro Tips)
Here are a few things I’ve learned over the years that make a difference:
- Don’t let those leaves touch the water on your cuttings! If they sit in water, they’ll rot before they ever have a chance to root. You can use stakes to prop up the plastic bag or trim leaves so they don’t touch.
- Bottom heat is your friend for cuttings. A gentle, consistent warmth from a heat mat can significantly speed up root development. You don’t need it scorching hot, just a nice, tepid warmth.
- Start with the strongest material. Always choose cuttings or divisions from healthy, robust parent plants. They have the best chance of success.
Aftercare & Troubleshooting
Once your divisions are replanted or your cuttings show signs of rooting (you might see new leaf growth or feel a gentle tug when you lightly pull on the stem), it’s time for continued care.
- Keep the soil consistently moist, especially for the first few weeks. Water when the top inch of soil feels dry to the touch.
- Gradually introduce your new plants to less humid conditions. Once they’ve established roots, you can start to air them out by lifting the plastic cover for a bit each day.
- Watch out for rot. This is the most common issue, often caused by overwatering and poor drainage. If you see stems turning mushy or black, it’s a sign that things are too wet. Adjust your watering and ensure good airflow.
- Leggy growth on cuttings can mean they aren’t getting enough light. Move them to a brighter spot, but still avoid direct, scorching sun.
A Encouraging Closing
Growing plants from cuttings or divisions is a beautiful way to connect with nature and expand your garden. It takes a little patience, a sprinkle of intuition, and the willingness to learn from each attempt. Don’t be discouraged if not every propagation is a roaring success – that’s part of the learning curve! Just enjoy the process, celebrate your successes, and keep nurturing those green shoots. Happy gardening!
Resource: