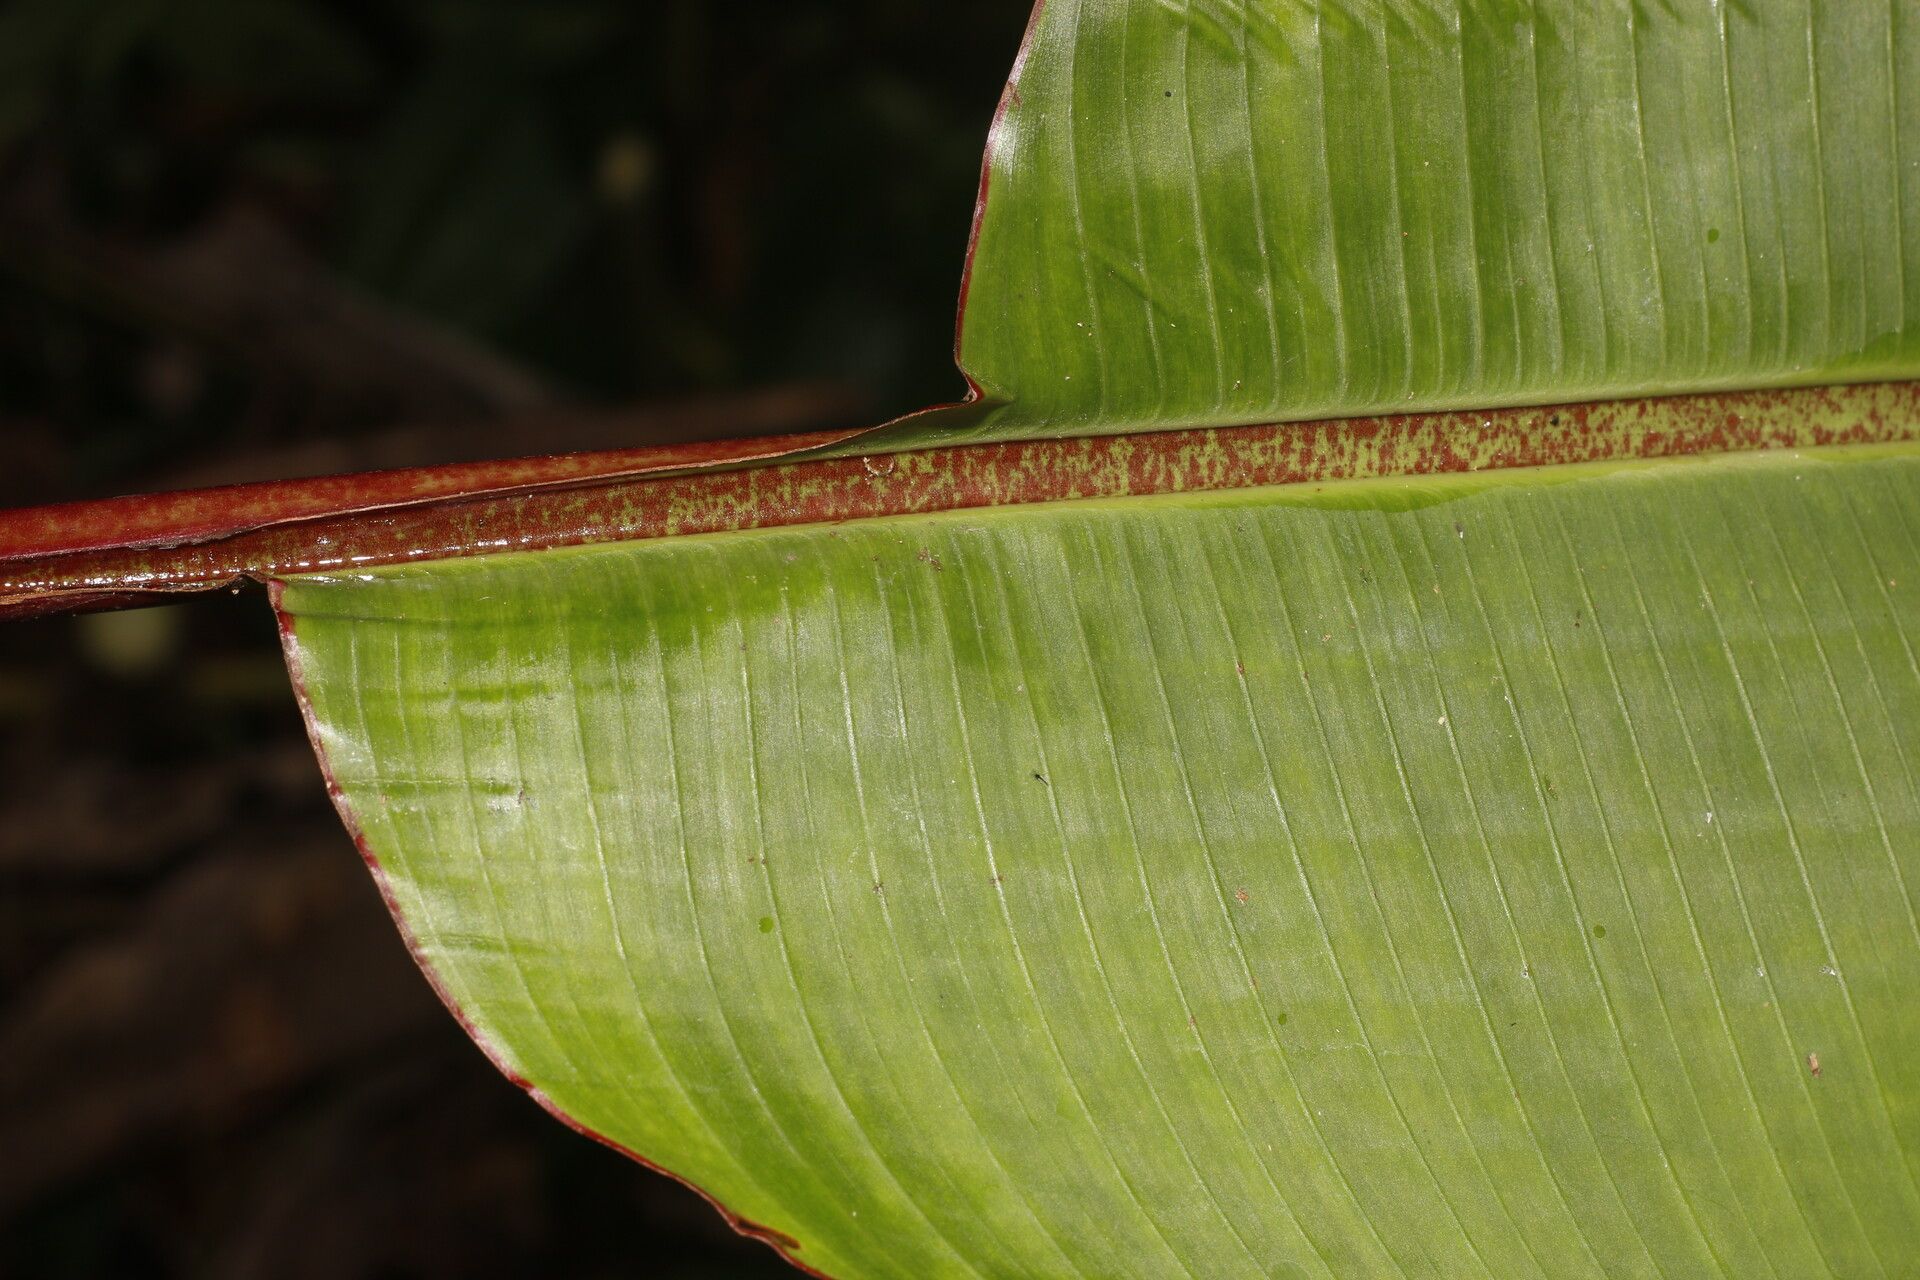
Hello there, fellow plant enthusiasts! It’s your garden guide here, ready to chat about a truly spectacular plant: Heliconia sarapiquensis. If you’re drawn to vibrant colors and a tropical vibe, you’re in for a treat. These beauties, with their striking bracts and lush foliage, add an instant wow factor to any garden. And the best part? Growing more of them yourself is incredibly rewarding!
Now, let’s be upfront. Heliconia sarapiquensis can be a tad more delicate than some of your more common houseplants. It’s not an “instant success” plant for absolute beginners, but with a little attention and care, you’ll be marveling at your own homegrown specimens in no time. Think of it as a rewarding challenge, not an impossible feat.
The Best Time to Start
For the highest success rate with Heliconia sarapiquensis, you want to work with the plant during its active growing season. This typically means late spring or early summer. You’ll be looking for well-established plants that are actively sending up new shoots. Avoid propagating when the plant is dormant or stressed, like during a harsh winter or extreme heatwave.
Supplies You’ll Need
Here’s what I always have on hand when I’m getting ready to propagate:
- Sharp pruning shears or a clean knife: Sterilize them with rubbing alcohol before you start.
- Rooting hormone (powder or gel): This is especially helpful for Heliconia.
- Well-draining potting mix: I like a blend of good quality potting soil, perlite, and a bit of orchid bark.
- Small pots or propagation trays: About 4-6 inches is usually a good size.
- Clear plastic bags or a propagation dome: To create a humid environment.
- Watering can with a fine rose: For gentle watering.
- Optional: Heat mat: For bottom warmth, which is a game-changer.
Propagation Methods
The most reliable way for Heliconia sarapiquensis is by division, but we can also try stem cuttings with a bit more finesse.
Division (My Go-To Method)
This is how I get the most bang for my buck and usually the easiest route for this plant.
- Gently unpot your mature Heliconia. Be careful not to damage the roots too much.
- Inspect the root ball. You’re looking for divisions that have at least one healthy pseudobulb (the swollen base) and a good clump of roots attached.
- Use your clean shears or knife to carefully separate a section. Make sure each division has its own root system. If the roots are really tangled, you can gently tease them apart with your fingers.
- Trim any damaged or dead roots.
- Pot each division into its own small pot filled with your well-draining mix. Ensure the top of the pseudobulb is just at or slightly above the soil line.
Stem Cuttings (A Little More Adventurous)
This method can work, but Heliconia can be a bit fussy.
- Select a healthy, mature stem. You want one that has at least 2-3 nodes (where leaves emerge).
- Make a clean cut just below a node. Aim for a cutting that’s about 6-8 inches long.
- Remove the lower leaves. You want to keep only the top 1-2 leaves, trimming them in half if they’re very large to reduce water loss.
- Dip the cut end into rooting hormone. Tap off any excess.
- Plant the cutting about 2-3 inches deep in your well-draining potting mix.
- Water gently and cover the pot with a clear plastic bag or propagation dome.
The “Secret Sauce” (Pro Tips)
Here are a few things I’ve learned over the years that really boost your success:
- Don’t drown your cuttings! For stem cuttings, you want the soil to be consistently moist but never waterlogged. Soggy conditions are a fast track to rot. If you’re using a clear bag, keep an eye on condensation. Too much fog means it’s suffocating.
- Bottom heat is your friend. Heliconia roots love warmth. Placing your pots or trays on a heat mat set to around 70-75°F (21-24°C) can dramatically speed up root formation and prevent issues.
- Patience is paramount. Heliconia aren’t the fastest propagators. It can take several weeks, sometimes even a couple of months, for new growth to appear, especially from cuttings. Don’t give up too soon!
Aftercare & Troubleshooting
Once you’ve got your divisions potted or your cuttings planted, the nurturing really begins.
- Keep them in bright, indirect light. Direct sun can scorch young plants.
- Maintain good humidity. This is where the plastic bag or dome comes in handy. Mist occasionally if you’re not using a cover.
- Water only when the top inch of soil feels dry. Again, avoid overwatering.
- Look for root development. You’ll know it’s working when you see new leaves emerging from the soil or feel a gentle tug when you lightly pull on the cutting. Then, you can gradually acclimate it to less humidity and eventually remove the cover.
Troubleshooting: The most common enemy is rot. If your cuttings turn mushy, black, or start to stink, it’s a sign of too much moisture. You might need to start over with cleaner tools and a dryer mix. Yellowing leaves on divisions usually indicate it’s still settling in or possibly needs a bit more light.
A Little Encouragement
Propagating plants is a journey, and Heliconia sarapiquensis is no exception. There might be a few bumps along the way, but each attempt teaches you something valuable. Celebrate those tiny new shoots and enjoy the process of bringing more of these tropical wonders into your life. Happy propagating!
Resource: