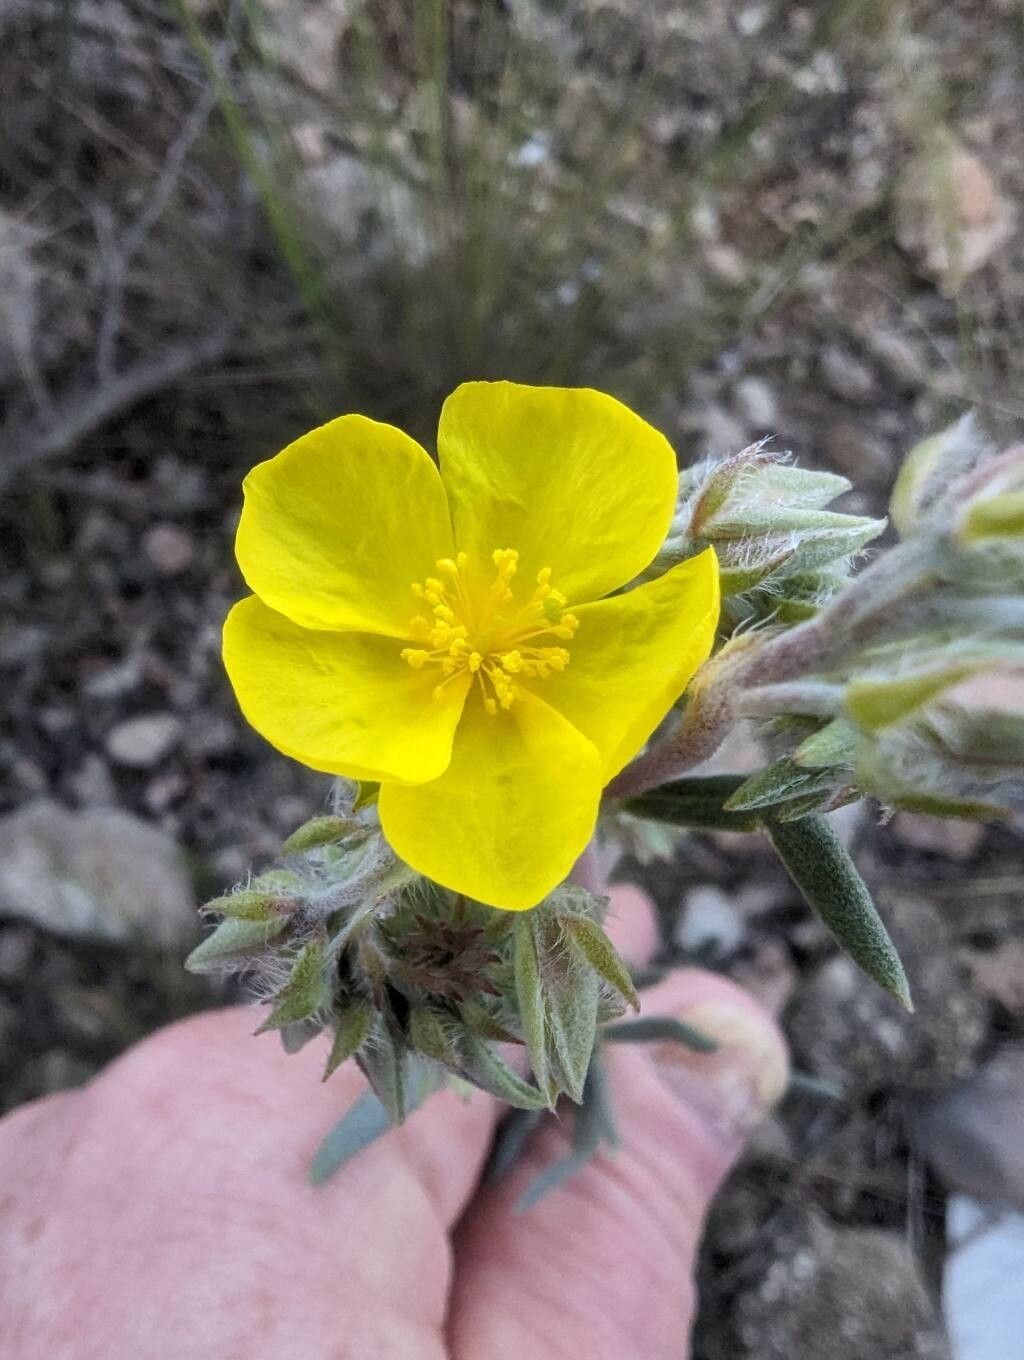
Oh, Helianthemum syriacum! Isn’t it just a joy to have this sun-loving beauty gracing the garden? Its delicate, papery blooms, usually in lovely shades of yellow or white, bring such a cheerful disposition, especially when they tumble over a rock wall or edge a sunny border. And propagating them? It’s a wonderfully rewarding endeavor, like growing your own little patch of sunshine! For those of you just starting out with propagation, I’d say Helianthemum is moderately easy. It’s not quite as foolproof as, say, a pothos, but with a little attention, you’ll be successful.
The Best Time to Start
The sweet spot for propagating Helianthemum syriacum is definitely late spring to early summer. This is when the plant has reached a good growth spurt after flowering, and the new shoots are semi-hardened. They have enough energy stored to put into developing roots, and our warmer weather is conducive to quick establishment. Trying to propagate too early in spring, when the wood is still very soft, or too late in the fall, when growth is slowing, can make things a bit trickier.
Supplies You’ll Need
You won’t need a whole lot to get started. Here’s my go-to list:
- Sharp, clean pruning shears or a sharp knife: For making clean cuts.
- Rooting hormone (optional but recommended): A powder or gel can really give your cuttings a boost.
- Small pots or seed trays: With good drainage holes, of course!
- Propagation mix or a well-draining potting mix: I like a blend of peat moss (or coco coir), perlite, and a touch of sand. About a 2:1:1 ratio works well.
- Watering can or spray bottle: For gentle watering.
- Plastic bags or a propagation dome: To maintain humidity.
Propagation Methods
The most reliable way I’ve found to multiply my Helianthemum is through stem cuttings. It’s straightforward and gives you a great success rate.
- Gather Your Cuttings: Select healthy, non-flowering shoots from your mature plant. Look for stems that are about 4-6 inches long. They should bend a little but not snap easily – that’s your cue for semi-hardwood.
- Prepare the Cuttings: Using your clean shears or knife, make a clean cut just below a leaf node (where a leaf joins the stem). This is where the magic of rooting happens!
- De-leaf: Gently remove the lower leaves from your cutting. You want to leave only the top 2-3 sets of leaves. This prevents them from rotting once they’re in the soil.
- Apply Rooting Hormone (Optional): Dip the cut end of the stem into your rooting hormone, shaking off any excess.
- Plant the Cuttings: Fill your small pots or trays with your propagation mix, moisten it thoroughly, and then use a pencil or dibber to make small holes. Gently insert the cuttings into the holes, ensuring the leaf nodes that were at the bottom are covered by the soil. You can fit several cuttings into one pot, as long as they aren’t touching each other too much.
- Water Gently: Water your newly planted cuttings very lightly. You don’t want to wash away the rooting hormone or disturb the soil too much.
- Create a Humid Environment: This is crucial! Cover your pots with a clear plastic bag or place them under a propagation dome. This traps moisture and keeps the cuttings from drying out before they can develop roots. Make sure the leaves don’t touch the plastic, or they might rot.
The “Secret Sauce” (Pro Tips)
Here are a couple of things I’ve learned over the years that make a big difference:
- Bottom Heat is Your Friend: If you have the option, place your pots on a gentle heat mat. This extra warmth from below really encourages root development. Not scorching hot, just a gentle bit of warmth.
- Don’t Be Afraid to Pinch Back: Once your cuttings have started to grow a bit and you see new leaf activity, you can pinch off the very tip of the new growth. This encourages the plant to branch out, leading to a bushier, stronger plant later on.
Aftercare & Troubleshooting
Once you see new leaves emerging and a bit of resistance when you gently tug on the cutting, you know you’ve got roots! This usually takes anywhere from 3-6 weeks.
- Gradually Acclimate: Slowly start to remove the plastic covering over a few days to let your new plants get used to the ambient humidity.
- Watering: Once they are well-rooted and out of the humidity dome, water them as you would a mature Helianthemum. Let the soil dry out slightly between waterings.
- Potting Up: When the roots have filled their small pots, it’s time to pot them up into slightly larger containers with a good quality potting mix.
The most common issue you’ll encounter is rot. If a cutting starts to look mushy, turns black, and stinks, it’s a goner. This usually happens if the environment is too wet and stagnant, or if the cutting was taken from overly soft, sappy growth. Don’t be discouraged if a few don’t make it – it’s part of the learning process!
A Encouraging Closing
Propagating Helianthemum syriacum is such a satisfying way to share the beauty of this plant. Be patient, keep an eye on your little ones, and enjoy the journey of coaxing new life from a snippet of stem. Happy gardening!
Resource: