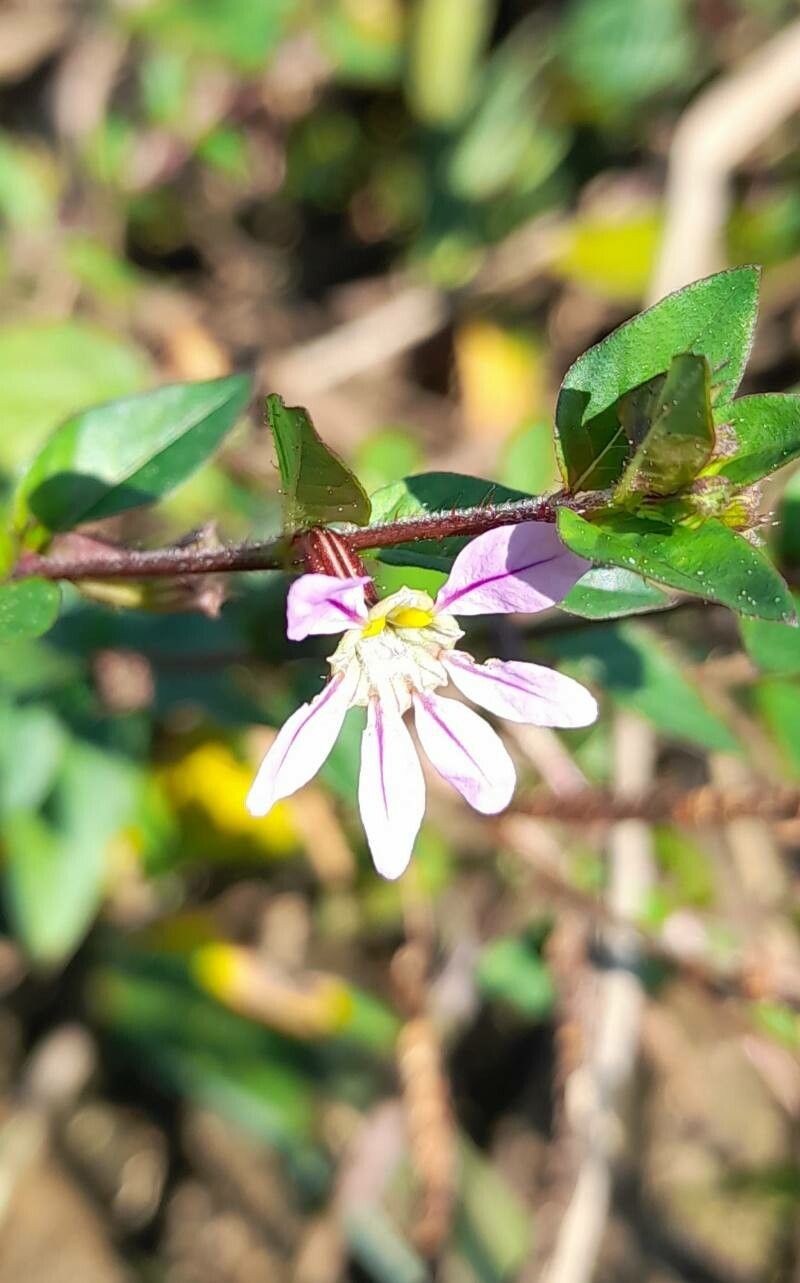
Hello there, fellow plant lovers! If you’ve ever fallen for the charm of Cuphea tuberosa, with its delicate, tubular flowers that attract hummingbirds and butterflies aplenty, you’re in for a treat. Propagating this beauty can be incredibly satisfying, and honestly, it’s a wonderfully accessible project for most home gardeners. Don’t let any notion of it being tricky deter you; I’ve found this plant to be quite generous when it comes to sharing its offspring.
The Best Time to Start
My favorite time to begin propagating Cuphea tuberosa is in the late spring or early summer. This is when the plant is in its most vigorous growth phase. You’ll find plenty of healthy, new growth to work with, and the warmth of the season really helps those cuttings get established quickly. Aim for stems that are neither brand new and soft nor woody and old. Think somewhere in between – firm but flexible.
Supplies You’ll Need
Gathering your tools beforehand makes the whole process smoother. Here’s what I usually have on hand:
- Sharp pruning shears or a clean knife: For taking precise cuttings.
- A light, well-draining potting mix: I often use a blend of equal parts peat moss, perlite, and a bit of compost.
- Small pots or propagation trays: Clean ones are key to preventing disease.
- Rooting hormone (optional but recommended): I find it gives a little boost.
- Plastic bags or a small greenhouse: To create a humid environment.
- Watering can with a fine rose: For gentle watering.
- Labeling stakes: To keep track of what’s what!
Propagation Methods
I’ve had the best luck with stem cuttings for Cuphea tuberosa. It’s straightforward and usually yields a high success rate.
Stem Cuttings:
- Select your cuttings: Look for healthy, non-flowering stems. Take cuttings that are about 4-6 inches long. Make your cut just below a leaf node (where a leaf attaches to the stem).
- Prepare the cuttings: Gently remove the lower leaves, leaving just a couple at the very top. This prevents them from rotting in the soil.
- Apply rooting hormone: If you’re using it, dip the cut end of each stem (about an inch deep) into the rooting hormone powder, tapping off any excess.
- Plant the cuttings: Make small holes in your prepared potting mix with a pencil or your finger. Insert the cuttings, ensuring the leaf nodes that were just below the soil surface are actually in the soil. This is where roots will emerge. Firm the soil gently around the base of each cutting.
- Provide humidity: Water the soil lightly. Then, cover the pots or trays with a plastic bag or place them inside a small greenhouse. You want to create a mini-greenhouse effect to keep the humidity high. Make sure the leaves aren’t touching the plastic directly if possible.
- Place them out of direct sun: Find a bright spot with indirect light. Too much sun will scorch these tender young things.
The “Secret Sauce” (Pro Tips)
Here are a couple of things I’ve learned over the years that really make a difference:
- Bottom Heat is Your Friend: If you have a seedling heat mat, pop your propagation trays on it. Cuphea tuberosa absolutely adores a little warmth from below. It significantly speeds up root development and reduces the chances of rot.
- Don’t Drown Your Cuttings: While they need moisture, soggy soil is the enemy. Let the surface of the soil dry out slightly between waterings. Overwatering is the quickest way to invite fungal issues and rot. A gentle misting or bottom watering can be excellent options.
Aftercare & Troubleshooting
Once your cuttings have been snug in their humid environment for a few weeks, you’ll want to start checking for roots. Gently tug on a cutting; if you feel resistance, you’ve got roots!
- Acclimatization: Once roots have formed (usually after 3-6 weeks), gradually introduce your new plants to normal room humidity. Start by opening the plastic bag vent for an hour or two each day, increasing the time until they are fully acclimatized.
- Transplanting: When the new plants have a good root system and are showing new growth, you can pot them up into slightly larger individual pots with your regular potting mix.
- Common Issues: The most frequent problem is rot. If you see a cutting turning black and mushy, it’s usually a sign of too much moisture and not enough airflow. Discard any rotted cuttings immediately to prevent it from spreading. Another sign of failure can be yellowing leaves, which might indicate they aren’t getting enough light or are too dry.
Happy Propagating!
Seeing your own little Cuphea tuberosa plants sprout from cuttings is a truly rewarding experience. Be patient with your new sprouts; gardening is all about the process, and these little ones will grow at their own pace. Enjoy the journey, and soon you’ll have even more of these delightful blooms to share and admire!
Resource:
https://identify.plantnet.org/k-world-flora/species/Cuphea%20tuberosa%20Cham.%20&%20Schltdl./data