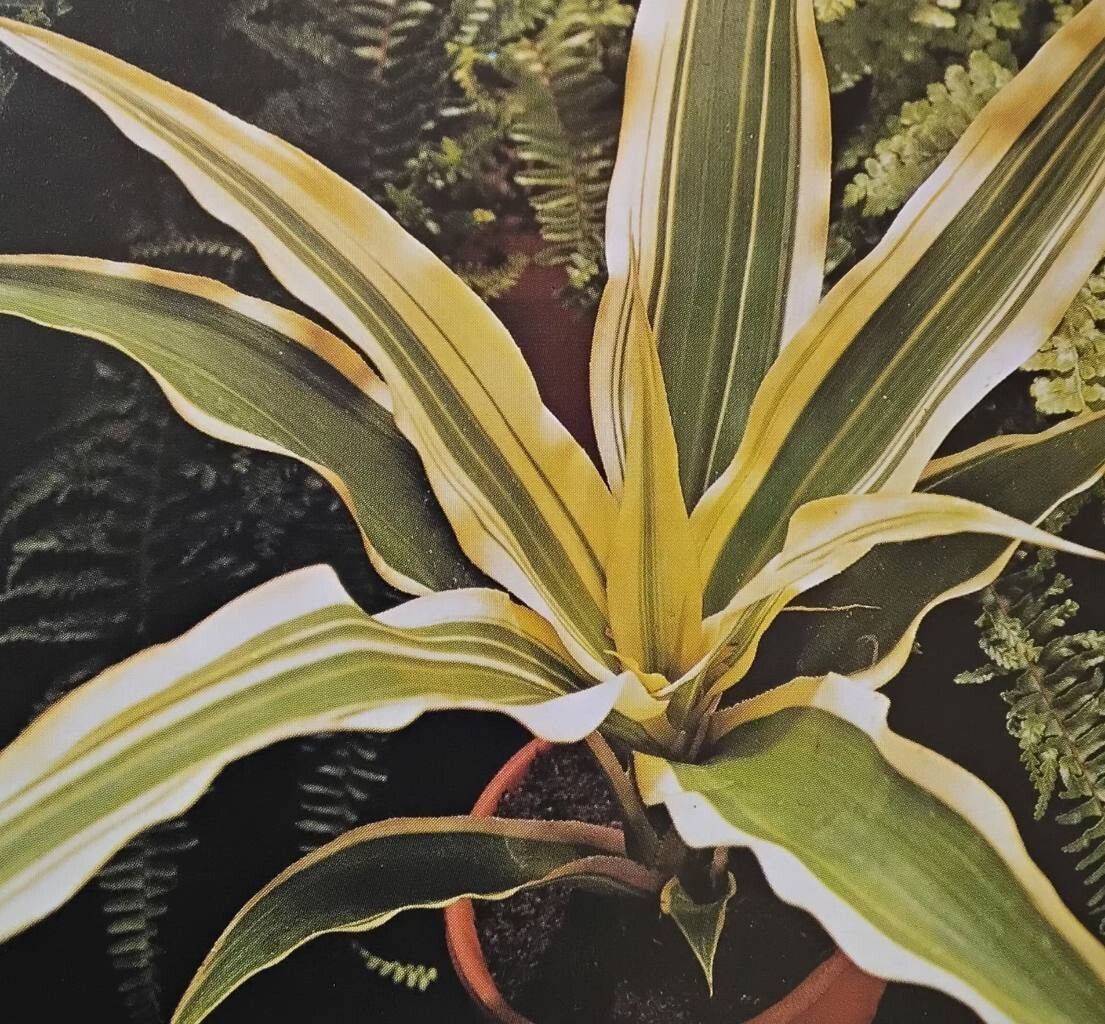
Oh, hello there! Grab your favorite mug, pull up a chair. Today, we’re going to chat about something truly delightful: coaxing more beauty into the world with our very own hands. We’re talking about Cryptanthus bromelioides, those fantastic little star-shaped beauties also known as Earth Stars.
Why Earth Stars Bloom in Your Garden (and Your Propagating Pot!)
I’ve always been drawn to Cryptanthus. Their intricate patterns, the vibrant colors that can shift with the light – they’re like living jewels. And the best part? They’re surprisingly easy to multiply! If you’re looking for a rewarding project that doesn’t require a degree in botany, this is it. Don’t let the word “bromeliad” intimidate you; propagating these guys is much simpler than you might think. Even if you’re just starting your plant journey, you can absolutely do this.
When Your Earth Stars are Ready to Share
The absolute best time to propagate Cryptanthus bromelioides is during their active growing season, which is typically spring and summer. You’ll see the most vigorous growth then, and your new pups will have the energy they need to establish themselves quickly. Look for plants that are already producing noticeable offshoots, or “pups,” at their base.
What You’ll Need for Your Propagation Adventure
Gathering your supplies beforehand makes the whole process so much smoother. Think of it as preparing your workspace for a beautiful creation.
- Sharp, clean pruning shears or a sharp knife: Sterilize them with rubbing alcohol to prevent disease.
- A well-draining potting mix: I like a blend of cactus/succulent mix with some perlite or orchid bark added. You want it to dry out fairly quickly.
- Small pots or trays: Terracotta pots are great because they breathe.
- Rooting hormone (optional, but helpful): This can give your cuttings a little boost.
- A spray bottle: For gentle misting.
- A small trowel or spoon: For scooping soil.
- Patience!
Letting New Stars Shine: Propagation Methods
Cryptanthus are wonderfully generous, and they tend to produce offsets naturally. This is usually the easiest and most successful way to propagate them.
Method 1: Dividing Pups
This is my go-to method for Cryptanthus.
- Gently excavate: When your mother plant has pups that are at least a quarter to a third of the size of the parent, it’s time. Carefully remove the plant from its pot.
- Locate the connection: You’ll see where the pup is attached to the mother plant. Sometimes, the pups have their own roots already forming.
- Make the cut (or gentle separation): Using your sterilized shears or knife, sever the pup from the mother plant as close to the base as possible. If the pup already has roots, try to get as many of them as you can. If it doesn’t have roots, don’t worry, it will grow them!
- Let it callous: Before potting, let the cut end of the pup air dry for a day or two. This helps to prevent rot. You’ll see the cut end start to form a dry, scab-like layer.
- Pot up: Fill your small pot with your well-draining mix. Make a small hole in the center and place the calloused pup into the soil, ensuring the base is covered. If it has roots, gently fan them out.
- Water sparingly: Water lightly, just enough to moisten the soil. You don’t want it soggy.
Method 2: Water Propagation (for pups with no roots)
This method is a bit more visual and can be quite satisfying.
- Separate the pup: Follow steps 1-3 from the division method. If your pup has no roots, that’s okay.
- The water bath: Find a small glass or jar. Fill it with clean, room-temperature water.
- The crucial detail: Place the pup in the water, ensuring only the very base is submerged. You don’t want any of the leaves touching the water, as this can lead to rot. You might need to find a way to prop it up if it’s too small for the jar.
- Location, location, location: Place the jar in a bright, indirect light location.
- Change the water: Change the water every few days to keep it fresh and prevent bacterial growth.
- Rooting time: You should see roots beginning to form within a few weeks. Once the roots are about an inch long, it’s time to pot them in your well-draining soil mix.
The “Secret Sauce” from My Greenhouse
After years of trial and error, a few things have become non-negotiable for me.
- Bottom heat is your friend: If you are in a cooler climate or propagating during a slightly cooler time, placing your pots on a gentle seedling heat mat can significantly speed up root development. It mimics the warmth of summer.
- Don’t overwater, ever: This is the most common mistake! Cryptanthus are susceptible to rot. It’s always better to err on the side of being too dry than too wet. The soil should feel slightly moist to the touch, not soggy.
- Watch for aerial roots: Sometimes, pups will develop little aerial roots before you even separate them. This is a great sign that they are ready and have good potential to root quickly!
Aftercare and What to Watch For
Once your pup has established itself with roots, treat it much like you would a mature plant, just scaled down. Continue to water sparingly, allowing the soil to dry out between waterings. They love bright, indirect light.
Keep an eye out for signs of rot, which usually manifests as mushy, brown leaves at the base. If you see this, it’s likely due to overwatering. Unfortunately, if rot sets in, it’s hard to recover, so prevention is key. Yellowing leaves can sometimes indicate too much direct sun or inconsistent watering.
Happy Propagating!
Bringing new life into the world, even on a small scale, is one of the most rewarding parts of gardening. Be patient with your new Cryptanthus pups. They’ll take their time, but with a little care and attention, you’ll soon have a whole little constellation of these stellar plants. Enjoy the journey, and don’t be afraid to get your hands a little dirty!
Resource: