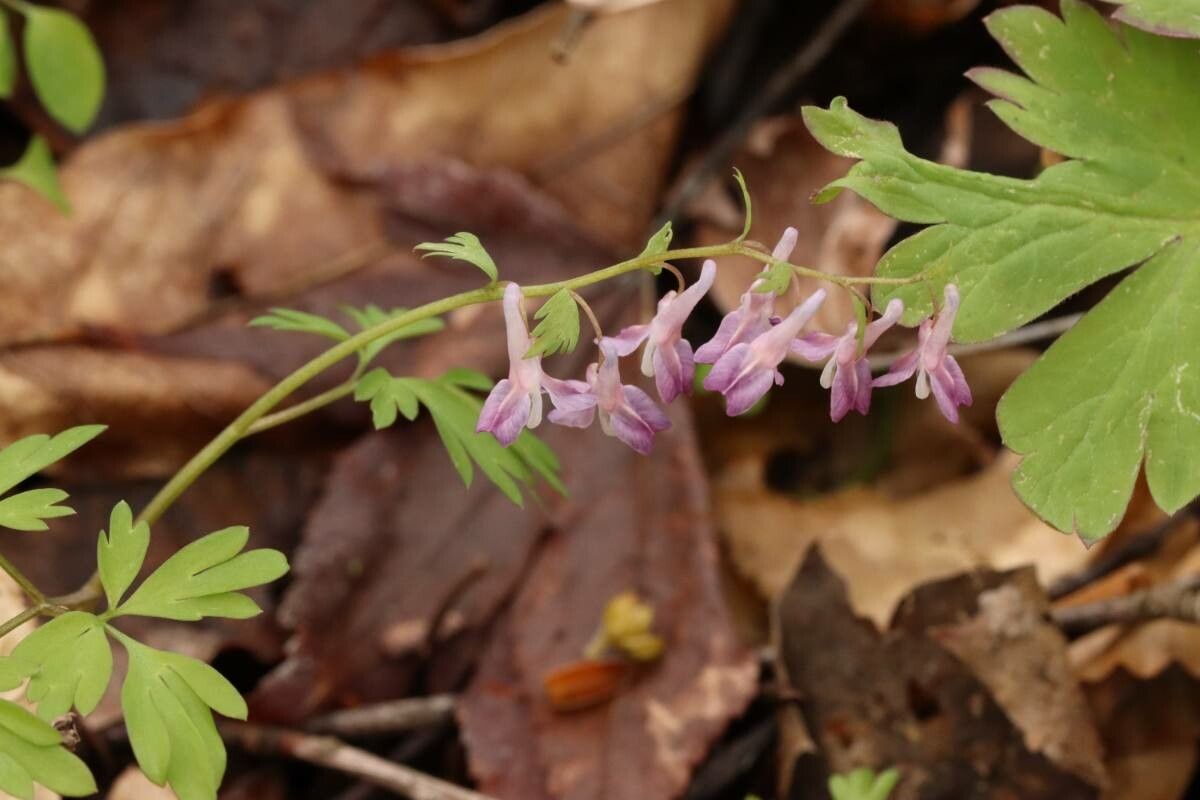
Oh, Corydalis capillipes! Isn’t it just a gem? That delicate, fern-like foliage and those charming, pale blue flowers that pop up as if by magic. I remember the first time I saw it, I was utterly smitten. Bringing more of this lovely plant into the garden, or sharing it with friends, is such a satisfying pursuit. Now, if you’re new to the gardening game, you might be wondering if Corydalis capillipes is a tricky one to propagate. I’d say it’s moderately easy. With a little know-how and the right timing, you’ll be well on your way.
The Best Time to Start
For Corydalis capillipes, I find late spring to early summer is simply the sweetest spot. That’s when the plant is actively growing, full of vigor, and just itching to put out new shoots. You’re looking for softwood cuttings – those fresh, pliable stems that haven’t yet started to get woody. Think of it like a good glass of wine; you want it at its peak!
Supplies You’ll Need
- Sharp Pruning Shears or a Sharp Knife: Cleanliness is crucial here.
- A Well-Draining Potting Mix: I like a blend of about 50% perlite or coarse sand mixed with good quality potting soil. Corydalis really dislikes soggy feet.
- Small Pots or Seed Trays: Clean ones, of course!
- Rooting Hormone (Optional but Recommended): A powdered or gel form designed for stem cuttings. It gives them a little boost.
- Clear Plastic Bag or Dome: To create a mini-greenhouse effect and maintain humidity.
- Spray Bottle: Filled with fresh water.
Propagation Methods
I’ve had the most success with stem cuttings for Corydalis capillipes. It’s straightforward and yields good results.
- Take Your Cuttings: Head out to your plant on a mild morning, after the dew has dried. Select a healthy, non-flowering stem. Using your sharp shears, make a clean cut just below a leaf node. A leaf node is where a leaf attaches to the stem – roots love to sprout from here! Aim for cuttings that are about 4-6 inches long. Remove any lower leaves that might fall below the soil line.
- Prepare the Cutting: If you’re using rooting hormone, lightly dip the cut end into the powder or gel. Just a gentle coating is all you need.
- Plant Your Cuttings: Fill your small pots or trays with your prepared potting mix. Make a small hole in the center with your finger or a pencil. Gently insert the prepared cutting into the hole, ensuring at least one leaf node is buried beneath the surface. Firm the soil gently around the base of the stem.
- Water Gently: Water the soil thoroughly but carefully. You don’t want to disturb the cuttings. A gentle shower from your spray bottle is perfect.
- Create Humidity: Place the potted cuttings into a clear plastic bag, sealing it loosely, or cover them with a clear dome. This traps moisture and creates a humid environment, which is vital for cuttings to root.
The “Secret Sauce” (Pro Tips)
Here are a few things I’ve learned over the years that can really make a difference:
- Don’t Overcrowd: Give your cuttings a little breathing room in their pots. Too many packed together can lead to disease or competition.
- Bottom Heat is Your Friend: If you can, place your pots on a heating mat designed for propagation. This gentle warmth encourages root development from below, giving your cuttings a significant advantage. It’s like giving them a cozy little incubator!
- Patience with the Water: If you happen to see any leaves or stems dangling into standing water (though we’re aiming to avoid that with soil propagation), remove them promptly. They’ll just rot and can harbor fungal issues that will spread.
Aftercare & Troubleshooting
Once your cuttings are planted and nestled in their humid little environment, place them in a spot with bright, indirect light. Avoid direct sun, which can scorch the tender new growth and dry out the cuttings too quickly. Keep the soil consistently moist, but not waterlogged. A good test is to feel the top inch of soil – if it’s dry, it’s time to water.
You’ll know your cuttings are rooting when you see new growth appearing! This can take anywhere from 4-8 weeks, so don’t get discouraged if you don’t see immediate action. Gently tug on a cutting; if there’s resistance, you’ve got roots!
The most common sign of failure is rot. If your cuttings look mushy, black, or slimy, they’ve likely succumbed to rot. This usually happens from overwatering or poor air circulation. If you spot it, it’s best to discard the affected cuttings and start fresh, ensuring better drainage and ventilation on your next attempt.
A Encouraging Closing
Propagating Corydalis capillipes is a wonderful way to expand your garden and connect with the plant world on a deeper level. Be patient with your little plant babies. Gardening is a journey, and each new plant is a small victory. Enjoy the process, and happy growing!
Resource:
https://identify.plantnet.org/k-world-flora/species/Corydalis%20capillipes%20Franch./data