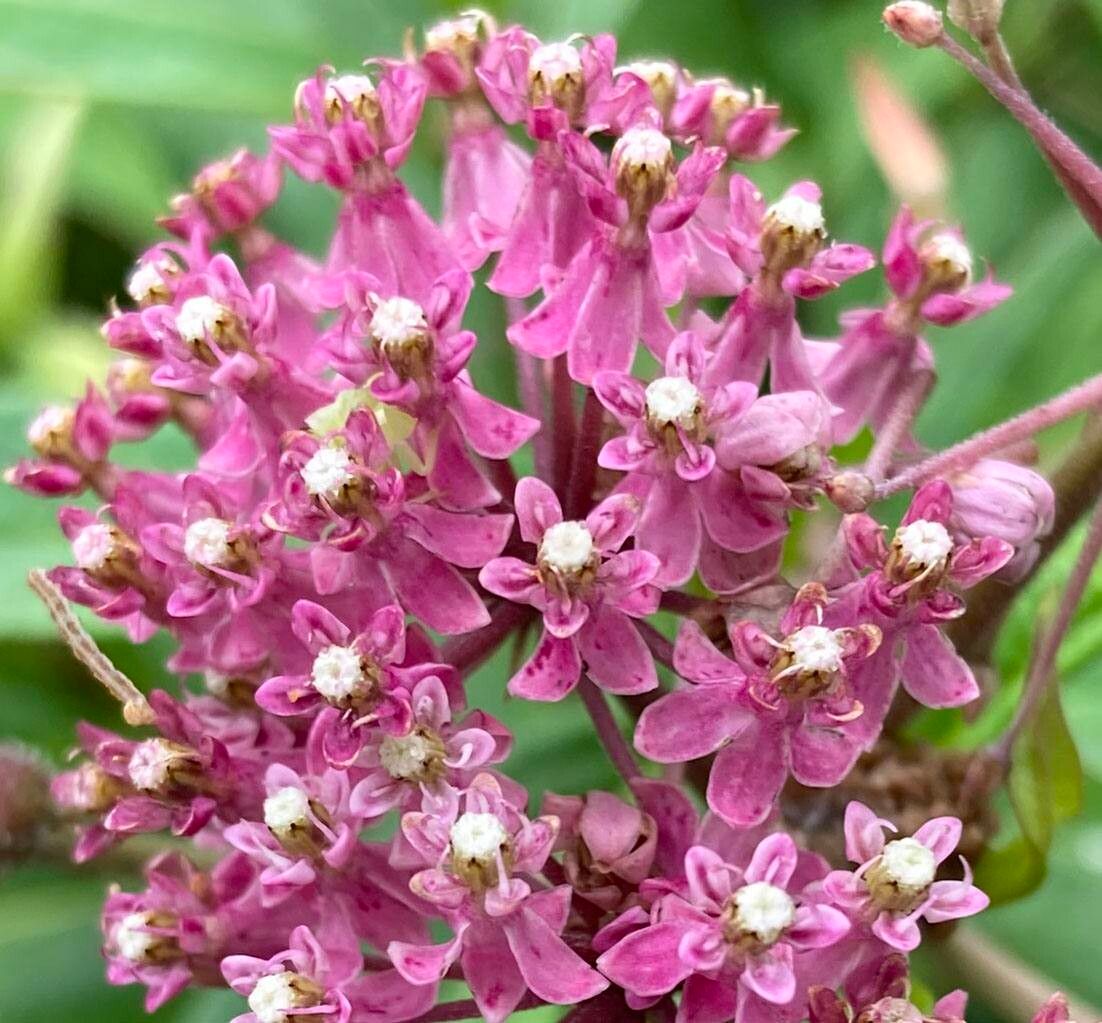
Hey there, fellow plant enthusiasts! I’m so excited to dive into the wonderful world of propagating Asclepias incarnata, or as we often call it, Swamp Milkweed. If you love attracting those gorgeous monarch butterflies and knowing you’ve grown them yourself, you’re in for a treat! Swamp Milkweed is really quite a rewarding plant to have in your garden – its delicate pink to rose-colored flowers are a magnet for pollinators, and seeing them in action is pure magic. And guess what? Propagating it is surprisingly accessible, even for those of you just dipping your toes into the world of plant reproduction.
The Best Time to Start
For the highest success rate with Swamp Milkweed, late spring to early summer is your sweet spot. This is when the plant is actively growing and full of vigor. You want to work with healthy, tender new growth or established stems that haven’t yet produced seeds.
Supplies You’ll Need
Gathering your supplies beforehand makes the whole process much smoother. Here’s what I usually have on hand:
- Sharp pruning shears or a clean knife: For making clean cuts.
- Rooting hormone (optional but recommended): A powdered or liquid form helps encourage root development.
- Well-draining potting mix: A blend of perlite, peat moss, and compost works beautifully. You can also use a standard seed-starting mix.
- Small pots or seedling trays: With drainage holes, of course!
- Watering can with a fine rose or spray bottle: For gentle watering.
- Plastic bags or a propagation dome: To maintain humidity around your cuttings.
- Dibbers or pencils: For making holes in the soil.
- Labels and a permanent marker: To keep track of what you’ve planted.
Propagation Methods
Swamp Milkweed is quite versatile! Here are a couple of my favorite ways to multiply these beauties:
Stem Cuttings
This is probably my go-to method. It’s straightforward and usually yields excellent results.
- Take your cuttings: In late spring or early summer, select healthy, non-flowering stems. Using your sharp pruning shears, cut a 4-6 inch section from the tip of a stem. Make the cut just below a leaf node (where a leaf attaches to the stem).
- Prepare the cutting: Gently remove the lower leaves, leaving just a couple at the top. If the remaining leaves are very large, you can trim them in half to reduce water loss.
- Apply rooting hormone (optional): Dip the cut end of the stem into your rooting hormone, tapping off any excess.
- Plant your cuttings: Fill your small pots with the well-draining potting mix. Use a dibber or pencil to poke a hole in the center, then carefully insert the cutting. Gently firm the soil around it.
- Water gently: Water the soil thoroughly until it drains from the bottom.
- Create a humid environment: Cover the pot loosely with a plastic bag or place it under a propagation dome. This keeps the humidity high, which is crucial for cuttings to root.
Water Propagation (for tender new growth)
This method is simple and visually satisfying as you can see the roots forming.
- Select and cut: As with stem cuttings, take 4-6 inch cuttings from fresh, non-flowering growth. Make sure you cut just below a leaf node.
- Remove lower leaves: Just like before, strip off the lower leaves.
- Place in water: Put the cuttings in a clean jar or vase filled with fresh water. Make sure no leaves are submerged in the water – they’ll rot!
- Find a bright spot: Place the jar in a location that receives bright, indirect light.
- Change the water regularly: Change the water every few days to keep it fresh and prevent bacterial growth.
- Transplant when ready: Once you see sturdy roots forming that are about an inch long, you can transplant them into potting mix. Handle those delicate new roots with care.
The “Secret Sauce” (Pro Tips)
Here are a few things I’ve learned over the years that can really boost your success:
- Bottom Heat is Your Friend: If you have the space, placing your pots on a gentle heat mat can be a game-changer, especially for stem cuttings. It encourages the roots to develop more quickly. Just a low, consistent warmth is all you need.
- Don’t Overwater, but Don’t Let Them Dry Out: This is a delicate balance. Keep the soil consistently moist, but never waterlogged. You want it to feel like a wrung-out sponge. Overwatering is the fastest way to invite rot.
- Patience is a Virtue (and a Necessity): Swamp Milkweed can sometimes take its sweet time rooting. Don’t get discouraged if you don’t see new growth immediately. I often leave my cuttings for 4-6 weeks before really worrying.
Aftercare & Troubleshooting
Once your cuttings have developed a good root system (you can gently tug on them – if there’s resistance, they’ve rooted!), it’s time for a bit more attentive care.
- Transitioning: Gradually acclimate your new plants to normal room humidity by opening the plastic bag or dome a little more each day over a week.
- Potting Up: Once they’re strong enough, transplant them into slightly larger pots with fresh potting mix.
- Outdoor Acclimation: Before planting them outside, harden them off. This means gradually exposing them to outdoor conditions – wind, sun, and cooler temperatures – over a week or two. Start with a few hours in a sheltered spot and slowly increase the time and exposure.
- Troubleshooting: The most common issue you’ll face is rot. This usually happens if the cuttings are kept too wet or if there’s poor air circulation. If you see wilting or mushy stems, remove the affected cutting immediately. If you’re propagating in water and notice the leaves turning yellow or slimy, they’re likely submerged and need to be removed.
A Little Encouragement
Propagating plants is such a rewarding journey. It connects you more deeply to the plants you love and allows you to share their beauty with others. Be patient with yourself and your little Swamp Milkweed babies. Every successful propagation, no matter how small, is a triumph. So go ahead, get your hands dirty, and enjoy the incredible experience of bringing new life from your existing plants. Happy gardening!
Resource:
https://identify.plantnet.org/k-world-flora/species/Asclepias%20incarnata%20L./data